In this blog post, we’ll delve into the differences between two essential timelines in ActivePresenter: Click Sequence timeline and Main Timeline.
ActivePresenter, a powerful eLearning authoring tool integrating screen recording and video editing features, provides users with two distinct timelines for designing and controlling the flow of their projects: Click Sequence Timeline and Main Timeline. Both timelines are crucial in creating responsive and interactive learning experiences, but they serve different purposes. Understanding the differences between them is essential for maximizing productivity in your project creation.
Before we start, let’s download the app if you’ve not installed it on your computer:

What Is A Timeline?
A timeline represents the timing of all objects on a slide. It defines how objects appear, disappear, or animate over time. In ActivePresenter, you can edit object timing and apply various animation effects to enhance your content.
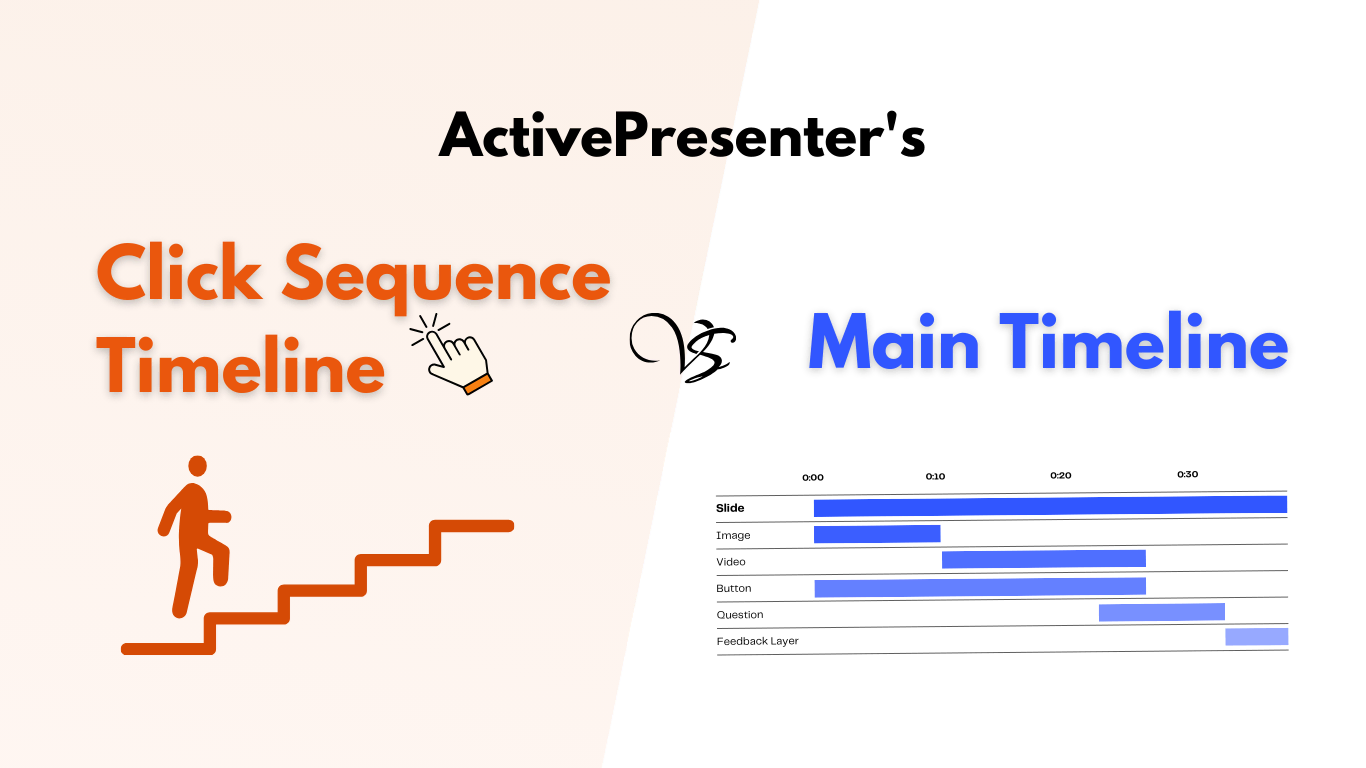
Comparing the Main Timeline and Click Sequence Timeline
| Aspect | Main Timeline | Click Sequence Timeline |
| Purpose | Pre-set the appearance and disappearance of objects and events based on real timing. | Manages user-triggered interactions. |
| Activation | Automatically plays through from start to end. | Triggered by user clicks or interactions. |
| Control | Global control over animations, transitions, and effects. | User-controlled, allowing interactive navigation. |
| Multiple Objects | Handles multiple objects simultaneously. | Focuses on the behavior of specific, clickable objects. |
| Use Case | Best for animations, transitions, and slide synchronization. | Ideal for quizzes, interactive elements, and conditional actions. |
| Independent Operation | Operates on its own without user interaction. | Operates only after a user interacts with the clickable object. |
Main Timeline: The Backbone of Your Project
What is the Main Timeline?
The Main Timeline is the primary timeline where the overall project’s animations, effects, and events are organized. It dictates the global flow of objects and events across the slide.
Key Characteristics of the Main Timeline:
- Global Control:
- It acts as the backbone of your project, managing when and how objects (like text, images, shapes, etc.) appear, move, or disappear on the slide.
- The Main Timeline controls the timing of all objects simultaneously, allowing you to sync different elements like audio narration, animations, and interactions.
- Slide-Level Timeline:
- Every slide in ActivePresenter has its own Main Timeline.
- You can customize the duration and timing of objects within that slide independently of others.
- Synchronization of Multiple Objects:
- You can manage multiple objects at once on the Main Timeline. This enables precise coordination between various elements, such as ensuring text appears while a button fades in.
- Continuous Playback:
- The Main Timeline plays continuously from the beginning to the end, unless interrupted by user interactions or navigation events like branching to another slide.
- Adding and Managing Events:
- You can also insert events into the Main Timeline, such as actions that trigger when an object reaches a certain point in time. For example, you might use the Main Timeline to trigger an audio file when a shape becomes visible.
- Editing Features:
- ActivePresenter offers a variety of tools to easily adjust object durations, arrange their start times, and manage layers (which control the stacking order of objects).
When to Use the Main Timeline?
Use the Main Timeline when designing general animations, slide transitions, or synchronizing multiple objects. For example, if you want text to appear while an image zooms in, or when you want a video to start playing automatically when a slide loads.
Click Sequence Timeline: A PowerPoint-like Experience
What is the Click Sequence Timeline?
The Click Sequence Timeline is more focused on user-triggered events. Unlike the Main Timeline, which runs automatically or is set manually with events and actions, the Click Sequence Timeline is only activated when the user interacts with the slide by clicking on it or using the arrow keys.
Key Characteristics of the Click Sequence Timeline:
- User Interaction Focused:
- This timeline is designed to help you present the same way in PowerPoint. It organizes actions or events that occur when users click on the slide/ objects or use the arrow keys.
- It ensures that interactions are dynamic, allowing for personalized experiences based on user input.
- Independent from the Main Timeline:
- The Click Sequence Timeline is independent of the Main Timeline and does not follow a linear progression unless prompted by a user interaction. This gives you the flexibility to control the flow of a project based on the user’s decisions.
- Interactive Sequence Control:
- When a user clicks on a button or other interactive element, a predefined sequence of actions can be triggered. This sequence includes animations, navigation to other slides, or displaying feedback (like quiz answers).
- You can set up multiple click sequences for different objects within the same slide.
- Layered Events:
- A Click Sequence can contain multiple actions in a specific order, such as showing an object, playing audio, or branching to a new slide.
- Multi-Stage User Interactions:
- This timeline supports multi-step user interactions, where different events happen after multiple clicks. For example, the first click might reveal an image, and the second click may trigger a video to play.
When to Use the Click Sequence Timeline?
Use the Click Sequence Timeline when you want the user to control the flow of the project through their actions. This is especially useful for quizzes, scenarios, interactive menus, or when you need the user to make a decision (like clicking on a hotspot to reveal information).
How They Complement Each Other
While the Main Timeline handles general flow and global events, the Click Sequence Timeline enhances user engagement by adding interactivity. They can work in harmony—for example, a slide might feature objects that animate automatically (Main Timeline), but the user must click a button to reveal additional content (Click Sequence Timeline).
By using these two timelines together, you can build projects that are both informative and interactive, catering to different learner preferences. The Main Timeline allows you to set the stage with visually engaging content, while the Click Sequence Timeline gives learners the power to control their experience.
Conclusion
In ActivePresenter, mastering the difference between the Main Timeline and the Click Sequence Timeline opens up a world of possibilities for creating interactive, engaging, and responsive content. The Main Timeline is your tool for creating well-synchronized animations and slide events, while the Click Sequence Timeline gives you the flexibility to design user-driven interactions. By leveraging both effectively, you can craft dynamic learning experiences that are both guided and responsive to user actions.