
How to Record Zoom or Team Meetings on Windows 10 (Step by step)
If you’ve ever scrambled to hit “Record” three minutes into a Zoom call, or discovered afterward that your Teams meeting saved with your face missing and audio slightly out of sync, you know the frustration. Native meeting recorders are fine for a quick save, but they weren’t built for trainers and educators who need clean, editable, reusable footage. This guide walks you through exactly how to record screen on Windows 10 for Zoom and Teams meetings using ActivePresenter, an eLearning software — and, more importantly, how to turn that raw footage into something your learners will actually use.
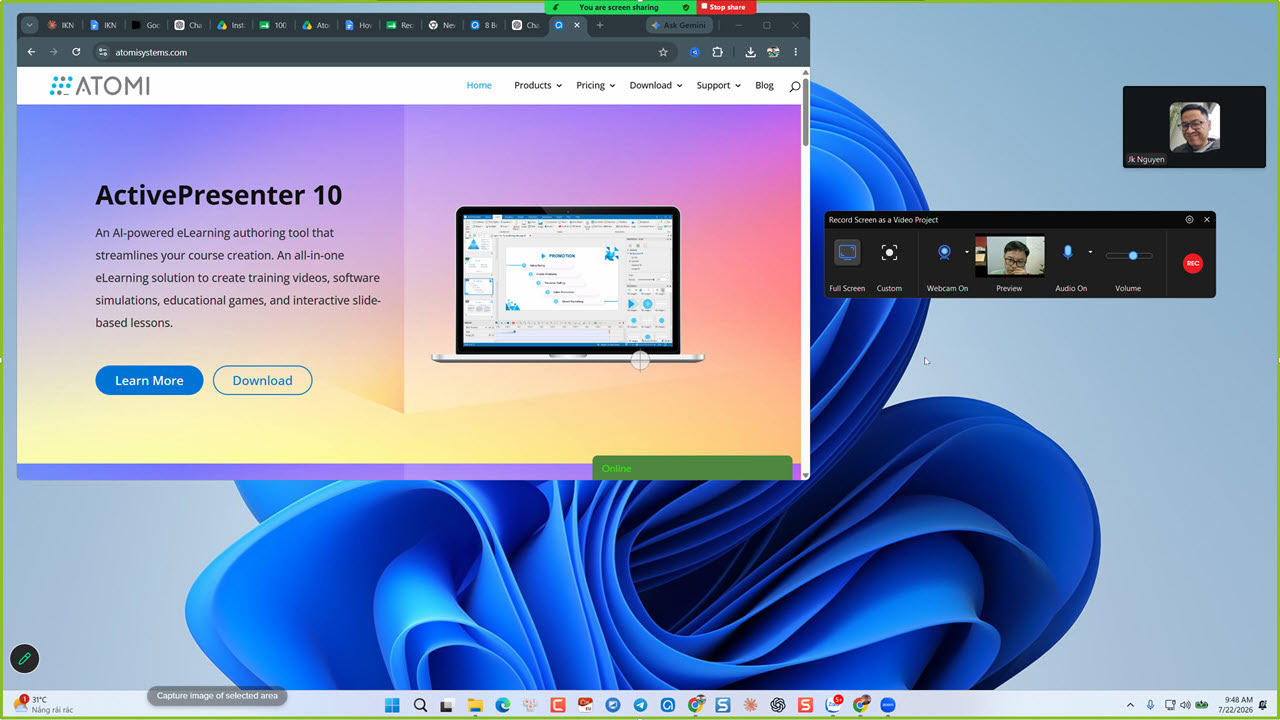
Why Recording Zoom & Teams Meetings Matters for Trainers and Educators
Live sessions disappear the moment they end — unless you capture them properly. For trainers, a recorded meeting becomes a reusable onboarding asset. For educators, it’s a lecture replay for students who missed class or need to review a concept. For corporate L&D teams, it’s raw material that can be repurposed into microlearning modules, compliance courses, or searchable knowledge bases.
The problem is that Zoom’s and Teams’ built-in recorders are designed for basic archiving, not content production. They typically don’t give you granular control over webcam placement, audio source separation, or post-recording editing. That’s where a dedicated screen recording tool changes the game.
What You Need Before You Hit Record
Before opening ActivePresenter, take two minutes to prep:
- Close unnecessary apps that might trigger notification sounds (these get picked up by system audio).
- Test your microphone and webcam in Windows Settings so you’re not troubleshooting mid-recording.
- Decide your recording area — do you need the full screen, just the meeting window, or a custom region that includes chat and participant panels?
- Check your organization’s meeting recording policy. If you’re recording a Zoom or Teams call that includes other participants, get consent where required — this is a compliance step, not a technical one, but it matters just as much.
How to Record Screen Windows 10 for Zoom & Teams Meetings (Step-by-Step)
Step 1 – Choose Record Screen as Video Mode
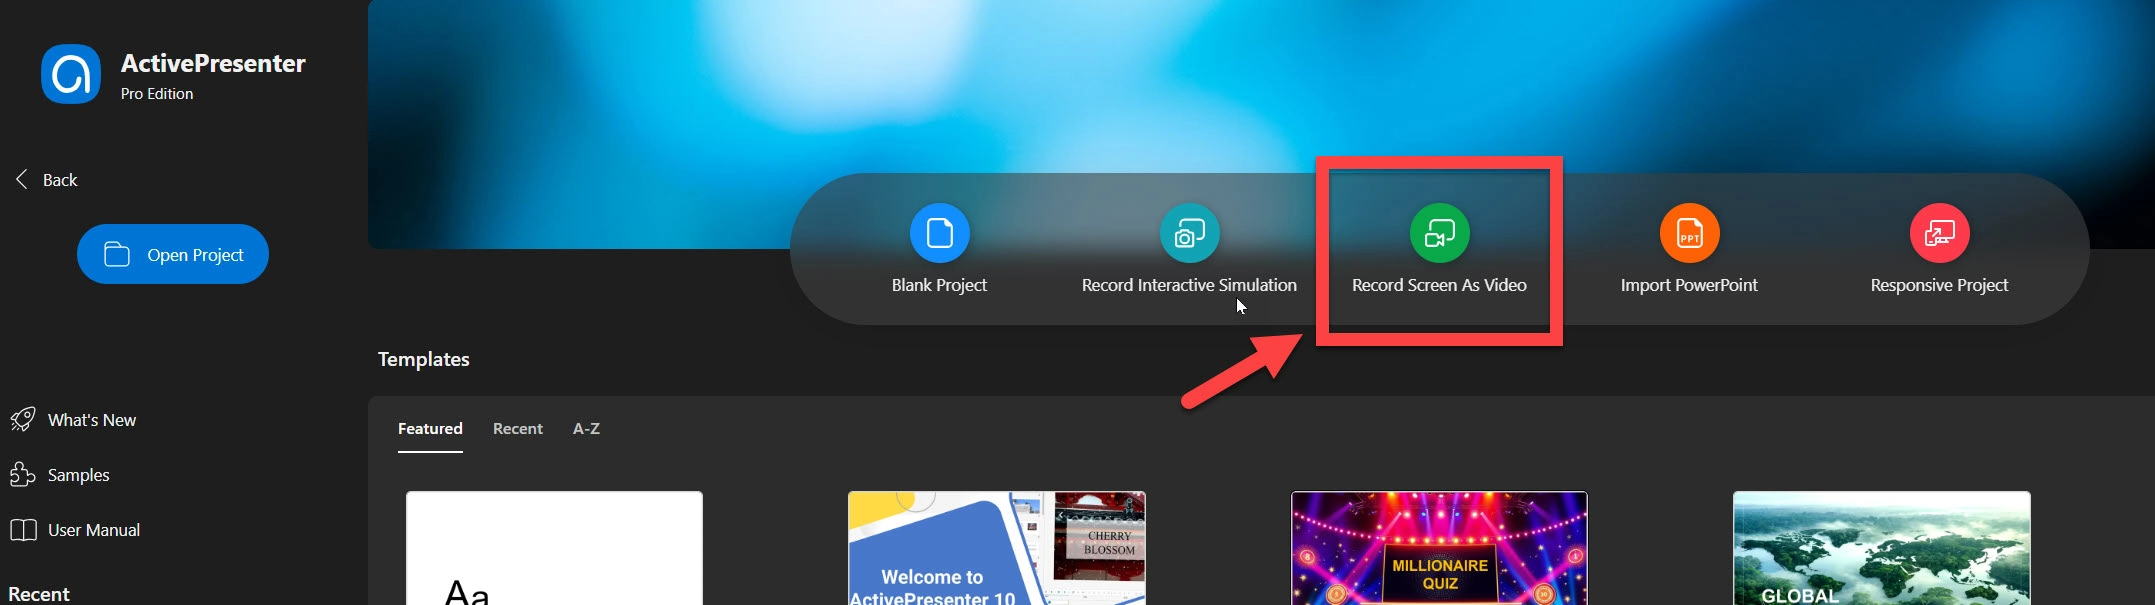
Open ActivePresenter 10 and go to the Start Page, then click Record Screen as Video. If you already have a project open, you can also access it via File → Record Screen as Video, or from the Home or Insert tab via New Slide → Record Screen as Video.
⚠️ Important: ActivePresenter has two recording modes — Record Screen as Video and Record Interactive Simulation. Only Record Screen as Video supports webcam capture. If you’re recording a live meeting where you want your face visible, this is the mode you need. The simulation mode is built for click-through training exercises, not live meeting capture.
Step 2 – Set the Recording Area
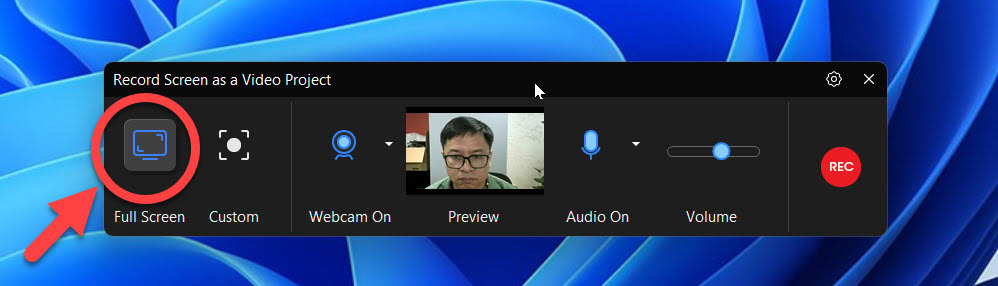
A blue selection rectangle appears along with the Record Screen as a Video Project dialog. Drag the rectangle to define your capture zone — you can select a specific window (like the Zoom/Teams meeting window), a custom region, or your entire display. For meeting recordings where you want to preserve context (chat, participant thumbnails, shared screen), capturing the full meeting window usually works best.
Step 3 – Configure Webcam Capture
In the recording dialog, find the Webcam section. Select your webcam device from the dropdown, preview the feed in real time, and set your frame rate. For most recordings, 24–30 fps is the sweet spot between smooth video and manageable file size. Once set, your webcam feed records simultaneously with your screen.
Step 4 – Set Up Microphone & System Audio
ActivePresenter records from multiple audio sources independently:
- System audio — captures sounds from the meeting app, video playback, notification tones.
- Microphone — captures your voice narration.
You can enable both, or just one. This matters a lot for meeting recordings: if you’re narrating over a Teams call, you probably want your mic on and system audio on (to catch the other participants) — but if you’re recording a solo screen demo based on a meeting, you might want to mute system notifications entirely.
Step 5 – Calibrate Audio & Start Recording
Click Calibrate Input… before you start. This 30-second step lets you test your microphone levels and avoid clipping or a barely-audible voiceover — a tiny habit that saves hours of frustration in post-production. Once you’re happy with the levels, click REC. Recording begins after a short 3-second countdown.
Pro tip: If the app’s sound isn’t meaningful to your audience (think: notification chimes, Slack pings), disable system audio and rely on your mic. Background noise is consistently the #1 complaint viewers have about tutorial and training videos.
Step 6 – Stop, Trim, and Export
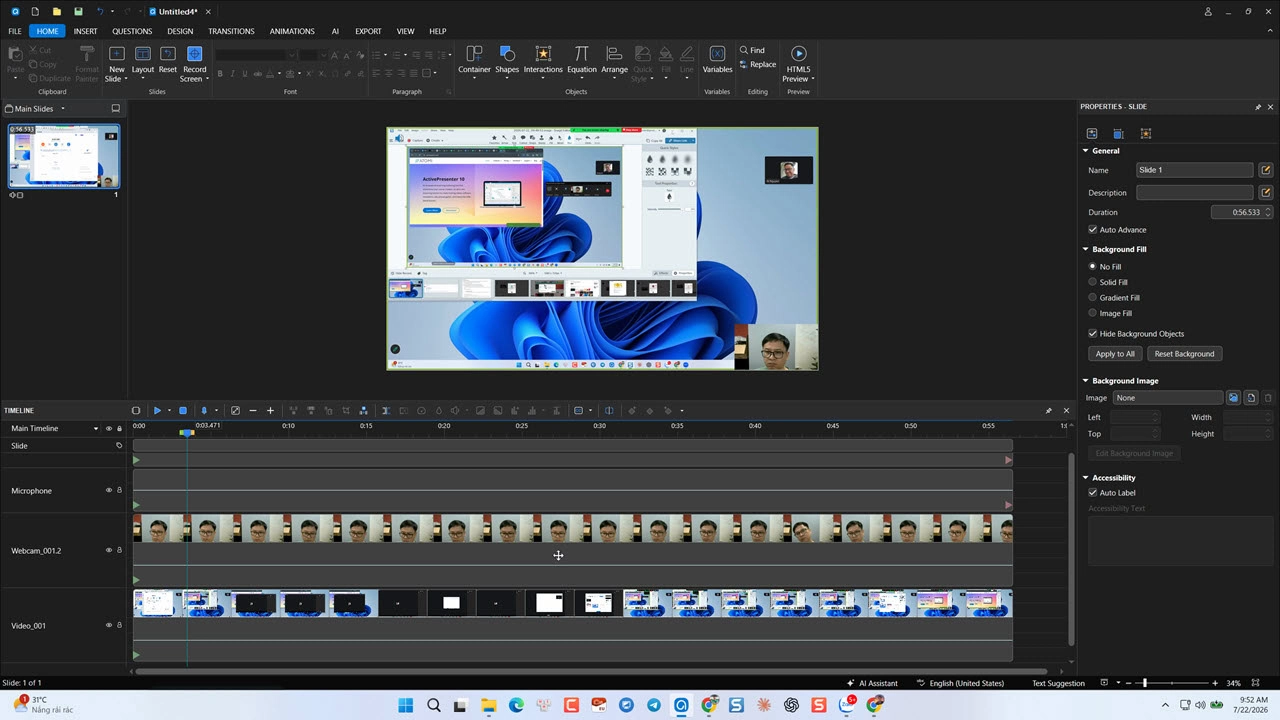
To stop recording on Windows, press Ctrl+End or click the ActivePresenter icon in the taskbar. Your recording opens directly in ActivePresenter’s video editor, where you can trim dead air, cut out awkward pauses, and export as a finished video file.
Beyond Raw Recording: Turning Meetings into Training Assets
This is where ActivePresenter earns its place in a trainer’s toolkit — it doesn’t stop at “record and save.”
Non-Destructive Editing for Polished Results
Every trim, annotation, and effect you apply lives on a separate layer above your original footage, so you can undo, adjust, or completely rework your edit without ever damaging the source recording. If you record a 45-minute Teams training session and only need the middle 10 minutes, you can cut, caption, and annotate it freely — the raw file stays intact underneath.
Record Interactive Simulation — A Different Mode, A Different Purpose
If your goal isn’t to preserve a live meeting but to build a click-through training exercise based on what happened in that meeting (say, a software walkthrough a colleague demoed on a call), switch to Record Interactive Simulation. This mode automatically generates a slide-based project with smart annotations, cursor paths, and clickable hotspots — turning a passive screen capture into an active learning module. Just remember: this mode doesn’t capture webcam, since it’s not designed for face-to-camera content.
Publishing to SCORM/xAPI for LMS-Ready Courses
Once your recording is polished, you’re not limited to exporting a plain video file. ActivePresenter lets you package your project as SCORM or xAPI content, ready to drop directly into your LMS — with tracking data on completion, quiz scores, and time spent. This is a genuine advantage over screenshot-and-export tools that only produce MP4s.
Speeding Up Post-Production with AI Agent via MCP Connect
For teams producing a high volume of training content from recorded meetings, ActivePresenter’s AI Agent integration through MCP Connect can help automate repetitive tasks — like generating slide summaries, drafting narration scripts, or suggesting quiz questions based on your recorded content. It’s a meaningful time-saver when you’re converting dozens of meeting recordings into structured courses each month.
👉 Want to try this workflow yourself? Download the free trial of ActivePresenter and record your next Zoom or Teams session start to finish — no watermark, no time limit on the trial features you need to evaluate the full workflow.

Pro Tips from a Decade in Video & eLearning Production
In more than 10 years producing training video content, a few habits have saved me more time than any single feature:
- Always calibrate audio before recording, not after. Fixing a clipped mic track in post is possible but never as clean as getting it right at the source.
- Record webcam even if you’re not sure you’ll use it. It’s far easier to crop it out in editing than to re-record a session because you decided later that a talking-head shot would’ve helped engagement.
- If your ActivePresenter license covers multiple machines, remember AI credits are shared across all computers activated under the same license key — plan your team’s AI-assisted editing tasks (like auto-generated summaries via MCP Connect) with that shared pool in mind, especially during high-volume recording weeks.
- Don’t default to Record Interactive Simulation just because you want annotations. If webcam presence matters for your meeting recording, Record Screen as Video with manual callouts added afterward will serve you better.
ActivePresenter vs. Native Zoom/Teams Recording — Pros & Cons
ActivePresenter
- ✅ Independent control over webcam, mic, and system audio
- ✅ Non-destructive editing timeline built in
- ✅ Export to SCORM/xAPI, not just video
- ✅ Works regardless of which meeting platform you use
- ❌ Requires a separate app running alongside your meeting
- ❌ Slightly steeper learning curve than a one-click “Record” button
Native Zoom/Teams Recording
- ✅ Zero setup — built into the platform
- ✅ Automatic cloud storage (on paid plans)
- ❌ Little to no editing capability
- ❌ Webcam layout and audio mixing are largely out of your control
- ❌ No path to interactive or LMS-ready content
Evaluation Criteria: Choosing the Right Screen Recorder for Windows 10
When comparing tools for meeting recording and training content creation, weigh these criteria:
- Audio flexibility — Can you separate mic and system audio, or are they forced together?
- Webcam control — Frame rate, positioning, and preview options.
- Editing depth — Is it non-destructive? Can you trim, annotate, and layer effects?
- Output versatility — Video-only, or also SCORM/xAPI/HTML5 for LMS use?
- Learning curve vs. team size — A solo educator has different needs than an L&D department producing dozens of modules monthly.
- Licensing model — Per-seat cost, and whether features like AI credits are shared or siloed per device.
FAQ
Can I record a Zoom or Teams meeting without the host’s permission?
Always check your organization’s policy and applicable regulations first — recording consent requirements vary by platform, region, and company policy.
Does ActivePresenter add a watermark to recordings?
The trial version is for evaluation purposes; check current licensing terms for output restrictions on your specific plan.
Can I record just the webcam without the screen?
Yes — ActivePresenter supports webcam-only recording as well as combined screen-and-webcam capture.
Final Thoughts
Recording a Zoom or Teams meeting is the easy part — turning it into something your learners will actually finish, understand, and retain is the real work. ActivePresenter gives you the recording flexibility to capture screen, webcam, and audio exactly the way you need, plus a full editing and eLearning authoring toolkit to take that raw meeting footage all the way to a polished, LMS-ready course.