Advanced Interactive Flashcards: Step-by-step Tutorial
Let’s face it: basic flashcards with just two sides of static information can sometimes feel… well, basic.
But what if you could transform this classic learning tool into a dynamic and engaging experience?
Enter advanced interactive flashcards! Unlike their simpler counterparts, these flashcards offer a richer level of interaction, truly challenging learners to actively recall and apply their knowledge.
Think of it this way: instead of passively reading a question and answer, learners encounter clues on the front of the card and actively type in their responses in a designated blank. The reward? Flipping the card to reveal not just the answer, but a detailed explanation that reinforces understanding.
ActivePresenter shines as a powerful eLearning authoring software yet intuitive tool for crafting these sophisticated learning aids. Check out the demo below to see the power of advanced interactive flashcards in action 👇
Inspired to create your own engaging interactive flashcards like this? Download ActivePresenter now and follow our step-by-step guide to build interactive flashcards that truly level up your learning content!

The Logic Behind
This advanced interactive flashcard type consists of 2 sides.
The frontside contains clues and a blank for learners to enter the answer. The backside is the explanation for the correct answer. More precisely, I’m going to design a flashcard requiring learners to guess the name of an animal: Saola.
Creating Two Sides of the Advanced Interactive Flashcards
Frontside
Step 1: Insert and style a shape. (Annotations > Shapes). To add a clue about the animal name, double-click the shape to type. For more information, see How to insert and style a shape.
Step 2: Insert an image to illustrate this animal. (In the Annotations tab > Click Image > Select an image from your computer to import).

Backside
Step 1: Edit the backside using the Object State feature.
- Open Object State: Select the shape > View > Object State.
- Add new state: Click Edit States > give it a name then click OK to save. For example, I name the new state Saola.
- Add text: Click the shape and enter information into it.
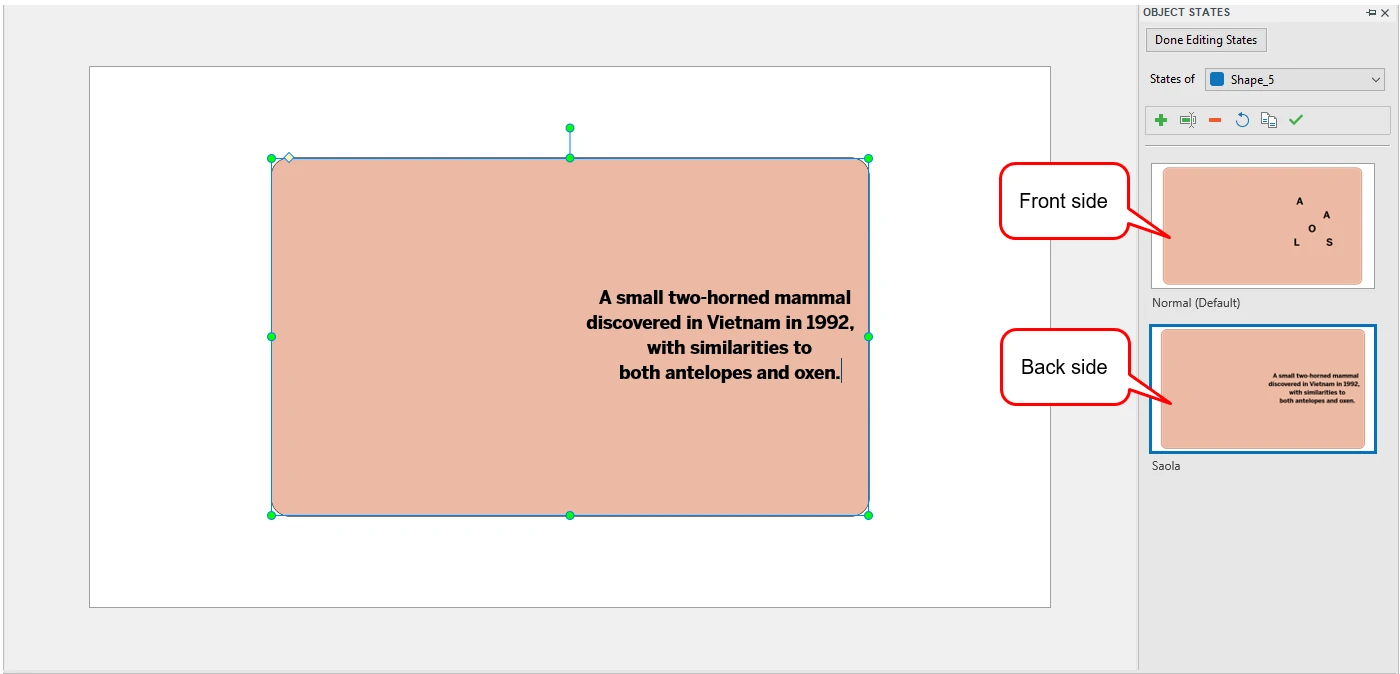
- Add answer: In the Annotations tab > click Shapes to add a shape in the gallery. Then, type the answer into it.
- Add correct/incorrect icons. (Annotations > Image > Choose images from your computer to insert).
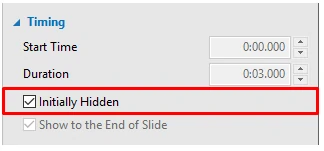
Note: So as not to show the answer and correct/incorrect icons on the front side, ensure to deselect the Initially Hidden option in the Timing section of the Size & Properties tab.
- Insert a text box for learners to enter the answer. (Interactions > Text Box). I don’t need 2 feedback messages of the text box, so I delete them.
Setting the Correct Answer and Events-Actions for the Flashcard
Setting Correct Values for the Answer
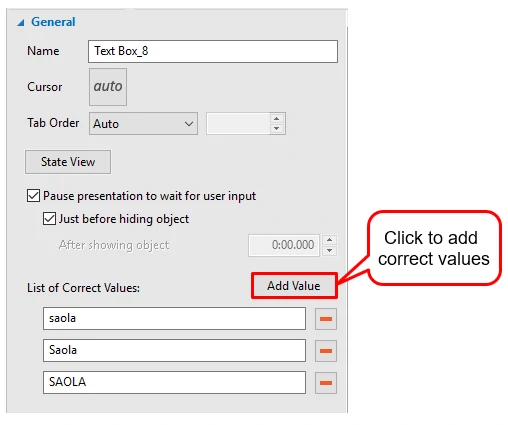
Select the text box and navigate to the Interactivity pane. You can add as many correct values as you want by clicking the Add Value button in the General section, then type the answer into the box. For example, I set three correct answers as image below:
For more information, see how to Set the Correct Answer.
Adding Events-Actions, Conditions to the Text Box
The card will turn over after learners enter an answer. If the answer is right, the correct icon will appear. In contrast, if the answer is wrong, the incorrect icon will show up. Therefore, I’m going to add events and actions to the text box. To do that, select the text box, then navigate to the Properties pane. In the Events-Actions section:
- Delete all the default events-actions of the text box.
- Add 3 events and their corresponding actions as follows:
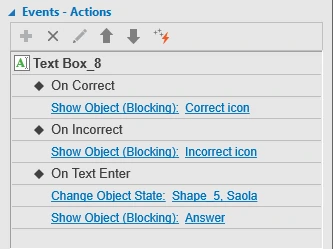
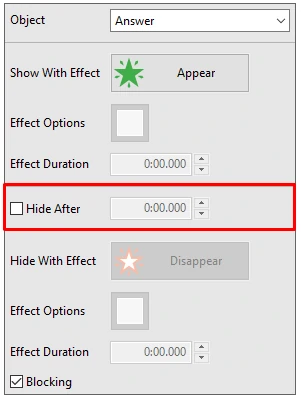
Note: Deselect the Hide After checkbox of the actions for the correct, incorrect icons and the answer to enable them to show these objects till the end of the presentation.
To Wrap Up
Now that you’ve seen the power of this approach, remember that the possibilities extend far beyond this specific design.
With ActivePresenter’s flexible features, you have the freedom to craft your own unique types of interactive flashcards, tailored precisely to your learning objectives and content. Download ActivePresenter today and revolutionize the way your learners engage with your content!
You may want to read