There are many reasons that lead you to sit down and create a screencast. It might be for an eLearning course, a video demonstration, or a software simulation. No matter what the reasons are, with a variety of screencast software available, making a screencast is not difficult. However, making it stunning and engaging is another aspect; and it only comes with good preparation. To take your screencasts to the next level, ActivePresenter is one of those preparations. This feature-rich tool empowers you to not only record your screen flawlessly but also to enhance your videos with interactive elements, annotations, effects, and even quizzes, transforming simple recordings into captivating and effective learning experiences.

And now, let’s follow this infographic to understand the 5 important steps of screencast preparation.
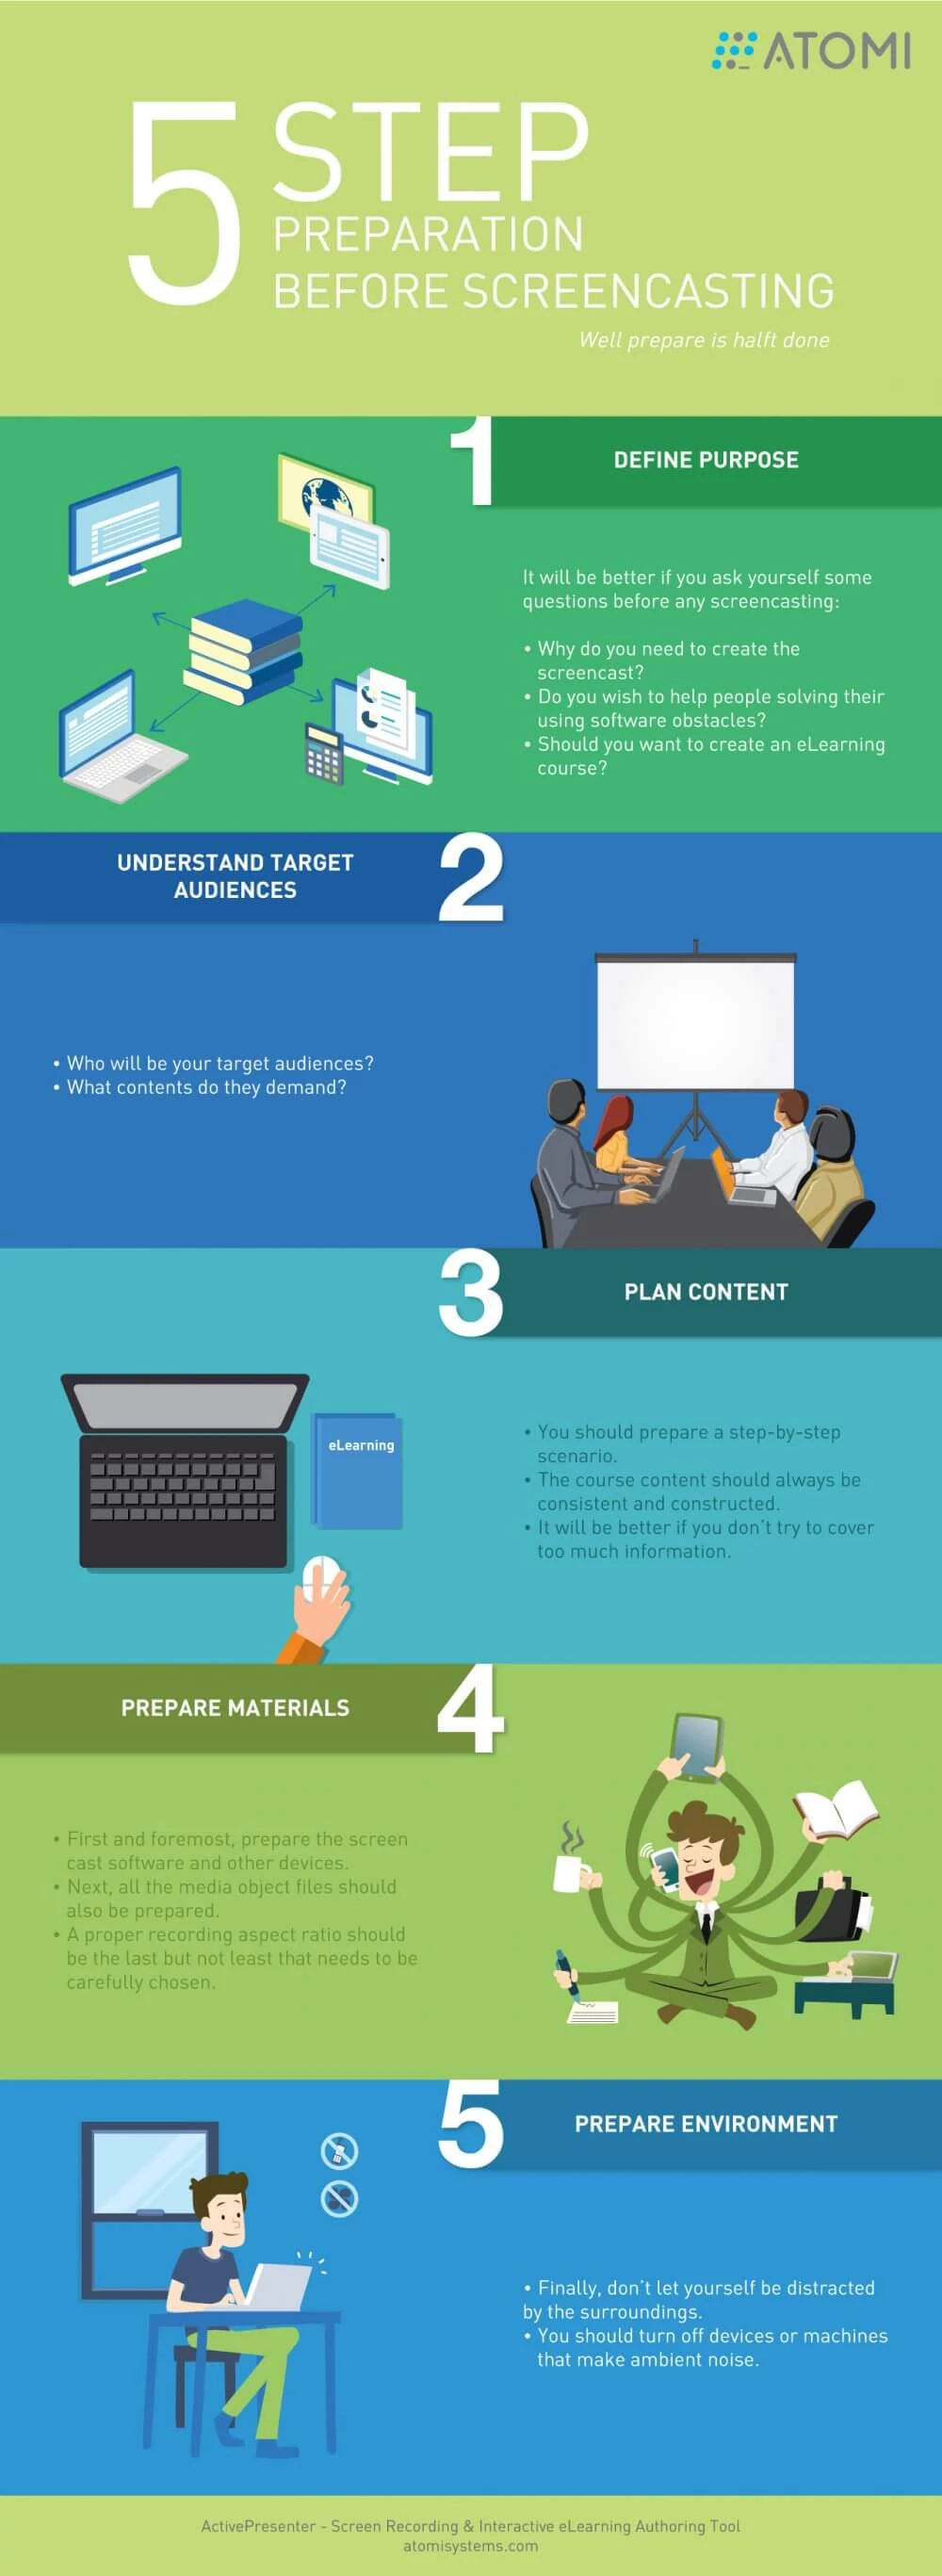
Step 1: Define Purposes
The very first step that you need to clarify is why you are making this screencast. Do you hope to help people solve their obstacles of using a particular software? Or do you want to create an eLearning course? Either you are making a screencast to use right away or you are making a screencast that you will edit afterwards, there is a lot of software available. Depending on your specified purpose, you should choose the suitable one.
Step 2: Understand Target Audiences
Next, you should be very clear about who are your target audiences. Who are they? Are they tech-newbies? What content do they demand from your project? Since different audiences have different ways of perceiving and absorbing information, you should know if they have any obstacles when following your procedure. The problems could be the language, speed or technology block.
Step 3: Plan Content
After defining your purposes and target audiences, you should make a scenario with not only clear content but full steps of your screencast. It’s hard to remember all the needed steps and content of the whole procedure, so lining it out will help. And more importantly, your content should, inherently, be consistent and constructed. Don’t try to cover too much information because it may overwhelm your audiences.
Step 4: Prepare Material
- Screencast software and device: It’s important to make sure that your software is working properly as well as your other devices such as a microphone, a web cam, etc., if necessary. There are, in fact, many screencast software packages available in the eLearning authoring tool industry. You should consider which one to use based on your specified purpose. Furthermore, in order for your screencast to run smoothly, you should not open too many unrealized applications while making a screencast. It’s better to check it out once or twice before starting a real practice
- Photos, audio and videos used in the project. Pay close attention to preparing all those materials you will use in the project before creating your screencast.
- Select right aspect ratio. In reality, you can choose to record your screen in any size and position. However, depending on your applications that you are working with and what outcomes are expected, you should select a proper size. For example, the aspect ratio for a PowerPoint Slide is 720×540.
Step 5: Prepare Environment and Prepare Yourself
One thing that counts here is what happens around you while you’re screencasting. Staying away from what can distract you is a good idea. A screencast usually lasts for three to five minutes, so you should turn off devices or machines that make ambient noise, especially when voice recording is required. Finally, get ready and let’s start to create a beautiful screencast with ActivePresenter – The best screencast software ever.
