Do you want to turn a computer keyboard into a virtual piano? ActivePresenter can help you do that effortlessly.
A virtual piano is an application designed to simulate playing a piano on a computer. That means you can press keys on the computer keyboard to play the music.
To get it done, you’ll need a powerful eLearning authoring software like ActivePresenter. It provides you with the Key Stroke feature. Let’s learn through the following simple sample.
How Virtual Piano Using Keyboard Look Like?
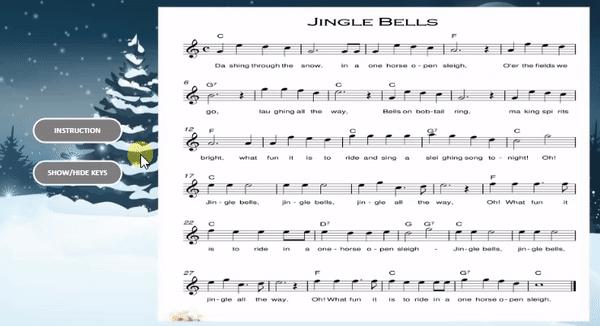
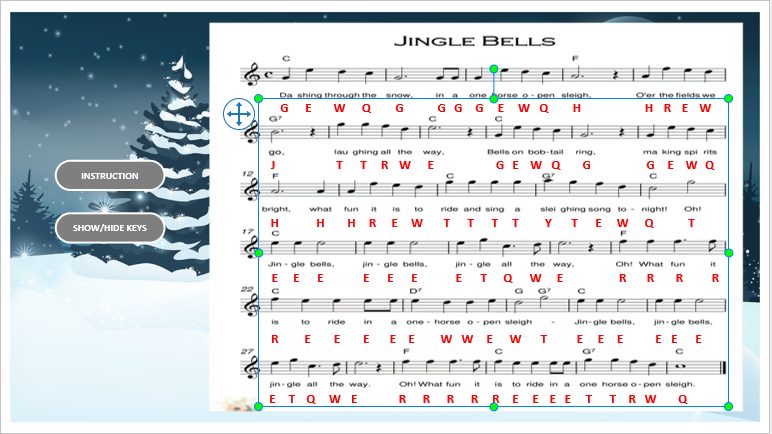
Here we have a music sheet for a song. You need to click on the Instruction button to learn the convention between music notes and computer keys. If you are familiar with the music sheet, you can press the corresponding keys to play the song shortly. Otherwise, click on the Show/Hide Keys button to show the keys to be pressed.
How to Create
As said earlier, each music note is assigned to a key on the keyboard. So we should use the Key Stroke feature to invoke the pressing function.
To be more clear, follow this procedure to create the virtual piano using the keyboard:
- Prepare for the virtual piano
- Make the Instruction and Show/Hide Keys buttons
- Assign music notes to keys
Let’s get started.
Prepare for the Virtual Piano Using Keyboard
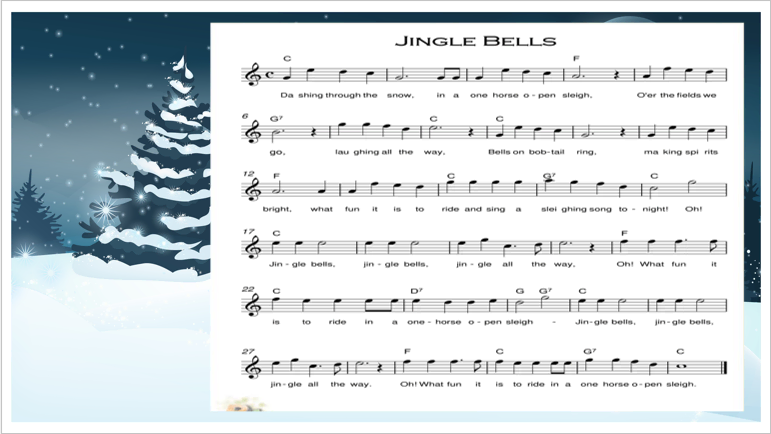
As in the virtual piano sample, you need to prepare a background image, a music sheet of your choice, and audio tracks of music notes.
- To add a background image to a slide, you navigate to the slide Properties pane > Slide Properties > Background Image > select an image from your computer.
- To insert the music sheet, you access the Insert tab > select Image > choose the music sheet from the computer.
Make the Instruction and Show/Hide Keys Buttons
Create the Instruction Button
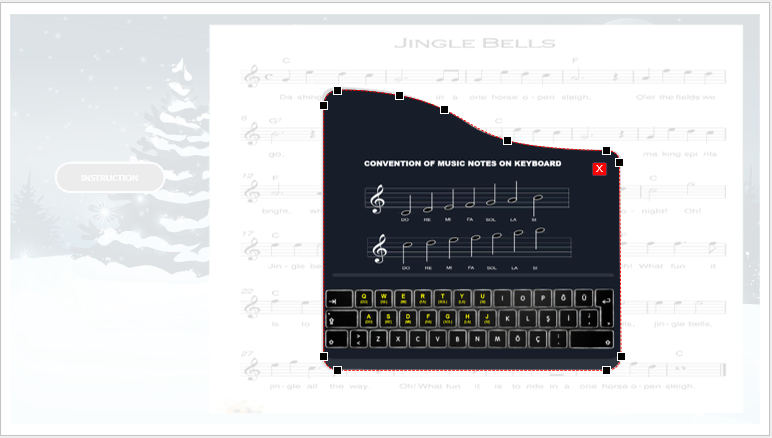
The Instruction button shows you the convention between music notes and computer keys. To get it done, you take the following steps:
- Add a button (Insert tab > Button), and optionally format its styles the way you want in the Format tab.
- Insert an Instruction image (Insert tab > Image).
- Add a Close button to the Instruction image (Insert tab > Button).
- Select the image and button > group together (press Ctrl+G or access Format tab > Group > Group).
- Add a spotlight (Insert tab > Spotlight), then right-click it on the Canvas > Edit Point so that it can fit the image border. You can also change its color and transparency in the Properties pane to make the image more highlighted.
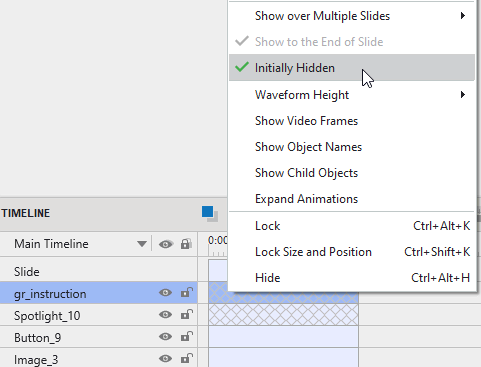
- Make the group and the spotlight hidden right from the beginning by right-clicking them on the Canvas or in the Timeline pane > Initially Hidden.
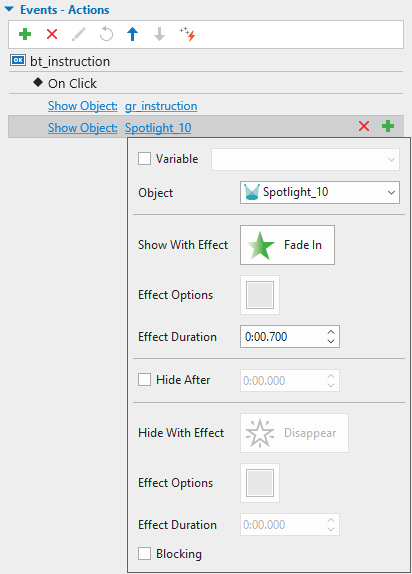
- Select the Instruction button created earlier > add the On Click event in the Properties pane > add the two Show Object actions. One is for showing the instruction group, the other is for showing the spotlight.
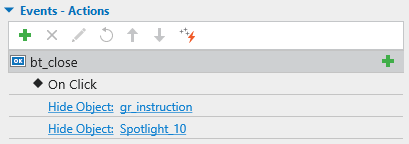
- Select the Close button > add the On Click event > add two Hide Object actions with the target objects as the same as the two Show Object actions above.
Create the Show/Hide Keys Button
When users enable the Show/Hide Keys button in the virtual piano, they can see the corresponding keyboard keys of music notes. Hence, they can follow those keys to play the music. Do as follows:
- Insert a button by accessing the Insert tab > Button or you can copy the Instruction button above and then change its name.
- Insert text captions (Insert tab > Text Caption) > type texts and format them the way you want. Then, place them under the corresponding notes.
- Select all the text captions > group together > (press Ctrl+G or access Format tab > Group > Group).
- Hide a group of keys by right-clicking it on the Canvas or in the Timeline pane > Initially Hidden.
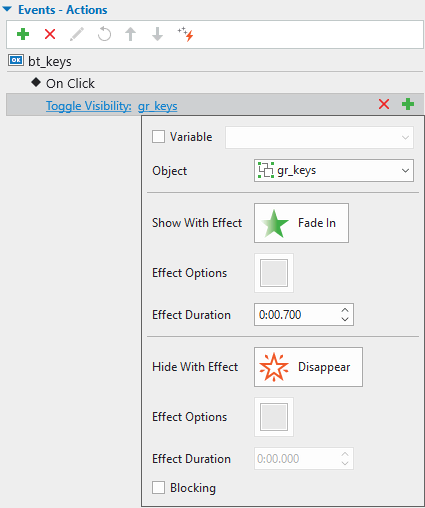
- Select the Show/Hide Keys button > add the On Click event in the Properties pane > add the Toggle Visibility action to toggle the visibility of the group of keys.
Assign Music Notes to Keyboard Keys for the Virtual Piano
Now it’s time to dive into the most important part. To make the virtual piano work, you need to use the Key Stroke object. Take the following steps:
- Access the Insert tab > Key Stroke. You can place it anywhere on the Canvas. Delete the default correct and incorrect messages in the Timeline pane, and events-actions in the Properties pane if you don’t need them.
- Set the Key Stroke style as No Fill and No Line in the Properties pane to make it totally transparent.
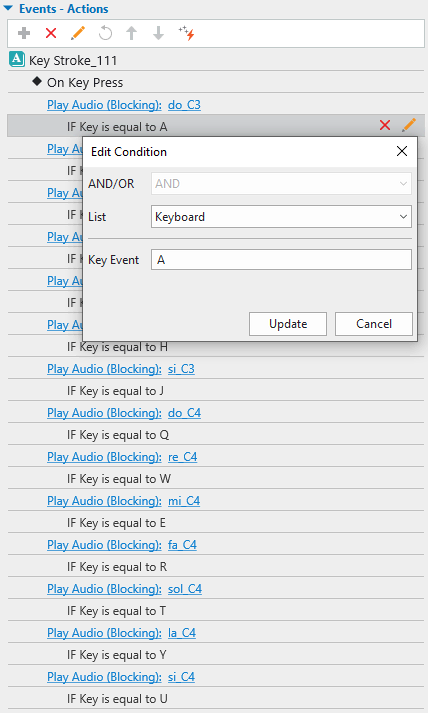
- Add the On Key Press event in the Properties pane > add the Play Audio action > choose audio from your computer > add a condition that the audio will play when users press a key on your keyboard. You need to add multiple Play Audio actions for multiple music notes.
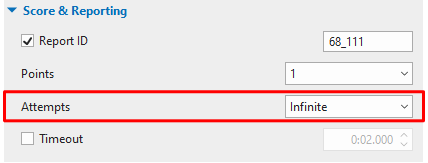
- Set the Attempts to Infinite (Properties pane of the Key Stroke > Interactivity tab > Score & Reporting) so that there is no limit on the number of presses.
Preview and Export the Virtual Piano
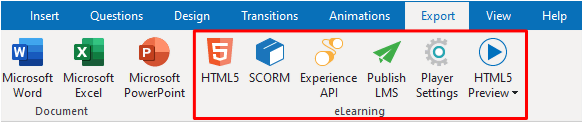
Now you can open the Export tab and click the Preview button to enjoy what you did. If you feel satisfied with it, you can export the project to HTML5, SCORM, or xAPI package depending on your needs.
Click here to download the sample project.
That’s how to create a virtual piano using the computer keyboard. So simple, right? With the Key Stroke feature in ActivePresenter, you can also create more creative typing games using this pressing function. Give ActivePresenter a try and you’ll see.

