Have you ever wondered how to quickly and efficiently design your eLearning projects? This blog will reveal handy tips for optimizing your eLearning content and becoming more productive.
Preparing lesson plans or designing eLearning courses may take a lot of time and effort, especially when you have just gotten acquainted with a new eLearning authoring tool. Have you ever asked yourself if you are doing it the best way? Don’t waste any more time. This blog will share with you five steps to optimize eLearning projects with ActivePresenter. Hopefully, the information below will help you better understand the app and get the most out of it.
Table of contents:
- Specify where your project files are stored
- Choose the suitable project format
- Set the proper slide size
- Pick the right template for your project
- Recompress your media resources
If you do not have the latest version of ActivePresenter, click the button below to download it.

1. Specify Where Your Project Files are Stored
Let’s begin with the first step to optimize your eLearning projects. What is in the project files and where they are stored can be the first thing you give attention to when using an eLearning authoring tool. That’s because determining where to store project files helps you find, manage, synchronize, and share them with others easily. Since ActivePresenter is a desktop-based eLearning authoring tool, all the project files will be saved on your computer by default at:
- For Windows: C:\Users\<user_name>\Documents\ActivePresenter\
- For macOS: /Users/<user_name>/Documents/ActivePresenter/
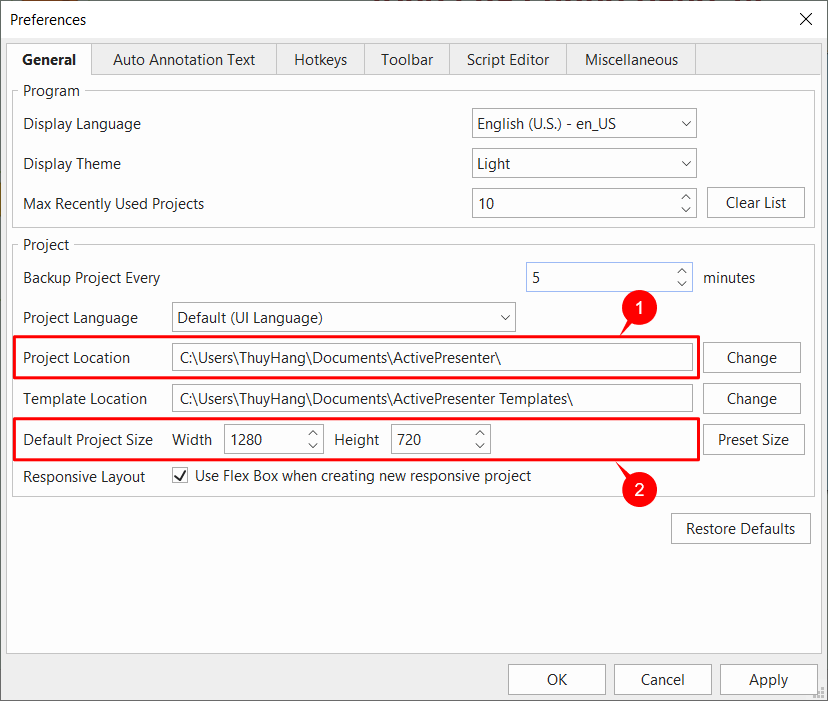
You can save your project files at this default location or change it to another location as you wish. To change the default saving location, you click ActivePresenter > Preferences > General > Project Location (1).
Note: You should not name your project with a long name. As the maximum path length in Windows is 260 characters, there will be corruption if the path length exceeds this number.
Besides, to boost its performance, ActivePresenter automatically creates an external folder named PROJECT_FILE_files to store media resources such as video and audio files if they are larger than 50MB.
This folder goes along with the project file. Therefore, when moving, copying, or renaming a project file, you need to move, copy, and rename its external folder accordingly. If not, there will be a “Resource file not found” issue that makes it impossible to open the project.
2. Choose the Suitable Project Format
First, you need to know what a responsive project is. Responsive is a term used to describe a project that can display well on different devices, including computers, tablets, and smartphones. In other words, project content will fit into any device regardless of screen size. For example, if the orientation mode on your phone is on, the content will automatically switch from portrait to landscape orientation without any visual affection.
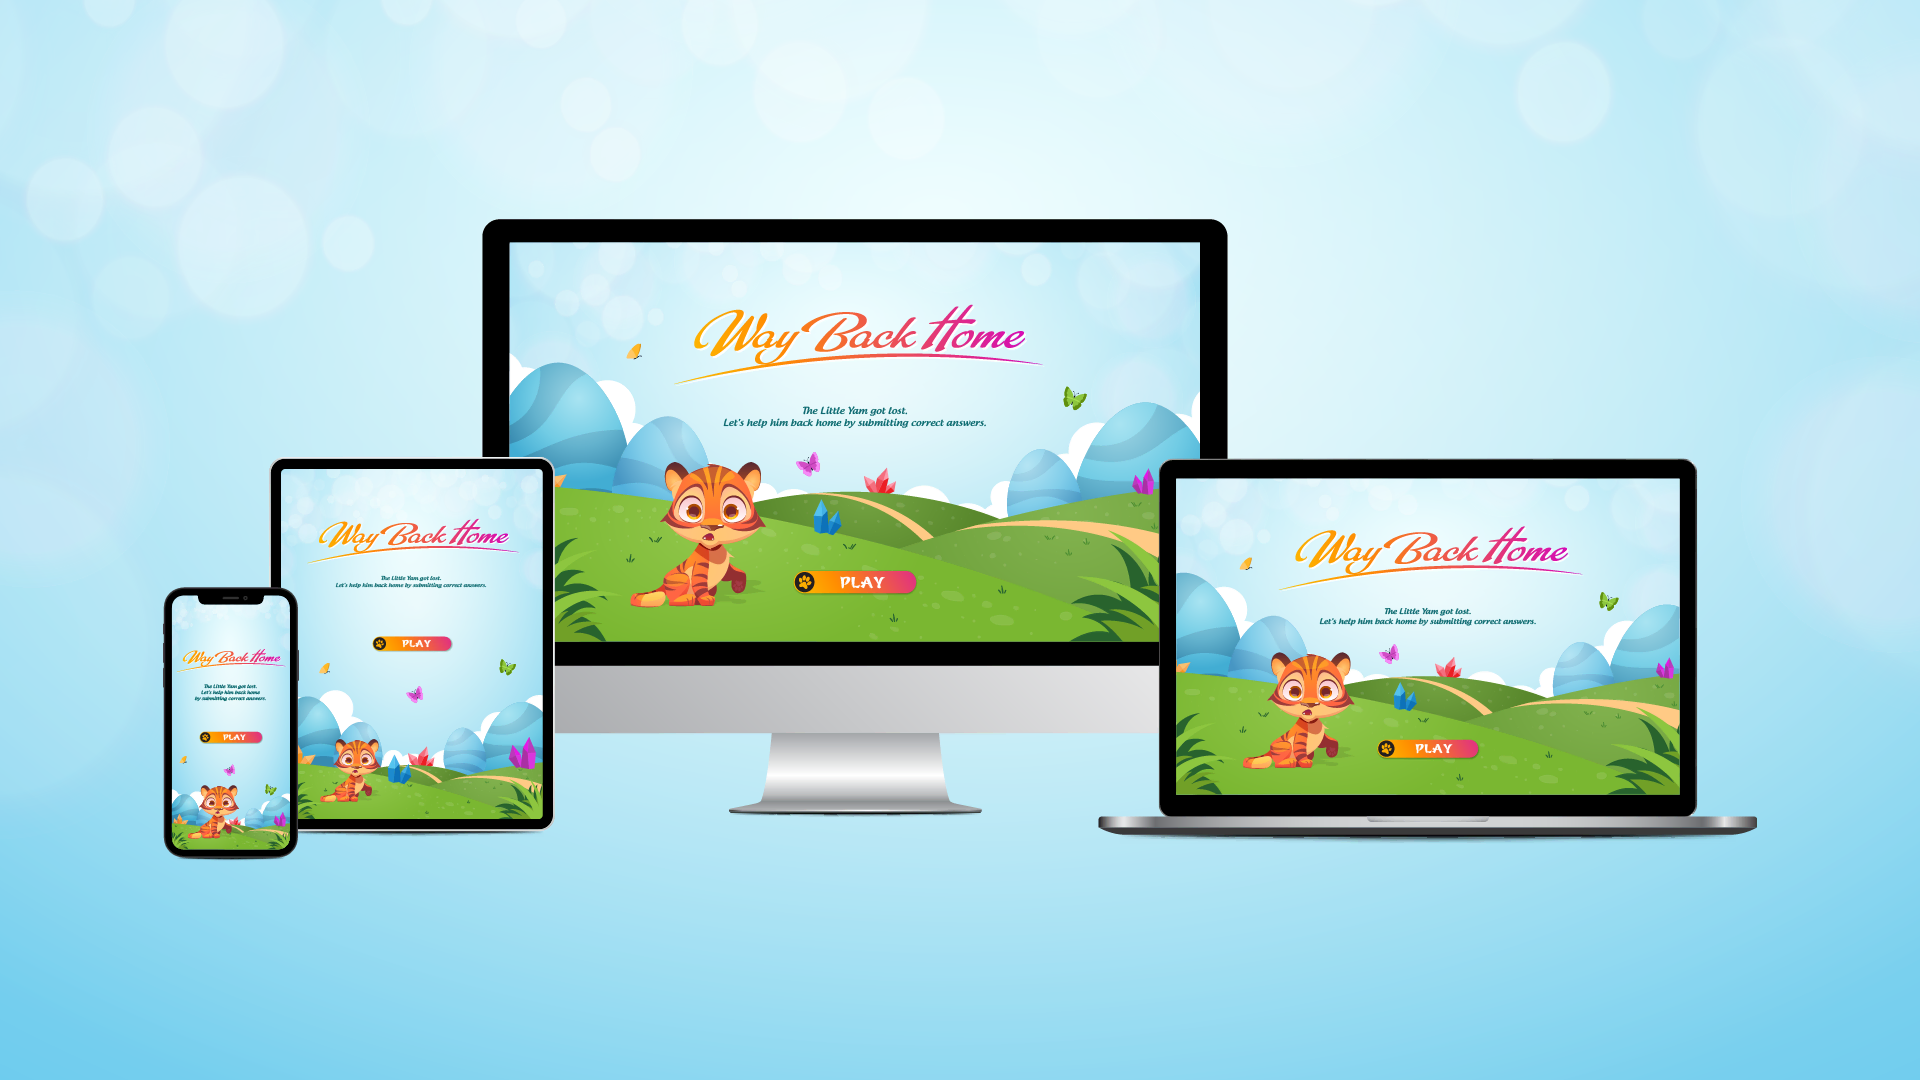
So, the responsive feature is suitable if you want to design an eLearning course that can display perfectly on different screen sizes. If you would like your eLearning course to show only on one type of device, a computer, for example, you don’t need the responsive feature.
3. Set the Proper Slide Size
The third way to optimize your eLearning projects is to choose the right slide size. The default slide size in ActivePresenter is HD (1280×720). HD is the typical standard for making an eLearning course or presentation. If you would like to export your project to video and upload it to YouTube, the Full HD (1920×1080) resolution will give better quality. That’s because YouTube allows channels to upload videos with a resolution up to Full HD. It’s a good idea to set the proper slide size before creating an eLearning course. To change the slide size, you access the Design tab > Slide Size > select the built-in slide size or add a new one you like.
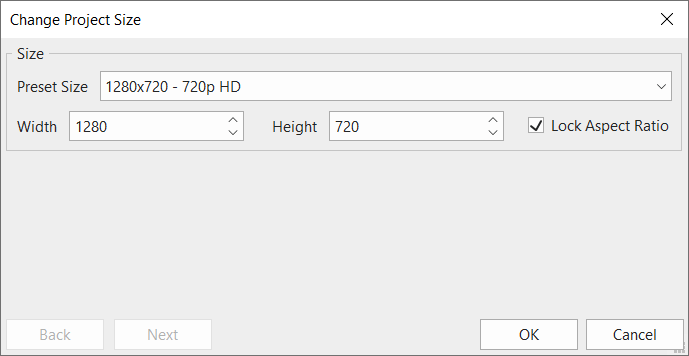
You can also set the slide size for all projects by clicking the ActivePresenter button > Preferences > General > Default Project Size (2).
4. Pick the Right Template for Your eLearning Projects
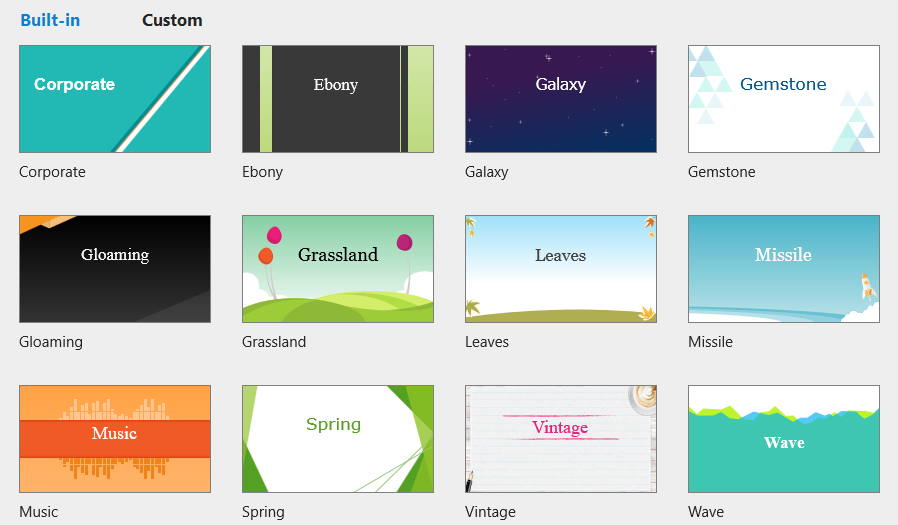
Images bring the first impression of an eLearning course to learners. It would not be an exaggeration to call this a fixation and emotional transformation of the entire project. Apart from 21 preset templates, ActivePresenter allows you to import slides from PowerPoint. So, feel free to choose templates from multiple sources to make your project look more stunning.
After choosing the suitable template, you can consider using Slide Master if your project uses many same slide layouts, for example, question slides. Or if you want to synchronize all the design elements such as colors, fonts, and sizes. Making use of this step will help you to shorten the time designing your courses remarkably.
5. Recompress Your Media Resources
Media resources such as images and videos may be indispensable elements when creating eLearning courses. They also account for a large amount of data room of the project files. Thus, the software needs more time to load if the files are too large. In addition, it’s nonsense if the device screen doesn’t display the image at its highest resolution. The best way to optimize your media resources is to use their proper sizes to fit into the slide size. For instance, if your slide size is HD, the maximum resolution of images should be HD. Avoid using images with higher resolutions, such as 2K or 4K.
After importing media resources into your project, you can resize images and change video resolutions. This step is simple but can help you optimize your project amazingly.
Note: Delete Unused Resources
A project containing unused resources can be increased in size. Its size can also increases after some editing operations. You can choose to reduce the size by shrinking your project. To shrink a project, click the ActivePresenter button > Project > Shrink.
To remove all unused resources, select the Delete All Unused Resources checkbox > Shrink. You can also manually choose which resources to remove by clicking the Delete Manually button.
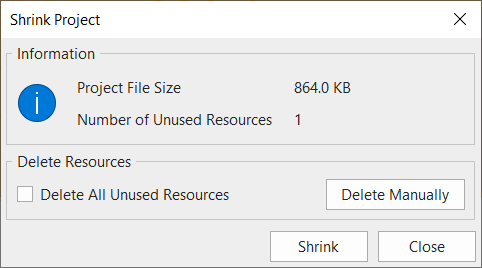
This shrinking option helps reduce the project file size (.approj) but not the output size so it’s helpful in case you would like to share the project (.approj) with others.
Above are the five steps to optimize your eLearning projects with ActivePresenter. Hopefully, this blog will help you get the most out of ActivePresenter and better optimize your productivity.
See Also:
3 Handy Tips on How to Keep Students Engaged in Online Learning
Custom eLearning Solutions in Corporate Training