It is now easier than ever to record screen on Windows 11 if you know these two screen recorders: Xbox Game Bar and ActivePresenter.
Do you want to demonstrate how to use an application quickly? Or simply show others what is happening on your computers? In these cases, screen recording will definitely help. For those who use Windows 11, we list below the two best options on how to record your screen: Xbox Game Bar and ActivePresenter.
Read to the end of the blog to find out why they are the perfect options to record your screen, especially to create instructional videos, and which one suits you best.
1. Xbox Game Bar: Built-in Screen Recorder on Windows 11
On Windows 11, Xbox Game Bar is a built-in tool that takes control of all gaming activities. Even though it is designed for recording games, Xbox Game Bar can also be used as a screen recorder to record other applications. As a result, it may be the first tool popping up in your head when it comes to recording screens. Let’s see how to use this tool and in which circumstances it would be useful.
Record Screen on Windows 11 with Xbox Game Bar
To enable Xbox Game Bar, you follow the steps below:
Step 1: Open an application or window that you want to record.
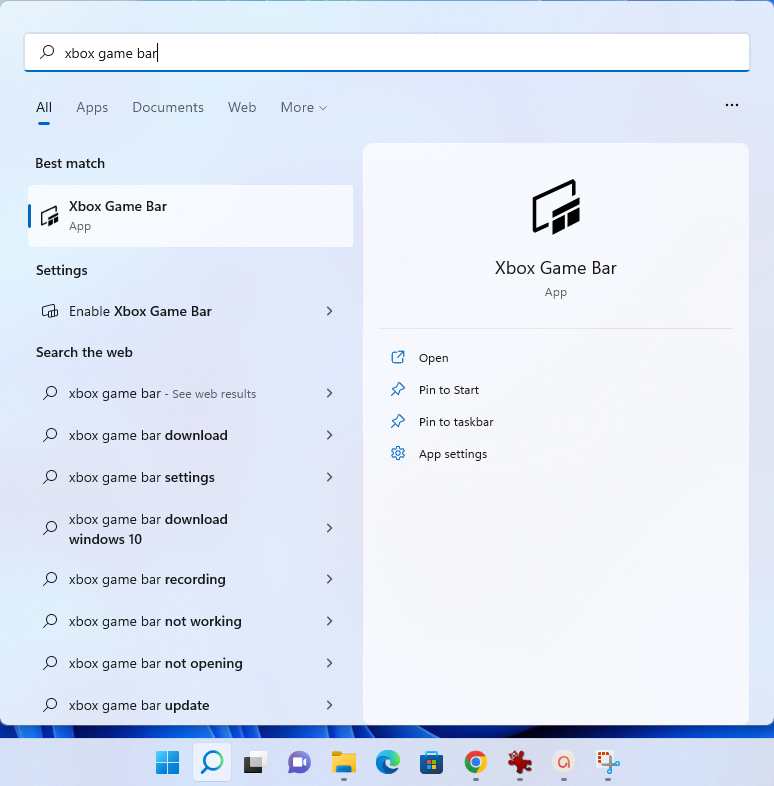
Step 2: Press Windows + G on your keyboard. Or, search for it in the Start menu to open Xbox Game Bar.
Once the app is activated, you can see the Widget Menu pops up.
Step 3: Click the Start recording button (or press Windows + Alt + R) to start recording or adjust the recording settings as you wish.

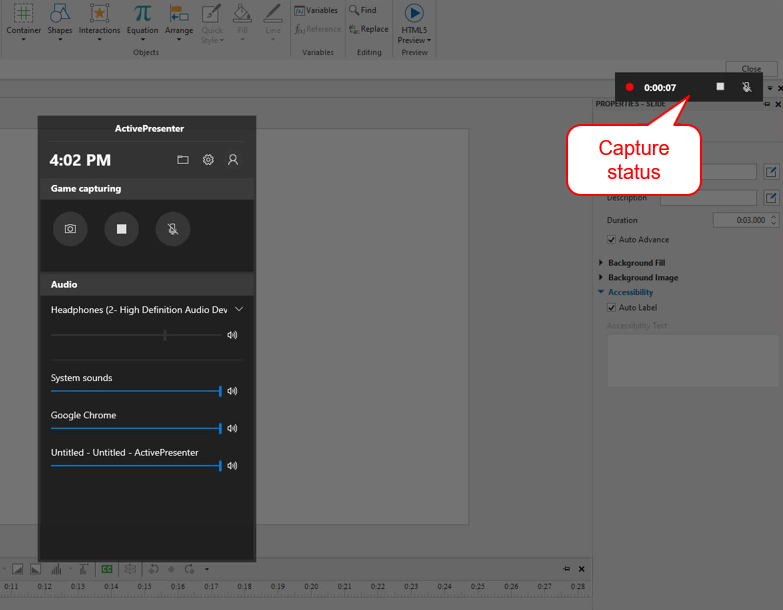
After that, a Capture status with a timer, recording control, and microphone will appear at the top right corner of the screen for you to control the recording. Note that it only shows while recording but not in the video output.
Step 4: Click the Stop Recording button or press Windows + Alt + R again to stop recording.

After completing the recording, you will get an MP4 video automatically saved in the location: C:\Users\user_name\Videos\Captures.
Notes
With a few steps, you can record screen on Windows 11 with a tool already set up on your computer. However, there is some important information you may need to know when using Xbox Game Bar:
- Gaming features aren’t available for the Windows 11 desktop or File Explorer. This means you can only record an application or web browser that is opening on your computer. Xbox Game Bar doesn’t record anything outside the target application.
- Recording size is determined by the application you select. Xbox Game Bar can capture the application displaying in full screen or whatever size you adjust.
- While recording, you can move the target application to another location but cannot resize it. Otherwise, the Xbox Game Bar will stop immediately.
- The maximum recording length and video output resolution are 4 hours and Full HD (1920×1080), respectively.
- Video Editor is an integrated app with Photos that allows you to edit your video in Windows 11. The editing tools in this application let you do some basic editing. For instance, adding text, trimming, splitting video, and adding filters. For more advanced editing, you need to install Clipchamp. So, if you wish to record your screen and then edit videos with basic to advanced video editing features in just one tool, consider using ActivePresenter.
2. ActivePresenter: The Best Alternative to Record Screen on Windows 11
ActivePresenter is a complete solution for recording your screen, editing videos, and making eLearning content. As a powerful screen recorder, it can capture every motion on your screen of Windows 11, whether applications, desktops, tabs, movies, or even webinars with or without webcam/audio recorded.
Compared to Xbox Game Bar, ActivePresenter needs downloading and installing on your computer, but it offers a wide range of recording and editing options. Furthermore, it is free to download and install for screen recording. Before learning how to use ActivePresenter to record your screen on Windows 11, click the button below to download the fantastic software!

Record Screen on Windows 11 with ActivePresenter
After downloading and installing the software, perform the following steps to record your screen on Windows 11.
Step 1: Open an application or window that you want to record.
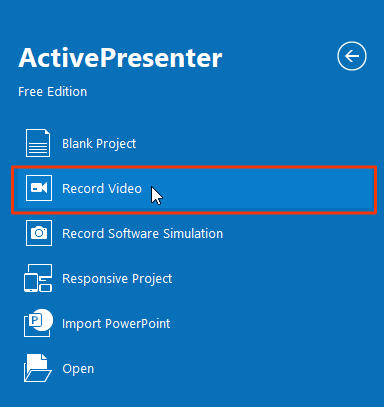
Step 2: On the Start Page, click Record Video.
The Record Video Project dialog allows you to specify the recording area and other settings such as webcam, audio, and volume.
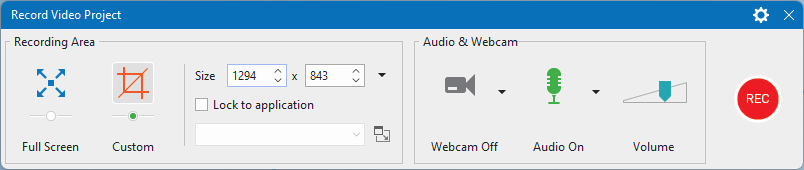
Unlike Xbox Game Bar, ActivePresenter enables you to record the Windows 11 desktop screen fully or partially. Moreover, it’s possible to specify the recording area to record a specific window or application on your screen. If you want to record facecam and audio at the same time with the Windows 11 screen, just click the icons to turn them on.
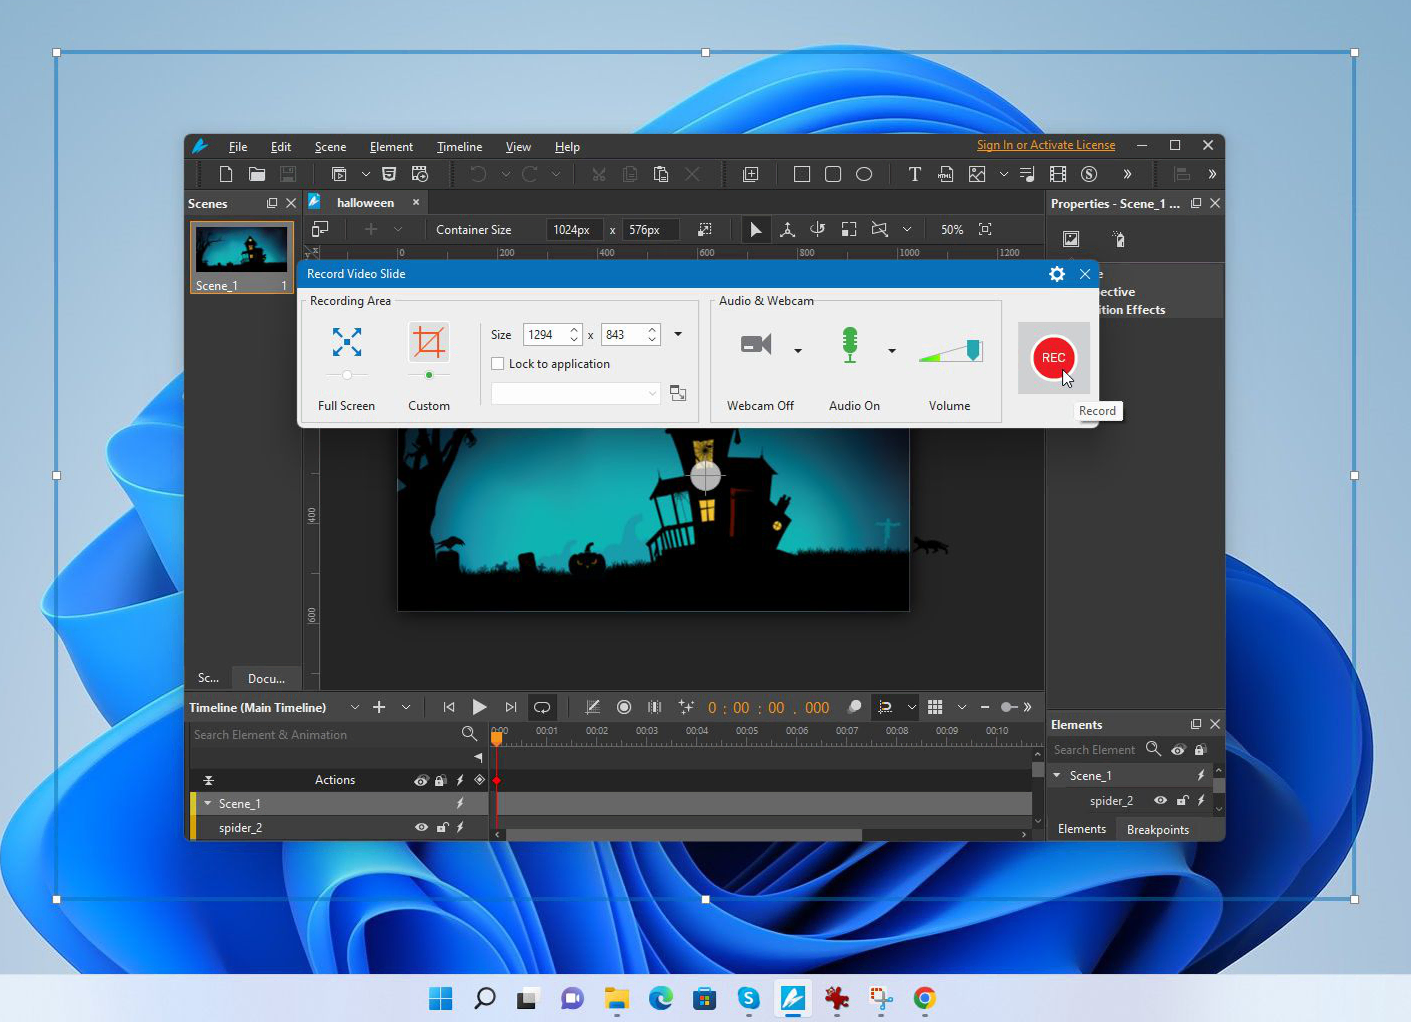
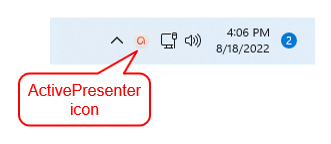
Step 3: Click the Record button on the Record Video Project dialog to start recording. Upon clicking the Record button, this dialog will automatically close. Then, an ActivePresenter icon will appear in the taskbar or system tray.
Step 4: To stop recording, press CTRL + END. Alternatively, click the ActivePresenter icon in the taskbar or the system tray to open the Recording Toolbar dialog for more options.
After recording, you will get a video transferred to a slide in ActivePresenter. In this editing phase, you can use many editing tools available in the app to enhance your recorded video. Adding texts, zoom-n-pans, closed captions, transitions, and effects; changing volume and playback speed are just a few examples.

Step 5: Export your recording to video formats by clicking Video in the Export tab. MP4, AVI, WMV, WebM, and MKV are some types of video formats that ActivePresenter can export. Besides, it doesn’t limit the resolution of the video, whether HD, Full HD, 2K, or even 4K.
Notes:
- In the Free version of ActivePresenter, all the recording and editing features are fully enabled. Watermark is only added to the output if you use advanced features to edit your video.
- There is no time restriction to record your screen on Windows 11. But for long recordings, you can use H.264 video codec to reduce the recorded file size.
Tips and Tricks When Recording Screen with ActivePresenter
You can record your own voice (microphone) or the audio from your computer’s speakers (system audio) at the same time. Or choose to record either of them as you wish. Simply select the device you want to record or choose Do not record microphone/system audio if you wish not.
With your webcam device ready, you click the Webcam button to enable it. For further settings, you can click the drop-down arrow next to this button.
You can use cursor effects such as cursor highlight, mouse click sounds and effects in your recorded videos. With ActivePresenter, you are free to change the default cursor effects after each recording time or customize cursor effects before recording.
After recording your screen, you can edit your videos for free with ActivePresenter. The app lets you edit the recorded project the way you want. For example, cutting, copying, deleting and cropping the video/audio objects, adjusting volume, changing video speed, and many more.
Conclusion
That’s all about the two best tools to record screen on Windows 11. By now, you should have figured out which tools are appropriate for what types of tasks.
💡 Takeaway: If you would like to record just one application quickly, press Windows + G and hit the Start recording button. If you need to capture everything on your screen, switch between many applications, and edit videos afterward, ActivePresenter will not let you down.
Moreover, don’t miss out on the following blog post if you need to know more about ways to take screenshots on Windows 11.
For those who are finding ways to record your Mac screen, check out the 3 simplest ways to record screen on Mac.
Here are some related blogs about Windows screen recording:
BEST Screen Recorders for Windows 11
8 Best Screen Recorders for Windows 10 – Free and Paid