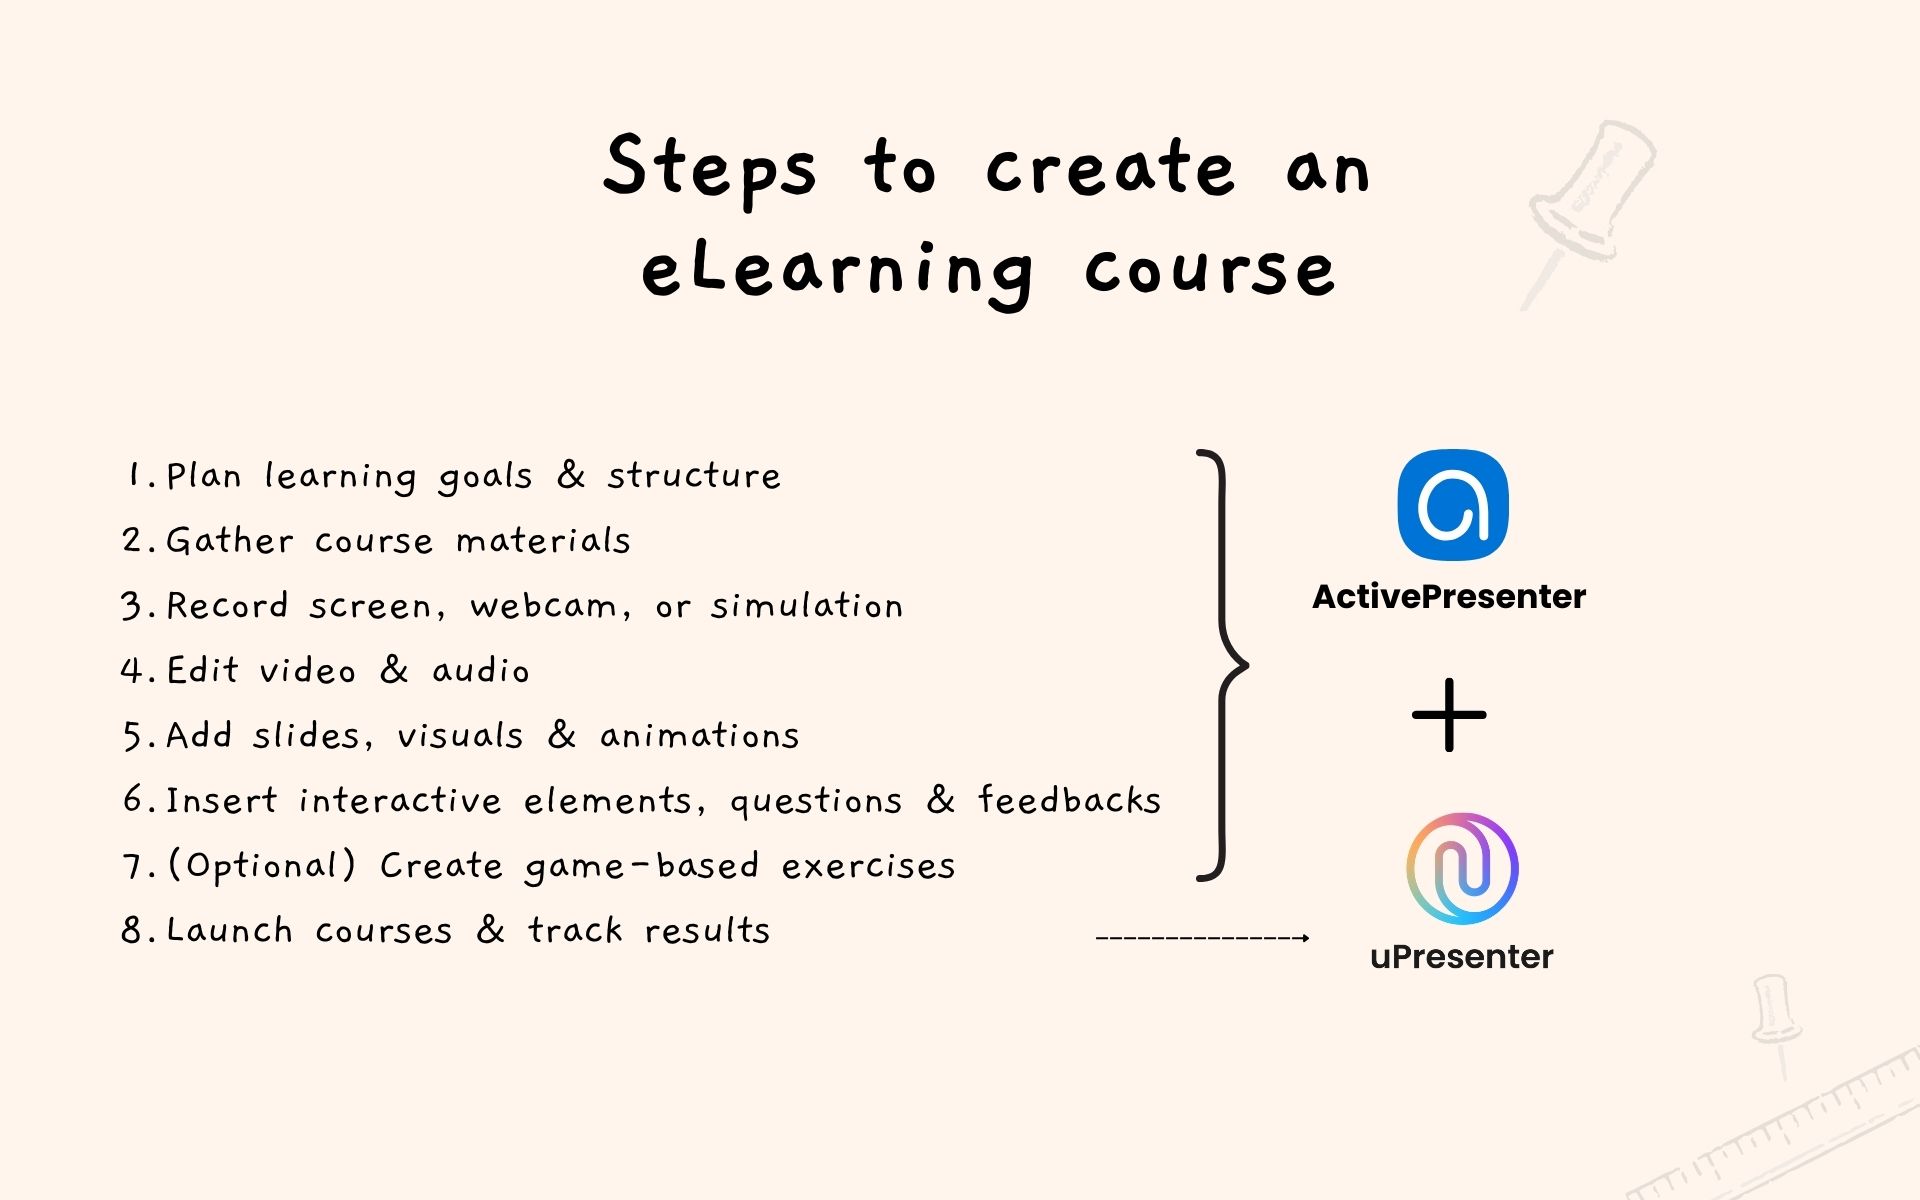
If you are finding ways to digitalize and package your knowledge into courses, or create your first eLearning course, here are several steps you should follow:
- Plan learning goals & structure
- Gather course materials
- Record screen, webcam, or simulation
- Edit video & audio
- Add slides, visuals & animations
- Insert interactive elements, questions & feedbacks
- (Optional) Create game-based exercises
- Launch courses & track results
Attempting to tackle these steps often requires juggling perhaps 6 to 8 different software tools, leading to an insurmountable workload.
This absolutely drains the energy needed to successfully launch your first courses.
But what if you could streamline this complex process in ONE TOOL only? (Two at max)
If this is your first time creating your online courses, then welcome to the eLearning world!
The eLearning field requires a single, powerful solution to manage the many tasks listed above, and that solution is typically found in an eLearning authoring tool. A prominent product in this category is ActivePresenter.
ActivePresenter is a desktop-based eLearning authoring software allowing you to create an eLearning course from beginning to end. It consolidates various functionalities, enabling you to simultaneously handle tasks such as recording your screen, editing video, and creating interactive eLearning courses.
Furthermore, it includes AI support and offers the ability for direct uploads to a lightweight LMS to share and check results.
Download it for free and follow along this blog to create your first eLearning online course right away! (Windows and macOS available)

Creating Online Course from Scratch: A Step-by-Step Overview
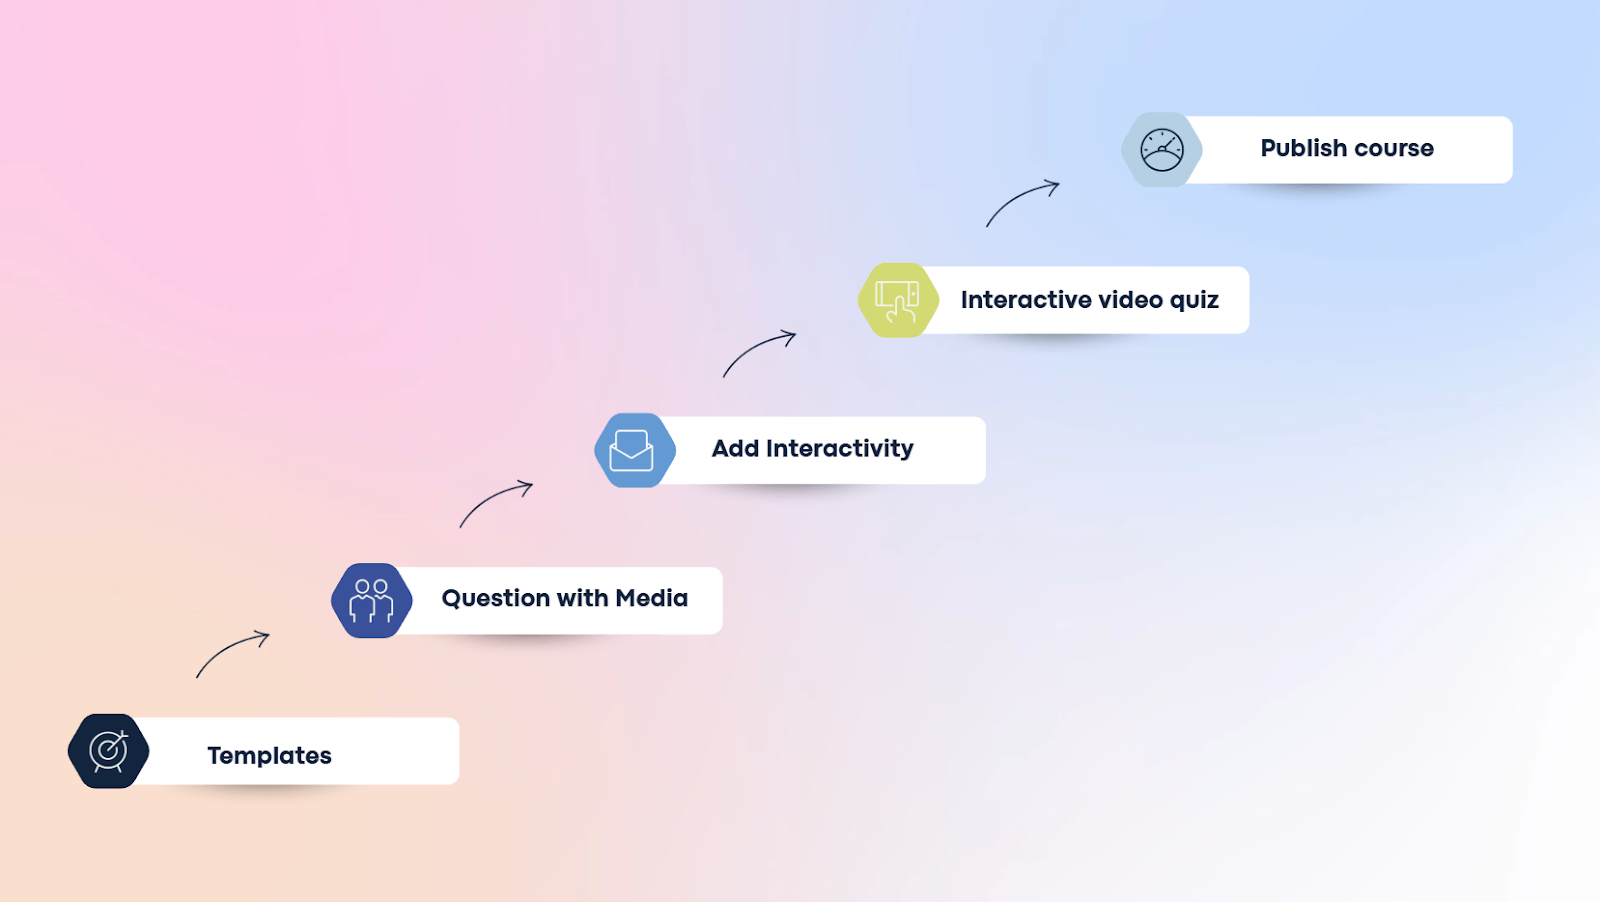
This blog is structured to guide a beginner through the creation of a complete eLearning project in ActivePresenter, covering all steps from initial setup to final publishing and tracking.
- Project Setup and Design: Selecting a template, setting up resources, customizing theme fonts to maintain consistency across the project.
- Creating Interactive Slides: Create click to reveal activity with objects
- Screen Recording & Video Editing: Record multiple sources including video, audio, and system audio
- Embedding Quizzes in Video: Insert a multiple-choice quiz at a specific timestamp within the recorded screen video.
- AI Audio Integration: Insert AI voiceover to replace or add narration
- Publishing and Sharing: The final steps involve publishing the completed course directly to an LMS called uPresenter. Once published, users can share the course, invite collaborators, and view performance, engagement, and activity data via advanced reports
Create eLearning Course First Step: Project Setup
Before diving into creating interactive slides and quizzes, setting up your project correctly ensures consistency and streamlines your workflow in ActivePresenter.
This section walks you through preparing your environment, managing media, and giving the course a consistent look.
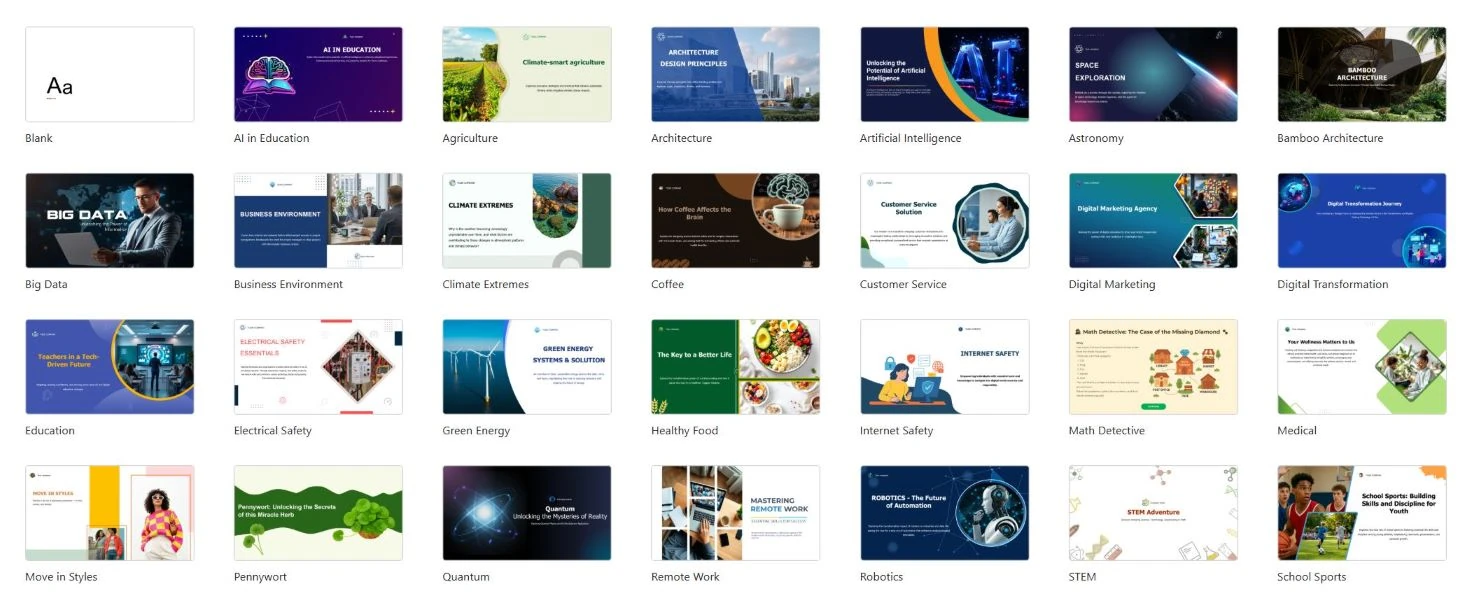
Step 1: Choose Your Template
When you launch ActivePresenter, you will see a handful of templates available for you to explore.
You can preview these templates to see if the template fits the style of the project you intend to create.
Step 2: Organize Resources
Since eLearning projects often contain a lot of media images, it is essential to organize them efficiently.
Set up the Resources Pane by navigating to the View tab > Resources.
If you have the necessary resource images downloaded to your local computer, click the “add button” and import all the images into your project.
Once imported, all images will be available in the Resources Pane.
This organization is key because it allows you to add an image directly from this pane whenever needed, eliminating the repeated need to pull it from outside sources into your project.
Step 3: Customize Theme Fonts
To maintain a professional and consistent look, you must set the project’s fonts before adding any text.
- Go to the Design tab and then select Fonts.
- You can either select a font pair or create new theme fonts to customize your look.
- Customizing allows you to set the specific heading and body fonts you prefer and assign a name to your custom theme.
By setting the fonts beforehand, you ensure that whenever you add text to a slide, it automatically uses the correct typeface, so you do not need to change it one by one.
Step 4: Create an Open Slide
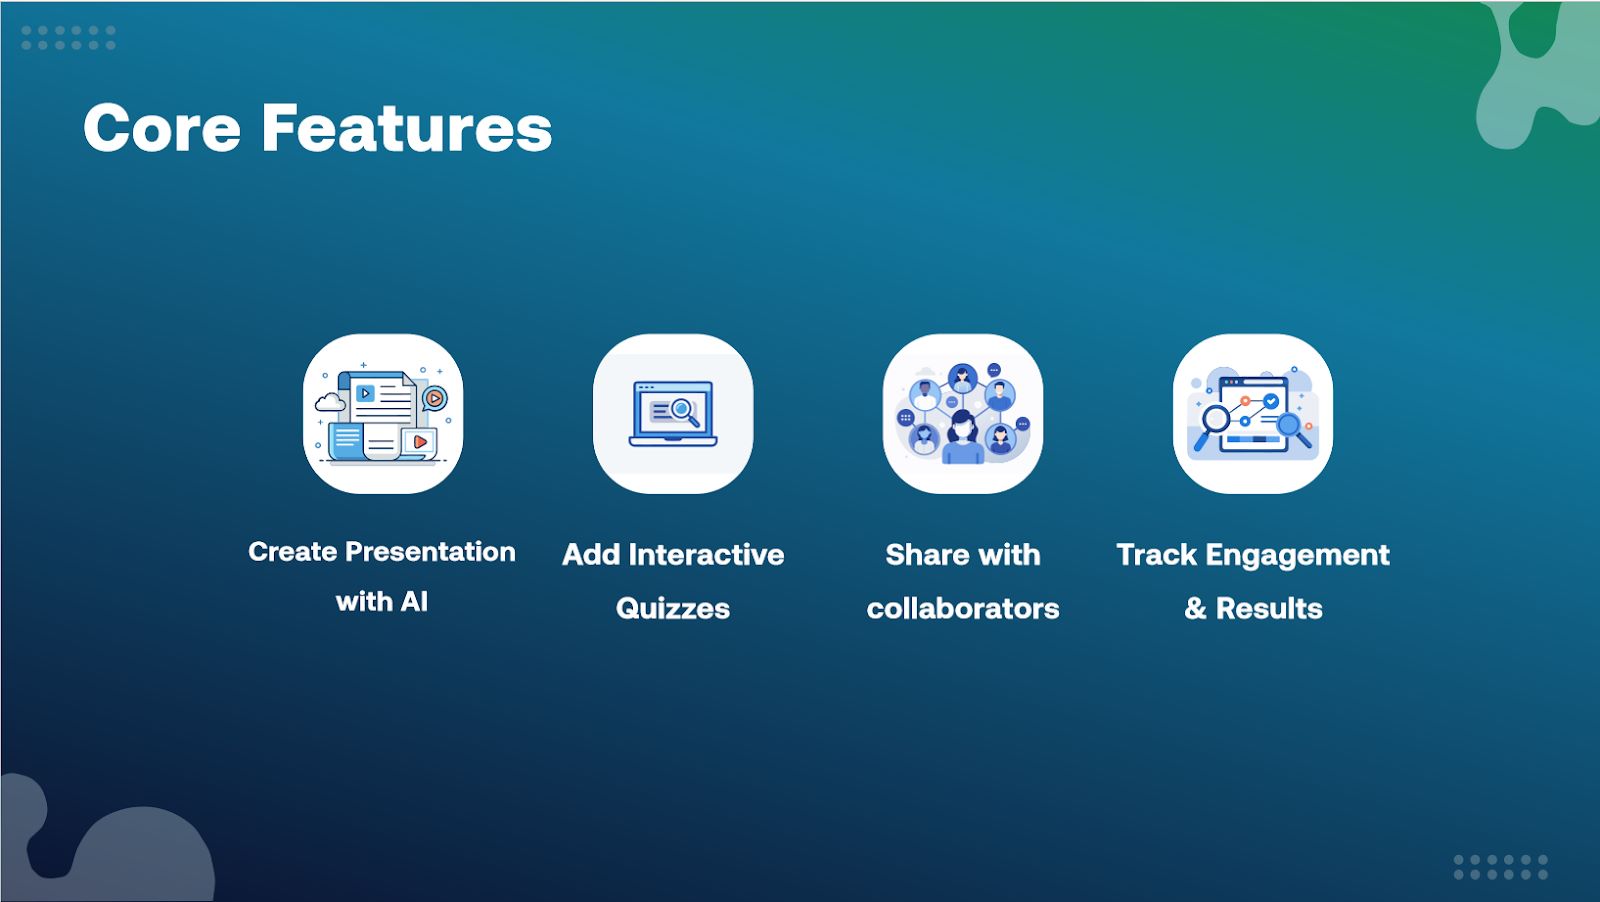
With the project resources and fonts established, you are ready to build the first slide, which will serve as the course open slide.
You can insert media by choosing Insert > Insert from Project. This option utilizes the images you stored in the Resources Pane.
Insert your logo and other relevant images.

Creating Interactive eLearning Course Content
With your course framework defined, it’s time to build the dynamic content that will engage your learners. This section focuses on creating slides that blend embedded media with powerful interactive elements, using ActivePresenter’s features for both media integration and non-graded feedback.
Step 5: Embedded Video with Quiz (Slide 2)
The second slide will introduce core material using an external video, followed by a non-graded survey question to gather initial feedback.
1. Select the slide layout: When creating a new slide, look for a layout that supports both questions and media, such as the “questions with media” layout.
2. Insert the YouTube video: Navigate to the Insert tab > Insert YouTube video. Paste the external YouTube video link you wish to use. You may need to adjust the size and position of the video block within the slide.
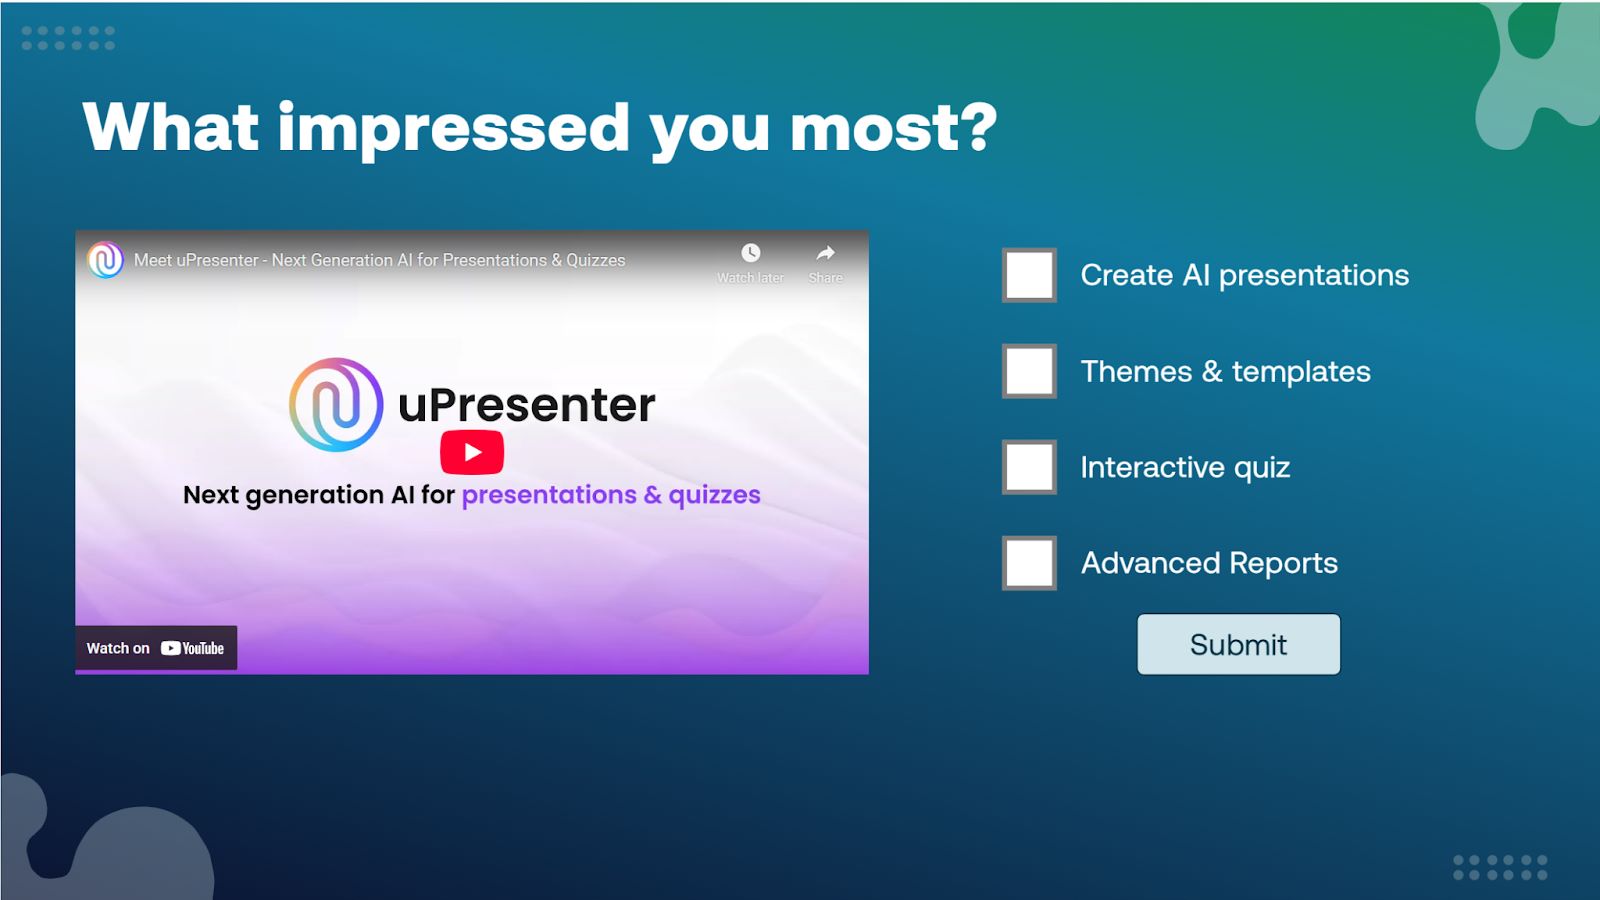
3. Add & format the quiz: to select the quiz, go to Questions tab > Multiple Response Quiz
You can customize the look of the quiz elements by going to the Format tab and selecting a preferred checkbox formatting & filling in answer values.
4. Set to Survey mode: This is the crucial step to ensure the slide gathers feedback without grading. Since the goal is not to calculate a score but to allow users to note what features impress them most, you must set the question toSurvey mode.
To do this, click anywhere in the question area, navigate to the Interactivity tab > Score and Reporting section > Survey mode.
Step 6: Create the First Interactivity (Slide 3)
The third slide focuses on interactivity, where learners click an image to reveal corresponding text.
1. Create the Slide Structure: select a Row layout.
2. Insert Images and Text: Insert the required images using the Insert from Project function. Then, add the corresponding text for each feature.
3. Set Initial State to Hidden: The text only appears when an image is clicked. Therefore, you must select all text blocks, right-click them, and choose Initially hidden.
4. Add Interactivity: Select the first image and go to the Interactivity tab.
- Click the plus button to add an event, selecting On Click.
- For the action, choose Toggle Visibility.
- Select the text object that corresponds to that image as the target element to toggle.
- Repeat this process for all other images.
You can verify the effect by previewing the project (Home > HTML5 Preview) to preview the interactivity.
5. Adding a Hover State (Optional): To make the images feel more like clickable buttons, you can add a subtle visual effect when the mouse hovers over them.
- Select the image > View tab > Object States.
- Add a new state, rename it, such as “hover”.
- While in the “hover” state, modify the image (e.g by adding a custom shadow in the Style and Effects panel).
- Return to the Interactivity tab and add two new events:
On Rollover (set to Change Object State of the image to “hover”) and On Rollout (set to Change Object State back to “normal”). This ensures the shadow appears on hover and disappears when the mouse moves away

Integrating Video, Quizzes, and AI Voiceover
This section unlocks the full power of ActivePresenter as an all-in-one tool by demonstrating its capabilities for screen recording, basic video editing, embedding quizzes directly into the video timeline, and leveraging AI power.
Step 7: Record Screen (Slide 4)
For learning content that requires demonstrating software, a process, or a tutorial, ActivePresenter allows you to record your screen directly within the project.
1. Initiate Recording: Home tab > Record Screen as Video to begin the screen recording process.
2. Configure Settings: A recording dialog will appear, allowing you to select your settings, such as whether to record the full screen, which audio input device to use (check your mic to ensure it has volume), and your webcam.
3. Start and Stop: Once configured, you can press the REC button to start recording your demonstration. To stop the recording, press Ctrl + End (for Windows).
4. Video Editing: The resulting screen recording, which includes video, audio, and system audio recorded simultaneously, can be edited.

Step 8: Embed a Quiz into the Video
A key feature for ensuring engagement and measuring comprehension during a demonstration video is the ability to insert questions at specific points in the timeline.
1. Allow Question Insertion: Before adding the quiz, you need to enable the capability to add questions at a specific timestamp.
Go to the Questions tab > Question Settings. In this section, check the box allowing question insertion at timestamp > Click OK.
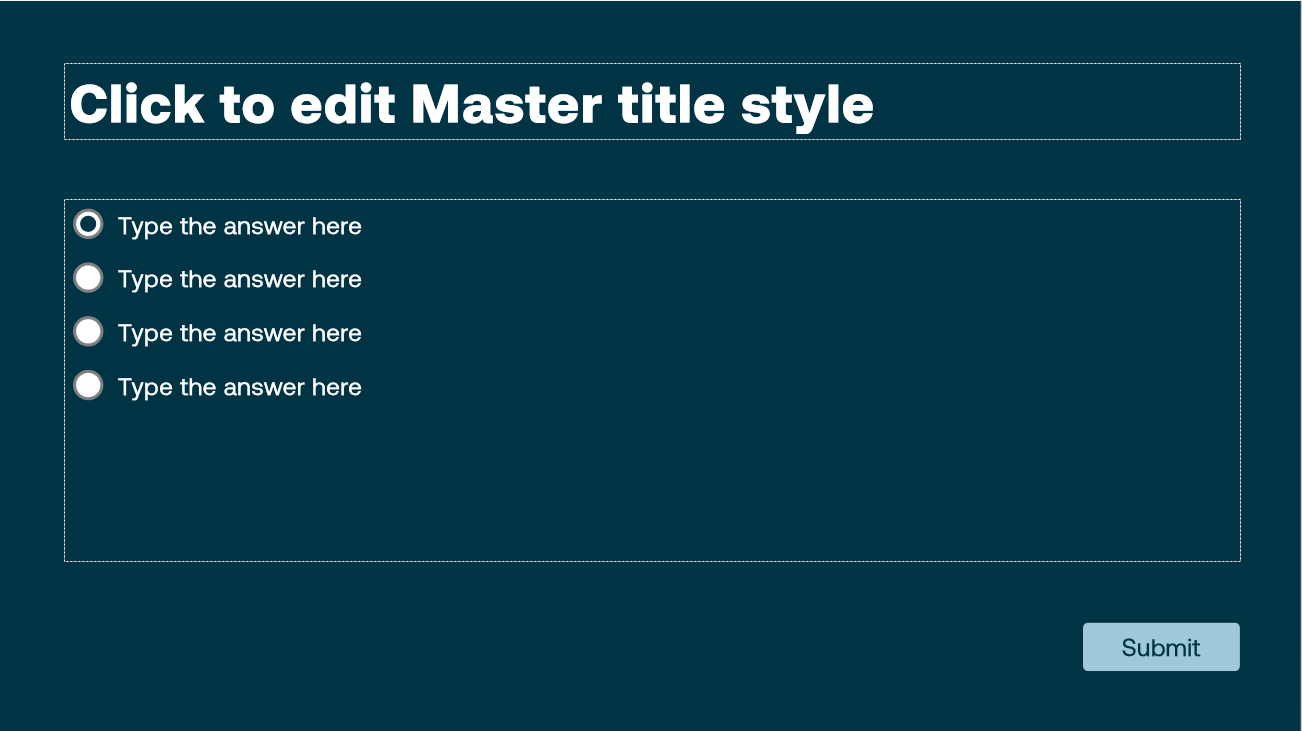
2. Insert the Quiz: Insert a Multiple Choice Quiz into the video timeline (Questions tab > Multiple Choice Question)
3. Format the Options: You can delete unnecessary radio buttons (if you have fewer than the default number of answers) and customize the format of the answer area in the Format tab.
Finally, double-click the correct answer to set it as the right option.
Note: If you want the video to continue playing after the user answers the question, in Question Settings (in Questions tab) select Question Layout: Question with No Feedback (Continue)
(This would continue the presentation no matter how correct the answer is).
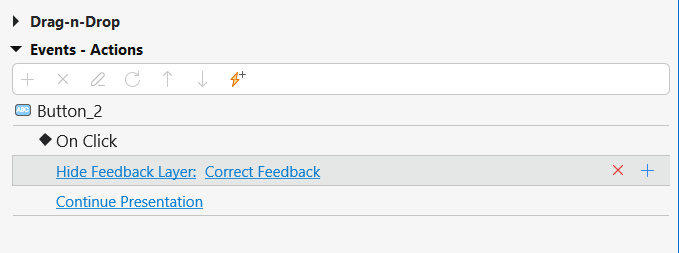
But if you want to create interactive questions only allowing correct answer to continue presentation, then go to Feedback layer > Correct Feedback Layer > Interactivity> (Button) On Click: Hide Feedback Layer & Continue Presentation
Step 9: Add AI Voiceover
If you wish to replace your recorded narration or add high-quality voiceover without recording it yourself, ActivePresenter supports text-to-speech in over 50+ languages.
⚠ This AI features requires internet connection & AI credits.
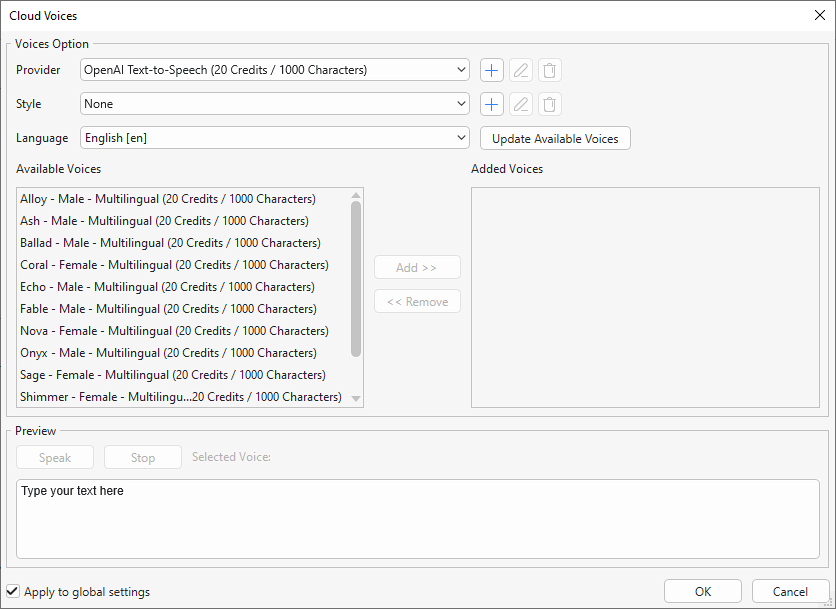
1. Setup: Go to the Insert tab > Audio > Create New.
2. Select AI Provider: While you will have default voices available, you can add more voices from providers
3. Generate Audio: you can choose a specific voice, copy the text, and place it in the audio properties panel. Click Generate to create the audio, which can then be played back to confirm its quality.
Create eLearning Course Final Step: Publishing and Tracking Results
After creating all your interactive slides, embedding quizzes, and integrating advanced media, the final stage is launching your course so learners can access it, and you can begin tracking their success.
ActivePresenter streamlines this process by offering direct publishing to an integrated Learning Management System (LMS).
Step 10: Finalize and Publish the Course
The final steps involve wrapping up your project and sending it live to a platform where it can be consumed.
- Publish Directly to an LMS: Once the project is complete, navigate to the Export tab > uPresenter. uPresenter is an eLearning creation platform hosting online courses from ActivePresenter.
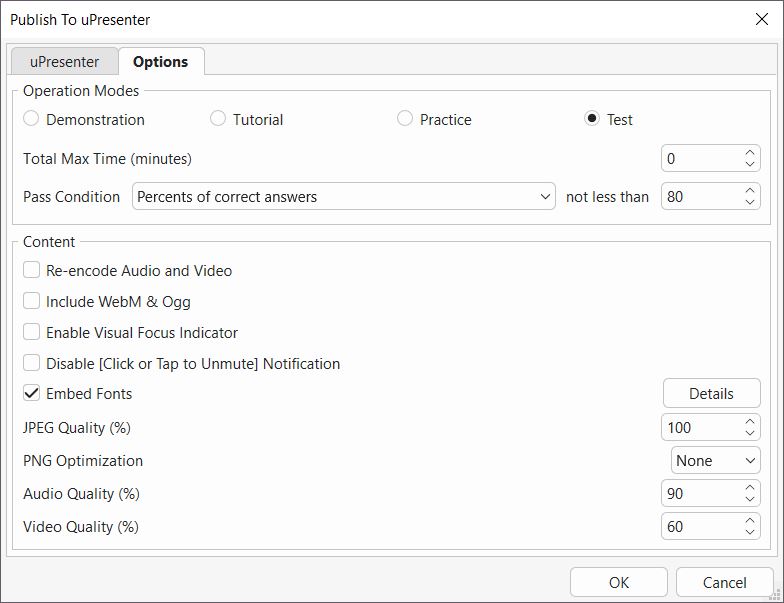
- Sign In and Configure: You will need to sign into the uPresenter account beforehand. After connecting, you will fill in the course information, adding a new course name
- Set Optimization Options: In the options section, you can optimize various elements like fonts, media, audio, and video. A crucial selection is the Practice Mode, which allows you to view slide transitions and move backward and forward through the slides.
- Publish: Click OK, and the course will be published directly to uPresenter (typically takes less than one minute). You can then hit View course to see the finished product.
Step 11: Share and Monitor Engagement
The work doesn’t stop once the course is published, the final phase involves sharing your new content and using data to measure its effectiveness.
Share Access: Once the course is published, you can share it directly. This allows you to share it with your students, or make it available for public access.
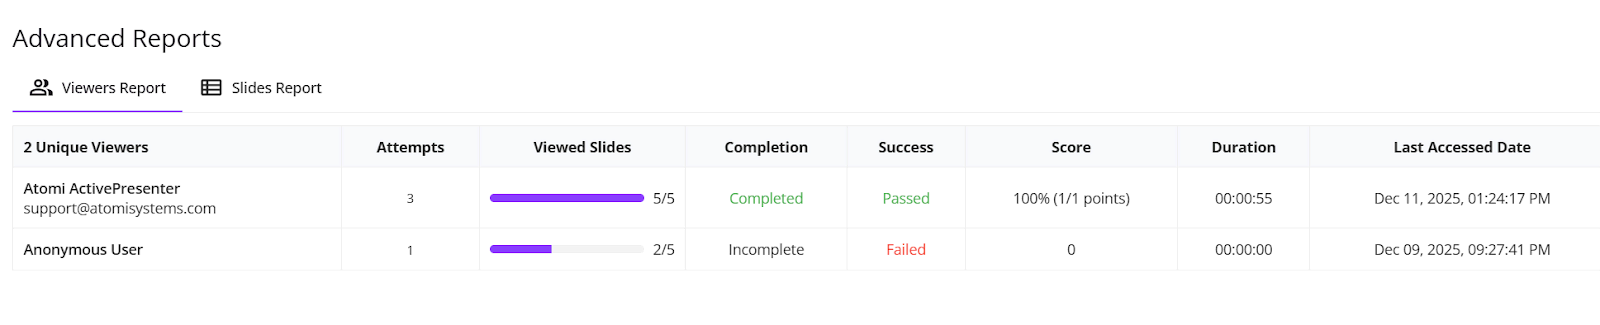
Track Performance with Advanced Reports: ActivePresenter integrates with the uPresenter LMS to provide essential analytical data.
You can check the performance, engagement, and activity of your learners via the advanced reports feature. This reporting capability is crucial for understanding how successful your eLearning project is.
Final Words
With this detailed, step-by-step guideline, you are now equipped to quickly create your first complete eLearning course without switching between numerous tools.
By utilizing the capabilities of ActivePresenter, a desktop-based eLearning authoring tool, you can focus entirely on your content and features, moving efficiently from a blank project to a finished eLearning course.
This complete approach ensures you can build and scale courses quickly, while also utilizing advanced reports to check performance, engagement, and activity data once published.
Your first eLearning course is one click away!