You’ve just completed an interactive eLearning project using an eLearning authoring software. The slides look great, the interactions work smoothly, and everything is ready to go.
But then comes the big question: how do you actually share it with learners?
Maybe you want to publish it on your own website.
Maybe you want to send it to students or clients to access directly.
Or maybe you just don’t want to deal with a heavy, complicated LMS system.
If that sounds familiar, you’re not alone.
Most traditional LMS platforms require setup, user accounts, permissions, and technical configuration which can feel like overkill, especially when all you want is to share your eLearning project quickly and keep it interactive.
And that’s exactly where this guide comes in.
If you’re looking for a simple way to host your eLearning project online, share it freely, and even embed it into your own website without using a complex LMS, you’re in the right place.
A Simple Way to Host Your eLearning Project (No LMS required)
If your goal is to:
- Host your eLearning project online
- Share it with learners via a link
- Embed it directly into your website
- Keep all interactions, quizzes, and navigation intact
Then there’s a much simpler workflow.
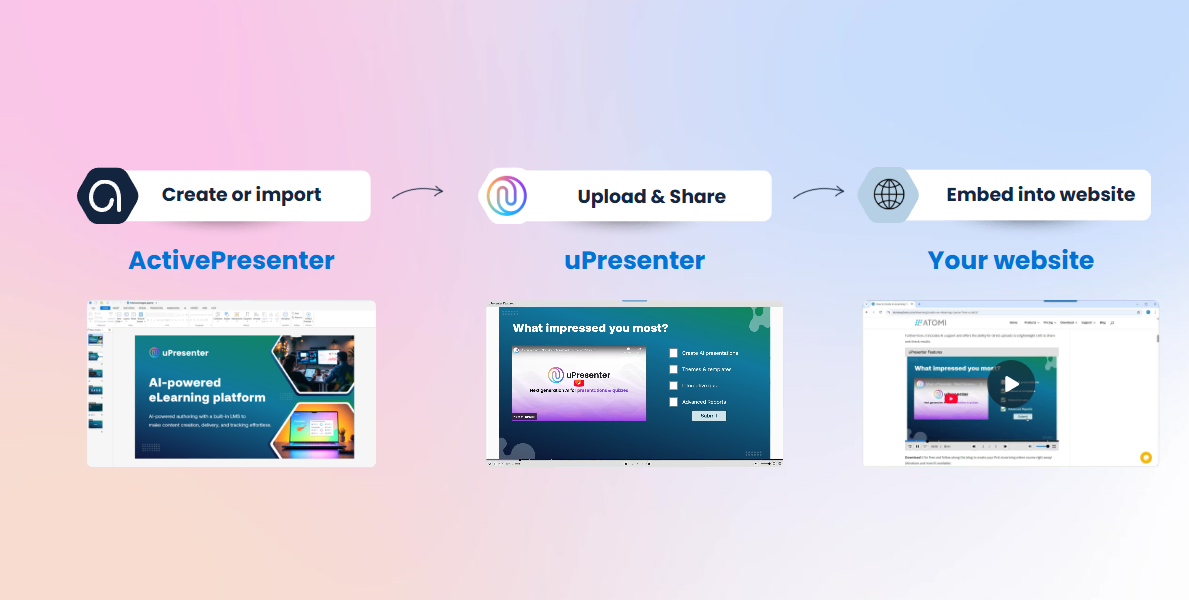
You create your project in ActivePresenter, a desktop-based eLearning authoring software > Publish it to uPresenter (a lightweight eLearning platform) & share it publicly > Embed this public link into a webpage.
❌ Complex setup.
❌ LMS configuration.
and, ❌ SCORM or xAPI headaches.
All of these steps take under 5 minutes to complete.
eLearning Tools You Will Need
You only need two eLearning tools to complete this workflow:
1. ActivePresenter
ActivePresenter is a desktop-based eLearning authoring tool that allows you to:
- Record screens
- Edit videos
- Create interactive slides and quizzes
- Build complete eLearning courses with AI support
You can start to build an eLearning project with ActivePresenter, or import from PowerPoint. Download the free version to get started here 👇

2. uPresenter
uPresenter is a lightweight eLearning creation platform that allows you to:
- Upload your eLearning project from ActivePresenter
- Host & share it online
- Track learner progress and quiz results
Once these two eLearning tools are connected, the results it brings are absolutely amazing.
Step 1: Preview the eLearning Project Before Publishing
Before uploading your project, it’s important to take a moment to check how learners will actually experience your project.
This step only takes a few minutes, but it helps avoid issues later, especially when your eLearning project is already live.
Preview Your eLearning Project in ActivePresenter
First, open your project in ActivePresenter (or you can import from PowerPoint) and run a quick preview.
Ask yourself:
- Does the navigation feel natural?
- Can learners easily move between slides?
- Are the buttons and interactions working as expected?
This is exactly how your learners will experience the project once it’s online.
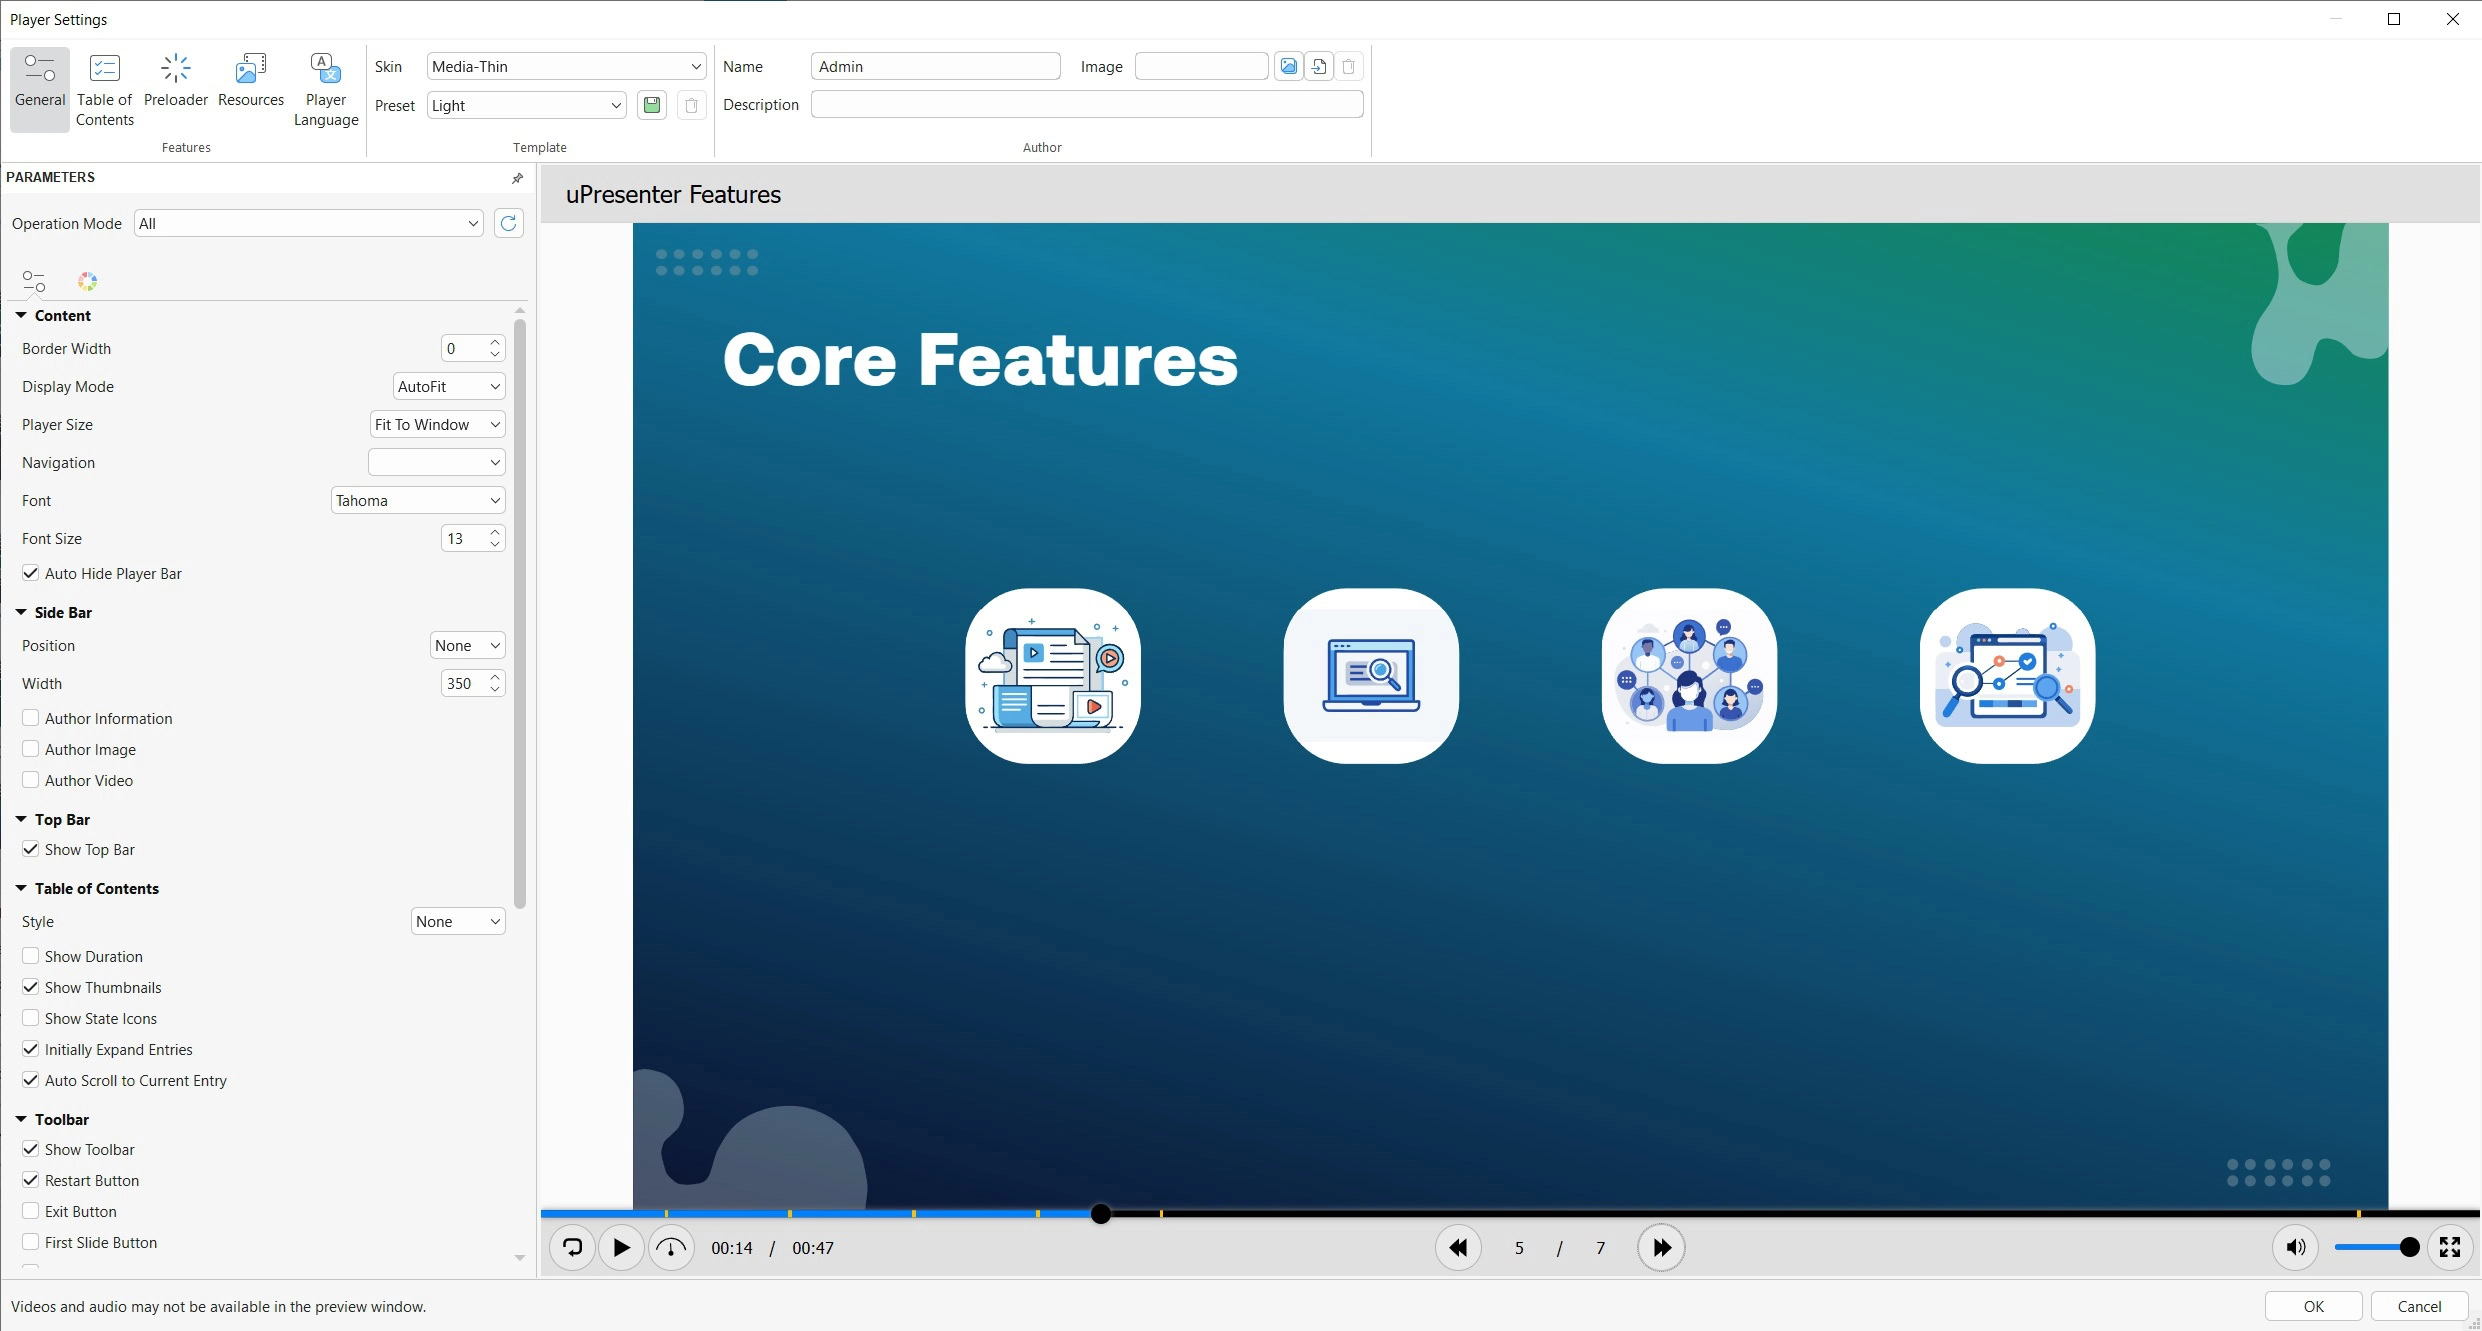
Adjust Player & Navigation Settings
Next, go to the Export tab and open Player Settings.
Here, you can control:
- Whether learners can move freely between slides
- If a table of contents should be shown
- How navigation buttons appear
- The overall learning flow
For example, if you want a clean and focused experience, you may choose to disable the table of contents and guide learners step by step with settings like this: Side bar, Position: None, Table of Contents, Style: None.
Step 2: Upload Your eLearning Project to uPresenter
Once your eLearning project is ready and fully checked, it’s time to publish it online.
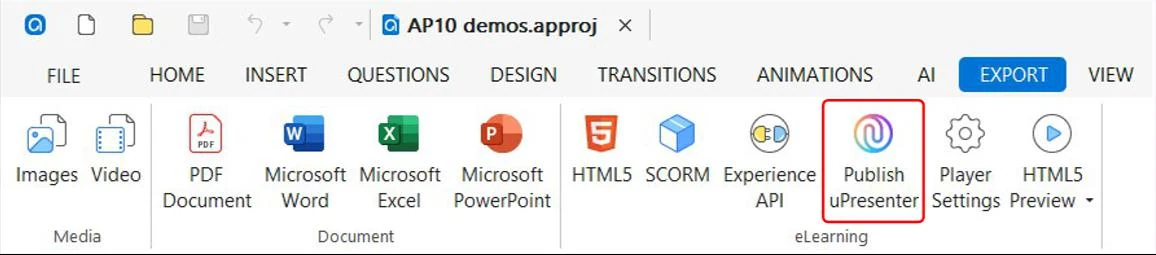
Publish uPresenter
In ActivePresenter, go to the Export tab > Publish uPresenter.
If this is your first time with uPresenter, you will need to create a free uPresenter account (it takes less than a minute)
If you already have an account, simply log in and continue.
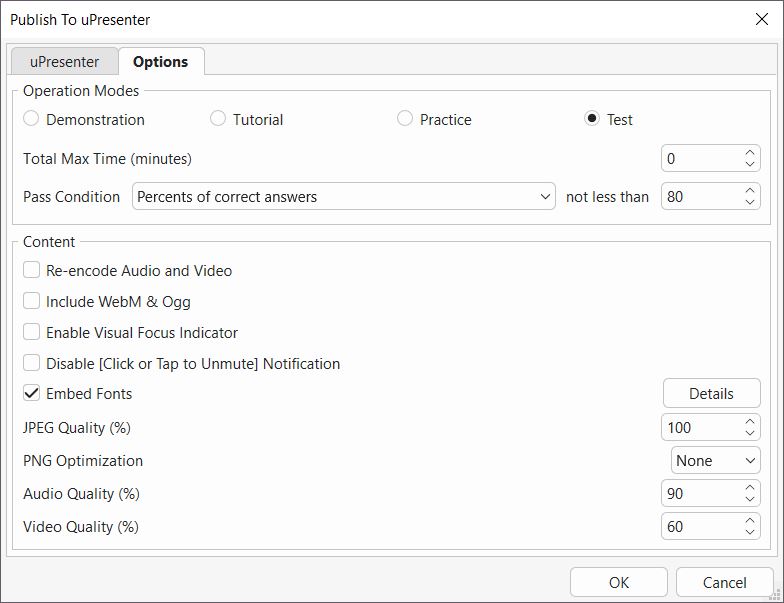
Choose How You Want to Publish
After signing in, the uPresenter export dialog will appear.
Here, you can choose to:
Create a new course, or update an existing one
You set your course name and select the appropriate option.
You’ll also see several settings you can adjust in Options tab, such as:
Practice mode (allowing learners to go back and forth between slides), navigation behavior, interaction handling
If you’re not sure, the default settings work perfectly fine for most cases.
Upload Your Project
Once everything is set, click OK.
This process will:
- Upload your eLearning project to uPresenter
- Preserve all interactions
- Keep quizzes, navigation, and logic intact
Depending on your project size, this usually takes only a few moments. When the upload is complete, your project is officially online.
Step 4: Share Your eLearning Project or Embed into Your Website
Once your eLearning project is uploaded to uPresenter, sharing it becomes incredibly easy.
Share Your Project with a Public Link
After publishing, you’ll see a Share button at the top right corner.
With just one click, you can:
- Generate a public access link
- Send it to learners
- Allow them to open and learn instantly
No login required.
No LMS account needed.
Just click and start learning.
Embed the Project into Your Website
If you want your project to appear directly on your website, uPresenter makes this just as easy.
You’ll be given a small piece of iframe code.
Here’s how to use it (for example in WordPress)
- Open your post or page editor
- Add a Custom HTML block with splash (/)
- Paste the iframe code
<div style="width: 100%; padding-bottom: 67%; position: relative; max-width: 1024px;"><iframe style="position: absolute; top: 0px; left: 0px; width: 100%; height: 100%;" src="https://upresenter.ai/prez/v993f0mj3h08vm2" width="100%" height="100%" scrolling="no"></iframe></div>- Replace the source link if needed (Src)
- Save or publish the page
That’s it. Your eLearning project will now appear directly on your website fully interactive, responsive, and ready to use.
Final Thoughts
This workflow gives you the quickest way to publish an eLearning project. You can create interactive courses in ActivePresenter, host them online for free, and share or embed them anywhere you want, all without dealing with the complexity of a traditional LMS.
There’s no need to worry about SCORM or xAPI packaging, and no complicated setup for learners. If you’re using ActivePresenter, this approach offers one of the fastest and cleanest ways to publish your eLearning projects and make them easily accessible to anyone, anytime.
Download ActivePresenter to start building, uploading and showcasing your eLearning project to the world!