As you may know, ActivePresenter allows you to export projects to Images, Video, HTML, Document, etc. And now, a new version of ActivePresenter represents to you a new useful feature that allows you to export your project to a video and publish it to YouTube with ease. Today, we will show you all the steps to do that.
Opening Publish To YouTube Dialog
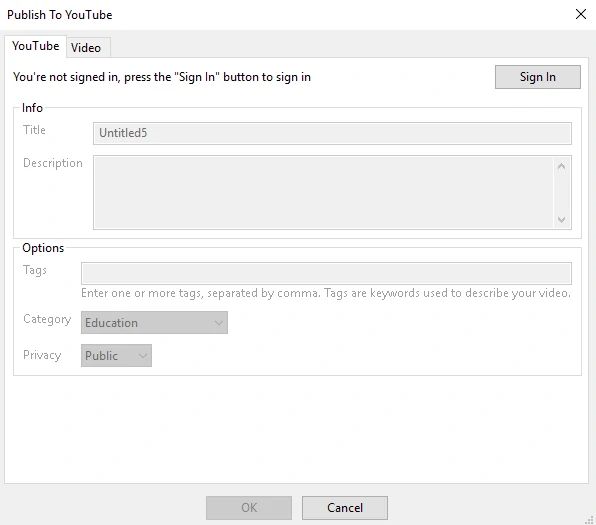
Initially, in order to export video to YouTube, you have to open the Publish To YouTube dialog. To do that, go to the Export tab and click YouTube.

The Publish To YouTube dialog will show up with two tabs: YouTube and Video.
Next, you’ll learn how to work with them.
Working with the Publish To YouTube Dialog
YouTube Tab
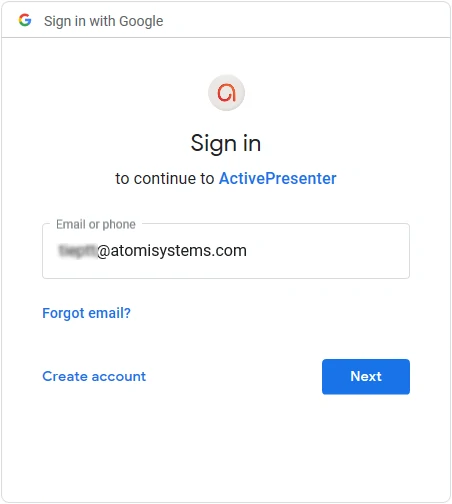
To take further steps, the first thing you must do is pressing Sign In. Sign in to the account that has the channel to which you want to publish the video.
After completing signing in, you will receive a notification: “Login successfully! Close the tab to return to ActivePresenter”.
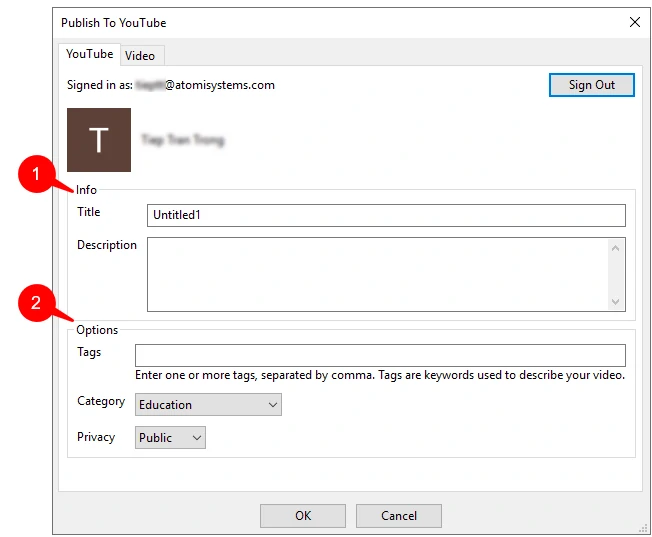
Go back to the dialog in ActivePresenter, the Youtube tab now displays two groups of information: Info (1) and Options (2).
 1. Info
 1. Info
This section includes the video’s title and the description of the video.
- Title: This is the name of the video that makes searchers remember or decide whether to watch it or not. Putting keywords in your title makes sure they turn up in the search results.
- Description: Explains what the video is about. It displays at the bottom of the video and allows others to learn more information about your video. Viewers can read while they watch it. To help your video noticeable, let write an interesting and unique description, don’t just copy the title into the description box or write nothing.
2. Options
Under this section, you can add tags, choose suitable category and privacy for your video.
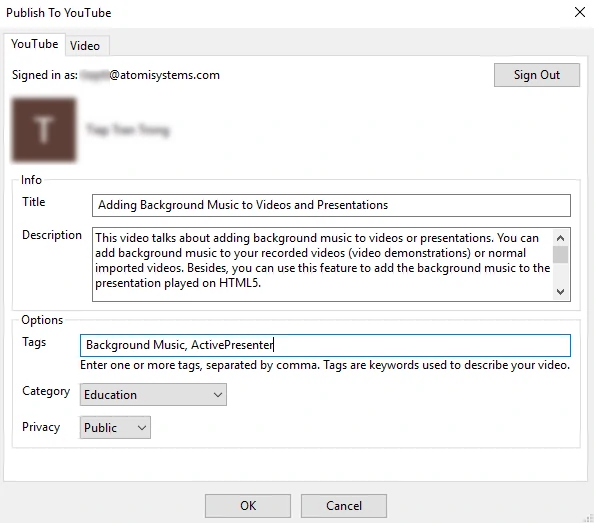
- Tags: Allow your video to appear in other viewers’ searches. Tags are words or short phrases that describe the video and help others find it on YouTube. When users type keywords related to your tags, your video will appear in their search results. Other videos with similar tags will often be seen together in the “Recommended videos” sidebar. Note that your tags should be separated with comma if you enter tags. For example, if you upload a video about Adding Background Music to Videos and Presentations, you may add tags: ActivePresenter, Add Background Music, Video.
- Category: Describes accurately the class of your video content to make sure that YouTube keeps your video in relevant searches. Optionally, ActivePresenter provides you with 15 categories and Education is default category.

- Privacy: Helps users control where video can appear and who can watch it. So, let’s choose suitable privacy settings for your video. Public videos can be searched, viewed and shared by anyone. Unlisted videos are only accessible to people who has videos’ link. Private videos can only be viewed by viewers that you designate.
For example, after filling completely information in all the boxes, the YouTube tab will be presented like this:
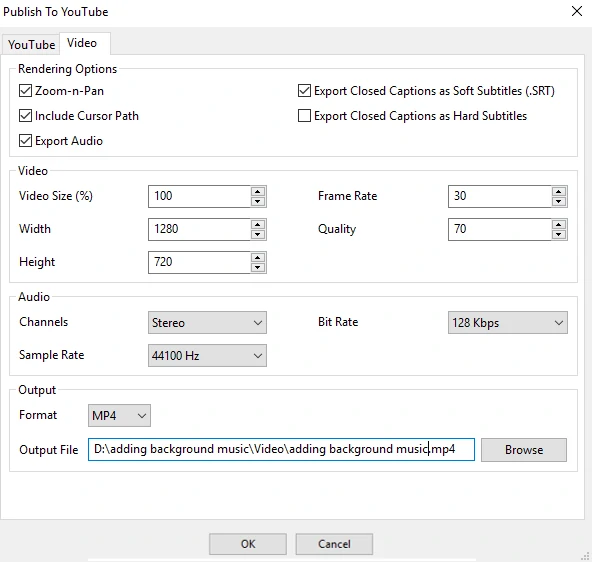
Video Tab
After filling information, take a look at the Video tab and change the setting on your purposes. Refer to Exporting ActivePresenter Projects to Videos to see how to work with this tab.
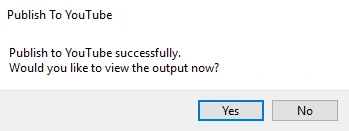
When you finish changing settings, click OK to publish your video to Youtube. The system will inform that your video is successfully published in Youtube. Click Yes, you can review your video on YouTube. Click No, you will stay on ActivePresenter interface.
Note: ActivePresenter not only helps you publish video to YouTube but also exports that video to store in your computer.
All in all, remember to use these ways to publish Video to YouTube with ActivePresenter 7. Try it and let us know if you need any support.