In creating presentations, naming and adding numbers for slides play an important role in helping designers to find, identify, and manage slides easily, especially when many people are working on the same project. Check this tutorial to learn how to work with these techniques in ActivePresenter.
Changing Slide Name
Slide names will be used as a table of content (TOC) entry in the HTML5 Simulation output or as a brief description of the slides in document outputs.
Naming Slides from Properties Pane
In ActivePresenter, each slide is designed with a properties pane placed to the right of the working space (Canvas). After inserting a new slide, you can name it by doing the actions below:
Step 1: Click the slide that you want to rename.
Step 2: Type your desired name in the Name box (1) of the General section from the Properties pane.
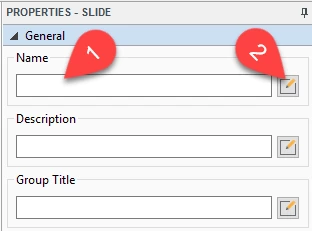
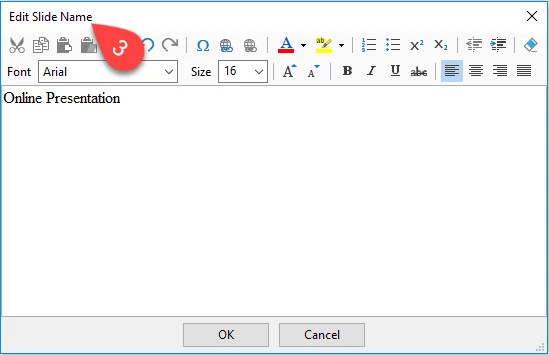
If you want to customize the slide name, click the Pencil icon (2) at the right of the Name box. Then, the Edit Slides Name window (3) appears on the screen, and you can perform this task with many basic text editing options, including size, font, color, copy, paste, etc.
Creating Slide Name from First Shape
This is a quick way for you to generate the names of multiple slides from the first shape. Follow the next steps to do that:
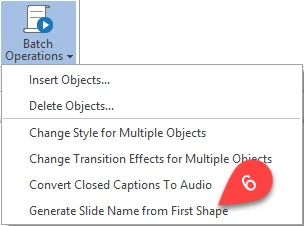
Step 1: In the Slide tab (4), click Batch Operations (5).

Step 2: Click Generate Slide Name from First Shape.
Step 3: Take further actions from the pop-up window.
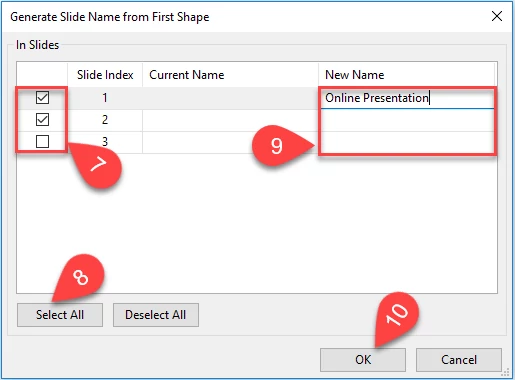
- Select the slide (s) that you want to change its name (7). If you want to rename all slides, click Select All (8).
- Click and type a new name for every selected slide (s) in each text box (9).
- Click OK (10) to apply the changes.
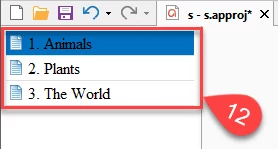
Once you change names of slides successfully, right-click the Slide Pane, and then select Slides in Titles (11).

Now, you can see all of the new slide names (12).
Inserting Slide Number
When starting to create a new blank project, you can type a total number of slides in the presentation. Then, ActivePresenter will show the index number of each slide at the bottom of it.
Step 1: In the New Project window, click Blank Project (13).
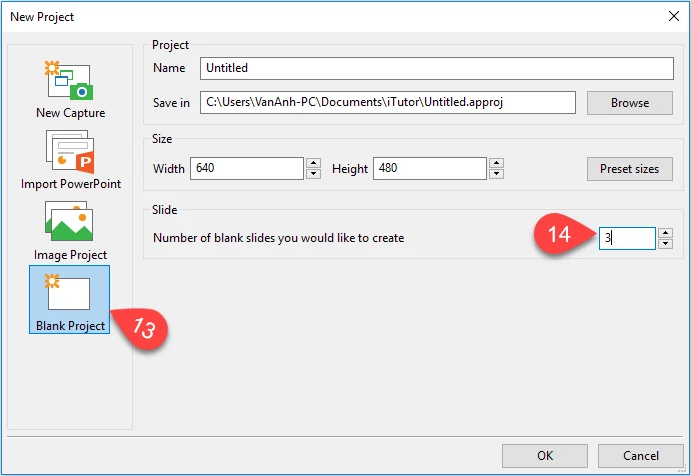
Step 2: Enter number of slides you want in the box (14) of the Slide section.
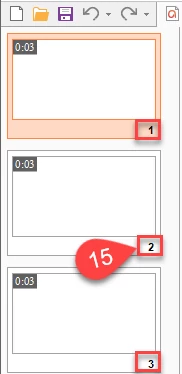
After that, you can see an index in the bottom left a corner of each slide (15). The first index begins at 1.
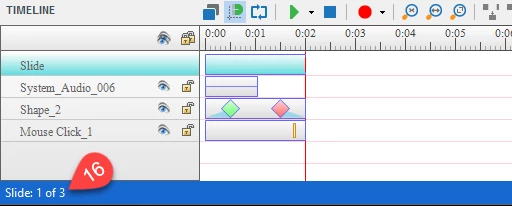
Besides, the index of the current slide and number of slides in the working project are also displayed in the bottom left corner of the ActivePresenter interface (16).
Remember that the index of each slide will change when you add, delete or shuffle slides.
If you do not type a total number of slides when starting to open a new blank project, ActivePresenter will number every newly created slide automatically based the index of the previously inserted slide.
Using slide name and slide number makes it easier to keep track of slides and jump to a specific slide in ActivePresenter. Try them today and feel free to contact us if you need any support.