If you want to customize tabbed toolbar in your own way and improve the editing experiences, then come to take a look at this article which shows you step by step how to do that. It not only lets you re-organize the tabbed toolbar but also lets you add your new tabs and group, and remove tabs you don’t need to use also. These are unique features in our software.
Let’s get started!
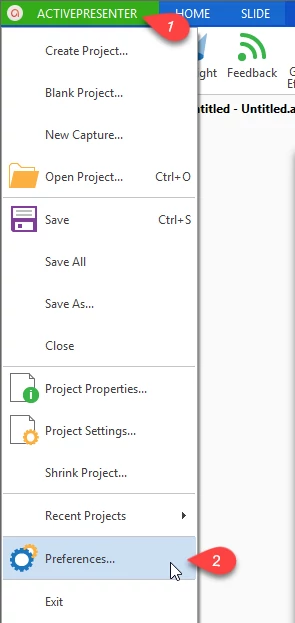
Access the ActivePresenter menu (1) and select Preferences (2).
The Preferences window pops up having six tabs which deal with six different areas.
Go to open Tabbed Toolbar. (3)
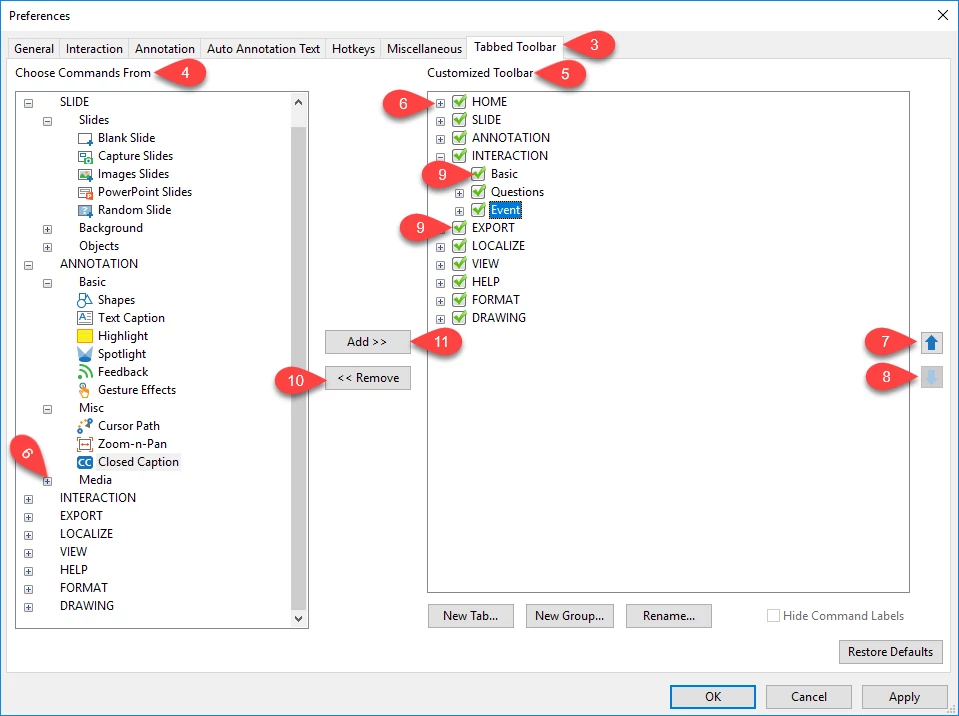
On the left of the window, we have Choose Commands From section (4) where all commands are organized in groups.
And the structure of the current toolbar of the program is shown in the Customized Toolbar section on the right of the window. (5)
You can access the pull-down menu of each tab by clicking the cross icon next to the tab and group. (6)
Change Tab and Group Order
At first, you can change the order of tabs and their commands.
- Select the tab/command that you want to change its order (either on the right or left side of the window).
- Click the Up arrow (7) or Down arrow (8) to move that tab up and down respectively.
Remove Tabs and Groups
ActivePresenter allows you to remove commands and the whole tab if you want by two ways:
- Uncheck the checkbox of the tab/command (on the right side of the window). (9)
- Or you can select the one that you want to remove and click the Remove (10)
However, you cannot remove the Format and Drawing tab.
Add Tabs and Groups
After removing those commands, you can still have them shown again:
- Select the command/tab that you want to add (from the left of the window).
- Click the Add icon (11). And you can see the changes in the right side of the window.
Create New Tabs and New Groups
ActivePresenter allows you to customize your Tabbed Toolbar by creating new tabs and new groups. Then you will have your new customized ones which have full features in terms of changing name and order as other normal tabs.
Click New Tab… (12) or New Group… (13)
Name your new tab/group. (14)
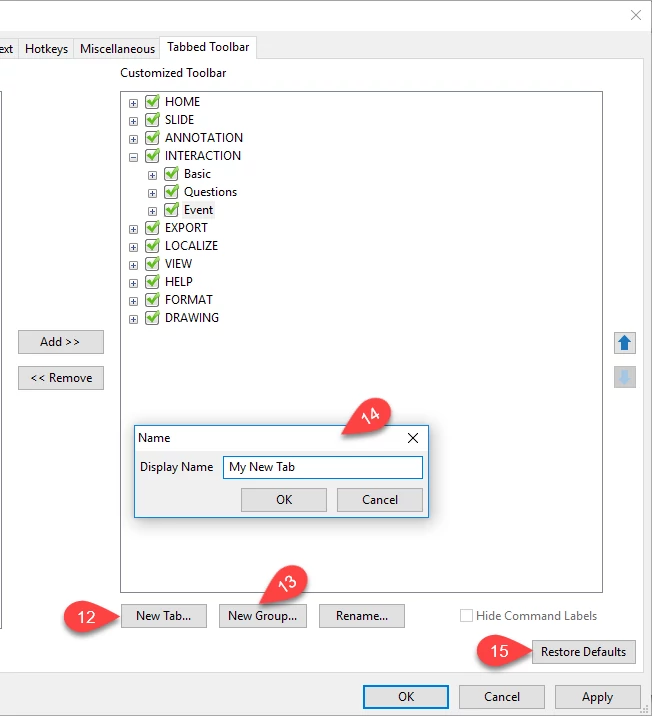
After all the changes, you can still come back to the original properties by clicking the Restore Defaults button. (15)
That’s how to customize your tabbed Toolbar in ActivePresenter. Hope that it helps in your editing procedure. Let’s try it today and let us know if you need help.