
Building interactive training guides from scratch is one of the most time-consuming tasks in any eLearning developer’s workflow. You record the screen, manually add annotations, insert click zones, write feedback messages – and by slide 12, you’re already wondering if there’s a smarter way. There is. ActivePresenter’s Record Interactive Software Simulation feature does the heavy lifting for you, automatically converting every click and keystroke into a structured, interactive training slide — complete with annotations and learner feedback, right out of the box.
Fun fact: ActivePresenter is featured as one of the 8 best screen recorders in this article. Check it out if you want to explore more options!
In this guide, I’ll walk you through exactly how this feature works, share real-world use cases from industries I’ve consulted for, and give you the pro-level tips that most tutorials skip entirely.
What Is Record Interactive Software Simulation — And Why Should eLearning Devs Care?
Before we dive into the steps, let me be direct about what makes this feature different from standard screen recording.
When you record your screen as a video, you capture a passive playback file. Learners watch. They don’t do. Research consistently shows that learners retain only about 20% of what they hear or see passively — but up to 75% of what they actively practice. That gap is exactly why interactive simulation exists.
Record Interactive Software Simulation in ActivePresenter doesn’t just capture your screen — it dissects your workflow into discrete, actionable slides. Each mouse click becomes a separate slide. Each slide automatically receives:
- 🖱️ A Mouse Click interactive object — so learners must click the correct element to proceed
- 💬 A Smart Annotation (text callout) — explaining what the action does and why
- ✅ Correct/Incorrect feedback messages — giving learners instant reinforcement
The result? A fully functional, interactive software simulation that works on any LMS — without you manually building a single interaction.
“In over nine years of producing eLearning content, I’ve seen teams spend 3–4 days building a 15-slide simulation manually. With Record Interactive Software Simulation, that same simulation takes under two hours — including review and polish.”
Step 1: Launch the Record Interactive Software Simulation Feature
ActivePresenter 10 gives you multiple entry points depending on your workflow stage.
Starting a new project:
- From the Start Page → click Record Interactive Simulation
- Or: File menu (top-left) → Record Interactive Simulation
Adding to an existing project (this is where most devs miss out):
- Home tab or Insert tab → New Slide → Record Interactive Simulation
- Home tab → Record Screen → Record Interactive Simulation
The second set of options is a game-changer for modular course design. You don’t have to rebuild an entire project every time a software UI updates — just insert new simulation slides into your existing deck.
Step 2: Configure Your Recording Area and Audio Settings
Once you trigger the feature, two things appear on screen:
- A blue-bordered rectangle — your capture frame
- The Record Interactive Simulation Project dialog — your control panel
Recording Area Options
| Option | Best For |
| Full Screen | Capturing entire desktop workflows |
| Custom Size | Targeting a specific application window |
| Preset Sizes | Matching standard resolutions (HD, FHD, etc.) |
| Customize… | Adding your own branded resolution presets |
Pro Tip #1: Always match your recording area resolution to your final output resolution. Recording at 1920×1080 and publishing at 1280×720 causes quality degradation. Set your custom size before you start — not after.
Audio Settings
You can toggle audio recording on or off before starting. For most software simulations, I recommend disabling audio during the initial capture and adding narration in post-editing. This gives you cleaner control over pacing and lets you re-record audio without re-doing the entire simulation if the script changes.
Step 3: Record the Simulation — Let ActivePresenter Do the Work
Click the red Record button in the dialog. The toolbar hides itself, and you’ll see only the thin blue border around your target application. Now, simply perform the workflow you want to teach.
Here’s what happens automatically behind the scenes with every action you take:
- Every mouse click → Generates a new slide with a Mouse Click interaction placed at the exact click coordinates
- Every keystroke / text entry → Captured and converted into a Text Entry interaction
- Every drag action → Recorded as a Drag-and-Drop interaction
To stop recording: Press Ctrl + End (Windows) or the equivalent hotkey you configured.
Pro Tip #2: Before you start recording, do a full “dry run” of the workflow without recording. Muscle memory makes your recorded actions cleaner, your mouse movements more deliberate, and your final slides less cluttered with accidental clicks.
Step 4: Review and Refine Your Simulation Slides
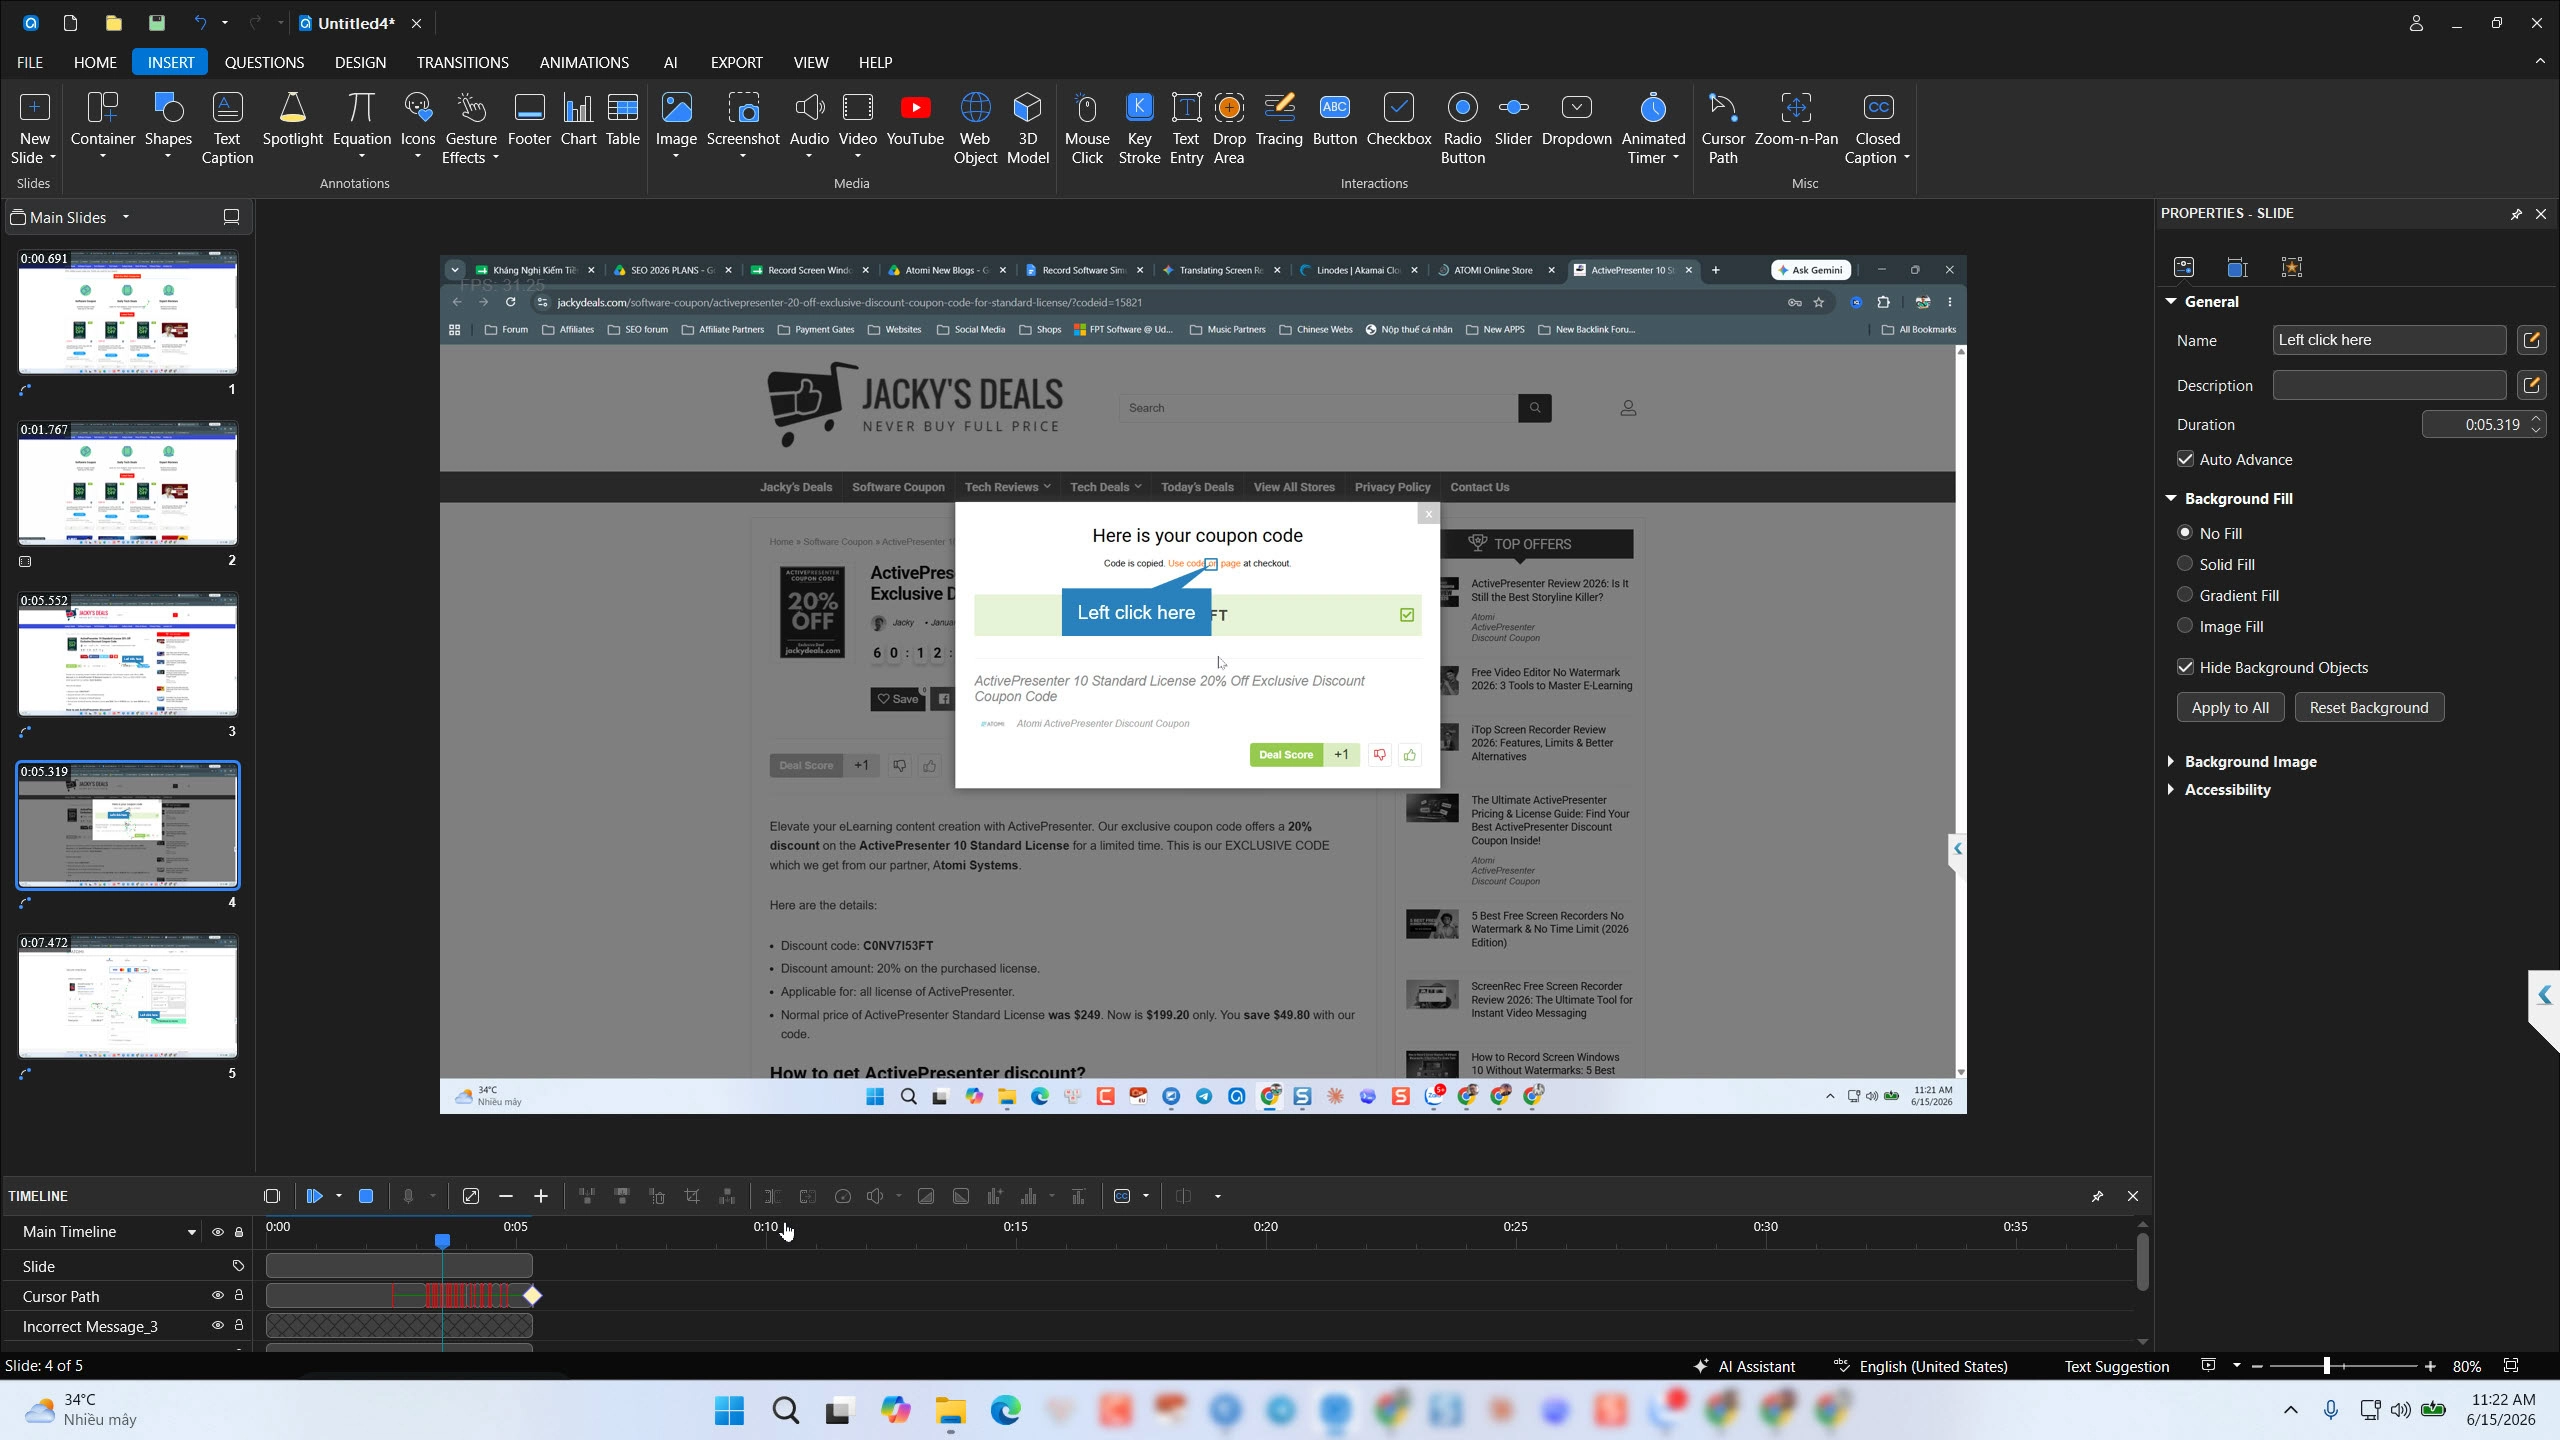
After stopping, ActivePresenter drops you directly into the slide editor with your full simulation ready. This is where your expertise as an eLearning developer comes into play.
What to Review First
- Delete unwanted slides — accidental clicks, navigation errors, or redundant steps
- Adjust Mouse Click zones — resize or reposition the clickable hotspot for accuracy
- Edit Smart Annotations — the auto-generated text is functional but generic; rewrite it to match your brand voice and learner context
- Customize feedback messages — default “Correct/Incorrect” messages work, but tailored feedback (“Great! You selected the correct account type — this prevents processing errors downstream”) dramatically improves learning retention
Non-Destructive Editing Advantage
ActivePresenter’s editor is non-destructive — meaning you can adjust, reorder, and modify slides without permanently altering your original recorded assets. This is critical for enterprise content that needs quarterly updates when software UIs change.
Step 5: Export and Publish — SCORM, xAPI, HTML5, and Beyond
Once your simulation is polished, ActivePresenter gives you a robust set of export options:
| Output Format | Use Case |
| SCORM 1.2 / 2004 | LMS deployment (Moodle, TalentLMS, Cornerstone) |
| xAPI (Tin Can) | Advanced learning analytics and LRS tracking |
| HTML5 | Browser-based delivery without LMS |
| Video (MP4) | Passive reference or YouTube distribution |
| Quick-reference job aids |
Pro Tip #3: When exporting to HTML5 for web delivery, enable “Compress images” and set audio to 128kbps in the export settings. In my experience, this alone reduces file size by 30–40% without any perceptible quality loss — critical for learners on mobile or slower corporate networks.
Pro Tip #4: For SCORM packages destined for strict LMS environments, always test your exported package in SCORM Cloud before uploading to your production LMS. This catches tracking errors before they become support tickets.
3 Real-World Scenarios Where This Workflow Delivers Results
🏦 Scenario 1: Banking — Training Tellers on Core Banking Software
A regional bank needed to onboard 200 new tellers on their core transaction system. The traditional approach (PDF manuals + classroom sessions) had a 60% knowledge retention rate at 30 days. Using Record Interactive Software Simulation, the L&D team built a 12-module simulation course in under a week. Tellers practiced real transaction workflows — deposits, reversals, account lookups — in a consequence-free environment. Result: retention rates improved to 82% at 30 days, and supervisor escalations during the first month dropped by 35%.
💻 Scenario 2: IT Department — Onboarding Staff on Internal Ticketing System
An IT team needed to train 50 new staff members on a complex internal helpdesk tool with 8 different ticket categories and custom workflows. Instead of scheduling live training sessions (expensive, time-zone-sensitive), they recorded interactive simulations for each ticket type. Staff could self-pace through the training and replay specific scenarios as needed. Onboarding time dropped from 3 days to 1.5 days.
🏥 Scenario 3: Healthcare — Compliance Training on EHR Systems
A healthcare provider needed to train clinical staff on updated EHR (Electronic Health Records) data entry protocols — with full compliance documentation for regulatory audits. Using xAPI export, every learner interaction was tracked and logged to their LRS. Managers could pull reports showing exactly which steps learners struggled with, enabling targeted remediation. Compliance documentation time was cut by 50%.
Pros & Cons: Honest Assessment
✅ Pros
- Massive time savings — auto-generation of interactions eliminates hours of manual work
- Accurate interaction placement — clicks are captured at exact pixel coordinates, no guesswork
- Multi-format export — SCORM, xAPI, HTML5, video, and PDF from a single project
- Non-destructive editing — safe for iterative content updates
- Add simulations to existing projects — modular, scalable content architecture
- Strong annotation automation — Smart Annotations give you a working first draft instantly
⚠️ Cons
- Initial recording requires a clean run — mistakes during recording create extra cleanup work; dry runs are essential
- Auto-generated annotation text is generic — always requires human editing to add context and brand voice
- Complex branching scenarios need manual setup — the recorder captures linear workflows; non-linear decision trees require post-recording configuration
- Large projects can be file-heavy — without proper compression settings, exported packages can be large for LMS upload limits
Evaluation Criteria: How to Judge Any Simulation Recording Tool
If you’re comparing ActivePresenter against other eLearning authoring tools for simulation recording, here are the criteria that actually matter in production:
| Criterion | Why It Matters |
| Auto-interaction generation | Saves hours per project |
| Interaction accuracy | Misplaced click zones frustrate learners |
| Export format breadth | Future-proofs your content for different LMS environments |
| Editing flexibility | Non-destructive editing = sustainable content maintenance |
| File size optimization | Affects LMS compatibility and learner experience on mobile |
| Branching/scenario support | Required for realistic, consequence-based training |
| LMS compatibility testing | SCORM Cloud integration or built-in preview saves deployment headaches |
Final Thoughts
Record Interactive Software Simulation in ActivePresenter is one of those features that, once you’ve used it on a real project, you simply can’t go back to building simulations manually. The combination of automatic interaction generation, smart annotations, multi-format export, and non-destructive editing makes it the most efficient workflow I’ve encountered for producing high-quality software simulation training at scale.
Whether you’re onboarding bank tellers, training IT helpdesk staff, or building compliance modules for healthcare — the five-step workflow above gives you a repeatable, professional process that delivers results your stakeholders can measure.
🚀 Ready to Build Your First Interactive Simulation?
Download ActivePresenter 10 free and follow the five steps above on your next project. The free version gives you full access to the Record Interactive Software Simulation feature — no time limit, no watermark on your simulation output.

Have questions about your specific use case? Join the Atomi Systems community forum — a space where eLearning developers share workflows, troubleshoot LMS issues, and exchange simulation-building strategies.
Last Updated: June 2026 | ActivePresenter Version: 10