The AI Image Editing feature is one of the most exciting additions in ActivePresenter 10, the all-in-one authoring tool for creating professional eLearning content. It allows you to enhance or transform images directly within the app, without requiring external design software. Whether you want to change backgrounds, replace objects, or generate creative visuals from text prompts, this powerful AI-driven tool makes image editing fast, intuitive, and fun.
Note: AI features are only available in the paid edition of ActivePresenter. An active Internet connection is also required to use AI features that rely on connected providers.
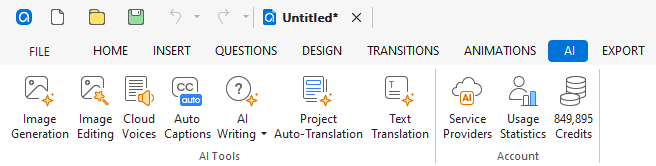
AI Services and Image Editing
ActivePresenter uses AI services to provide features like AI Image Editing. These services may consume AI credits each time you generate content. You can track your credit usage at any time by opening the AI tab to view your statistics and remaining balance.
How to Use the AI Image Editing Feature in ActivePresenter 10
To enable this feature, take the steps below:
Step 1: Select the image on the Canvas and do either of the following:
- Access the AI tab > Image Editing.
- Right-click the image on the Canvas > Edit with AI.
This opens the AI Image Editor dialog:
Step 2: Adjust the settings in the dialog.
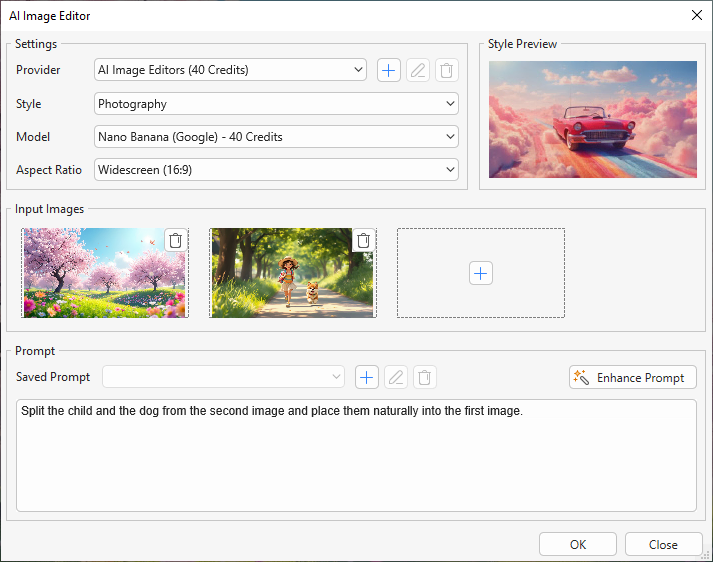
1. In the Settings section
- Provider: Show the provider name. Additionally, you can add a custom Image Editor and edit or remove it.
- Style: Select a style for your edited image. The style list depends on the providers.
- Model: Select a model to edit your image. ActivePresenter integrated Nano Banana and Flux Kontext Pro models by default.
- Aspect Ratio: Select the aspect ratio for the edited image among the available options.
2. In the Input Images section
Click the Add Image button to add images you want to edit from your computer, from your current project, or from your current slide.
3. In the Prompt section
Enter a prompt to edit your images. You can also enhance your prompt, save the prompt to reuse it later, edit, or remove a saved prompt.
Refer to How to Generate AI Images in ActivePresenter 10 for more information.
Step 3: Click the OK button to start the editing phase.

That’s how to edit your image with the power of AI in ActivePresenter 10. Visit our YouTube channel for more interesting videos updated.
Download ActivePresenter today and experience that app!

FAQs about AI Image Editing in ActivePresenter 10
Do I need an Internet connection to use AI Image Editing?
Yes. Since AI image generation and enhancement require cloud-based processing, you’ll need an active Internet connection to use these features in ActivePresenter 10.
Can I use my own images with AI Image Editing?
Absolutely! You can upload or import any image into your project, then apply AI-powered edits such as background removal, object replacement, or style transformation – directly inside ActivePresenter.
Can AI Image Editing be used for educational content or eLearning projects?
Yes. The feature is perfect for creating custom visuals, illustrations, and clean images for eLearning slides, video tutorials, or interactive lessons – saving time and improving the visual quality of your training materials.
Related articles: