ActivePresenter 10, an all-in-one eLearning authoring tool, allows you to quickly start a new eLearning project using ready-made templates. This feature helps you save time and maintain a consistent design across all your slides, including layout, colors, fonts, and images.
Follow the simple steps below to create a project from a template.
Step 1: Open ActivePresenter 10
Launch ActivePresenter 10 on your computer. Then, you’ll see many templates available from the Start Page.
Step 2: Choose “Project from Template”
Move your mouse pointer over a desired built-in template and do either of the following:
- Click on a template > Select Project from Template on the pop-up menu to create a non-responsive project. Or select Responsive Project from Template to create a responsive project from that template.
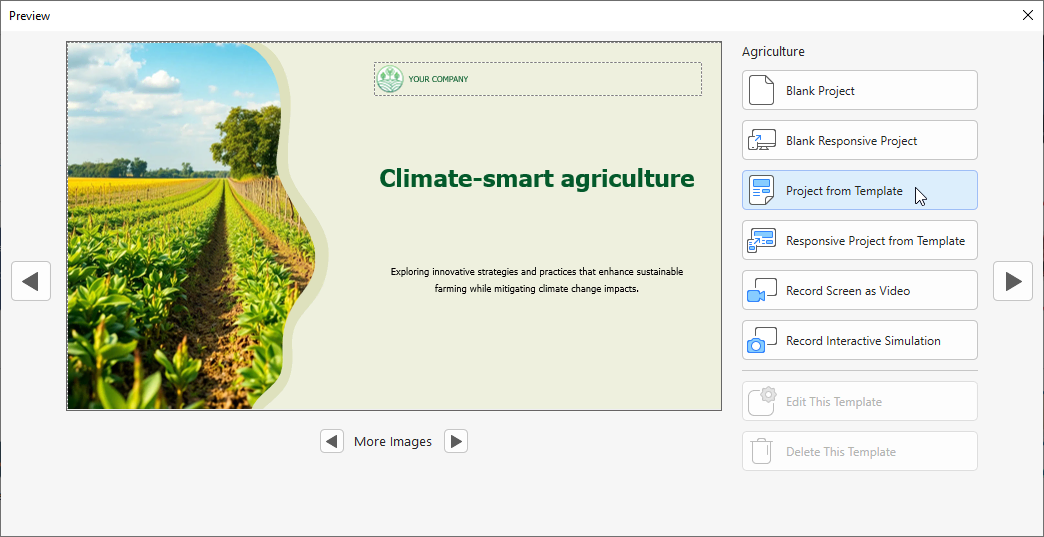
- Right-click on a template > Select Project from Template on the pop-up menu. Or select Responsive Project from Template to create a responsive project from that template.

Once, ActivePresenter will automatically create a new project that contains all slides, images, and color schemes from the selected template.
You can now customize the theme color, text, replace media, or add new slides as needed.
Step 3 (Optionally) Save as Custom Template
After customizing the project created from a built-in ActivePresenter template, you can save it as a custom template and reuse it later.
Click on the File button > Save As… > Select the format *.apslide to save it.
It is easy to create a project from a template in ActivePresenter 10, isn’t it? Visit our YouTube channel for more interesting information.
👉 Download ActivePresenter 10 today and explore how templates can help you create engaging, polished courses in minutes!

Read more: