Translating an entire project into another language can be done in just a few seconds with ActivePresenter 10 – an AI-powered eLearning authoring tool. The Project Auto-Translation feature uses AI to make the process easier, letting you translate almost all text in your project, including slide content, closed captions, and object settings.
This step-by-step guide will show you how to use the Project Auto-Translation feature to turn your content into multiple languages.
AI Services and Project Auto-Translation
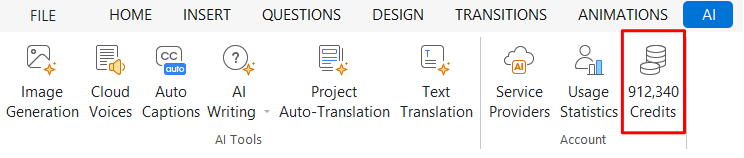
ActivePresenter uses AI services to provide features like Project Auto-Translation. Similar AI features in ActivePresenter are available only in the paid editions and require an active internet connection to use.These services may consume AI credits each time you generate content. You can track your credit usage at any time by opening the AI tab to view your statistics and remaining balance.
How to Use the Project Auto-Translation Feature
To get started, simply have your ActivePresenter project open and ready for translation.
Step 1: Access Project Auto-Translation
Navigate to the AI tab and select Project Auto-Translation. This action will open the Project Auto-Translation dialog box, where you will set up the translation settings.
Step 2: Set up the Translation Settings
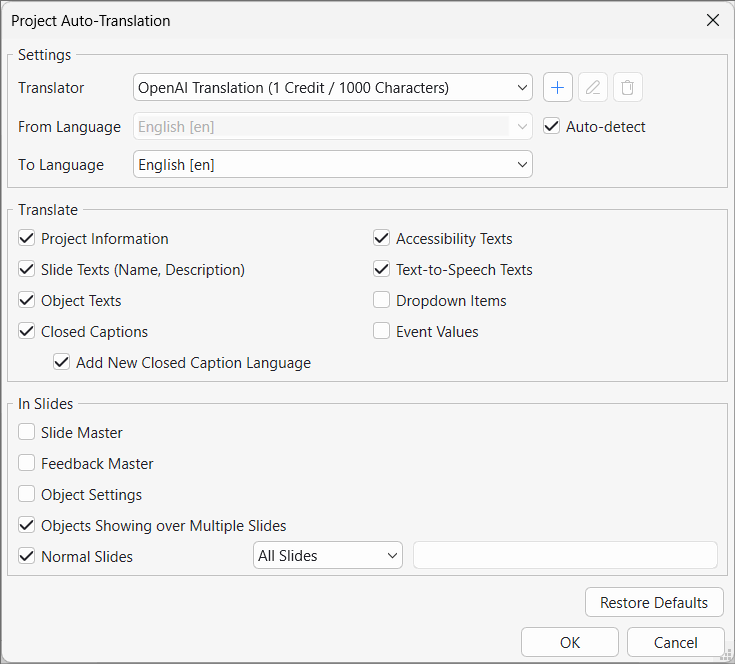
The dialog is organized into three main sections: Settings, Translate, and Slides.
In the Settings section:
- Translator: This shows the name of the translation provider. You can click the dropdown menu to select a different provider or to add, edit, or remove a custom translator.
- From Language: Select the original language of your current project from this dropdown menu.
- Auto-detect: If you’re unsure of the project’s current language, check this box to have ActivePresenter automatically detect it for you.
- To Language: Choose the target language you want to translate your project into.
In the Translate section:
This section allows you to select which specific text elements of your project you want to translate. You can check the boxes for:
- Project Information: Translates the project’s name and description.
- Slide Texts (Name, Description): Translates the name and description for each slide.
- Object Texts: Translates the text content within objects in your project.
- Closed Captions: Translates existing closed captions. You can also select the Add New Closed Caption Language checkbox to create a new set of captions in the target language instead of replacing the original ones.
- Accessibility Texts: Translates the accessibility text for objects.
- Text-to-Speech Texts: Translates the scripts used for Text-to-Speech generation.
- Dropdown Items: Translates the items within dropdown lists.
- Event Values: Translates the values associated with events.
In the Slides section:
Here, you can specify which slides and master layouts should be included in the translation:
- Slide Master: Translates the content on the Slide Master layouts.
- Feedback Master: Translates the content on the Feedback Master layouts.
- Object Settings: Translates the object settings.
- Objects Showing over Multiple Slides: Check this box to translate objects that appear across multiple slides.
- Normal Slides: You can choose to translate All Slides or only Specified Slides. If you choose the latter, you must enter the specific slide numbers in the provided text box.
Note: If your project contains Slide Pools, an additional option to translate them will appear at the bottom of this dialog.
Step 3: Start the Translation
Once you are satisfied with your selections, click OK to begin the automatic translation process. If you need to revert to the default settings, click Restore Defaults. To close the dialog without making any changes, click Cancel.
FAQs about Project Auto-Translation
Can I choose which parts of my project to translate?
Yes. The feature provides detailed options to translate all slides/specific slides or specific elements such as project information, object texts, closed captions, accessibility texts, and slide masters.
Can I create closed captions in a new language without replacing the original ones?
Yes. Simply choose your target language and check the Add New Closed Caption Language option.