Advanced Actions – an amazing feature of ActivePresenter version 7.5 helps create engaging and interesting eLearning courses. Thanks to this feature, you can now execute multiple actions at one time and build conditions for actions logically without repeating the same stages for each object. For example, there are many objects which do the same tasks and it’ll be a waste of time setting actions for each one. With Advanced Actions, you’re allowed to solve that problem just by passing parameters to each object correspondingly. So, let’s find out how it works.
Creating New Advanced Actions
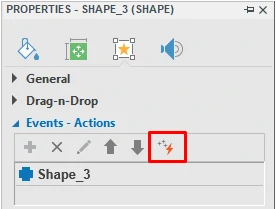
Firstly, to add advanced actions to your project, select the object then do either of the following:
- In the Interactions tab > Advanced Actions.
- In the Properties pane > Interactivity > Events – Actions > Advanced Actions.
 After that, the Advanced Actions dialog appears with three main parts including: Action Name (1), Parameters (2), Actions (3).
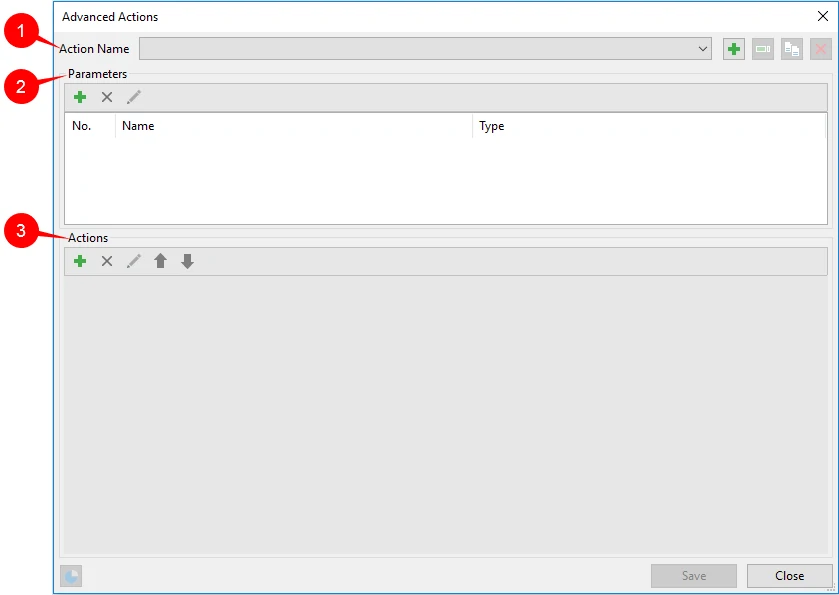
- Action Name: Name of Advanced Actions that you are going to create.
- Parameters: Each Advanced Action comes with its default parameters. Therefore, you have to add value to parameters to work with Advanced Actions.
- Actions: These are normal actions in Advanced Actions.
Adding Parameters
In this paragraph, I will walk you through ways to add parameters – a special feature of Advanced Action. Parameters are like a bridge between the procedure and the actions you create. In other words, if you want to add a value to the action and reuse this value for other objects afterwards, you have to pass it to a parameter.
To add parameters, in the Advanced Actions dialog, click the Add button in the Parameters section.
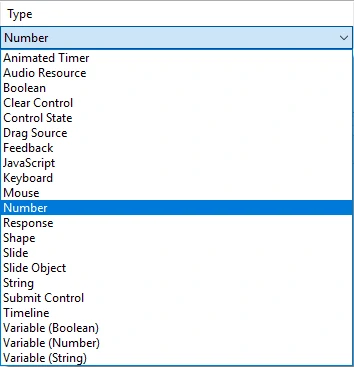
Note: Each added parameter must be in proportion to the created action depending on your aims. After giving each parameter a name, you will have to select its type.
- Animated Timer: Use this for Start Timer, Pause Timer and Stop Timer action.
- Audio Resource: Use this for Play Audio action.
- Boolean: Use this for Condition of Variables action.
- Clear Control: Use this for Clear User Input action.
- Control State: Use this for Change Object State action and Condition of Shape action.
- Drag Source: Use this for Condition action.
- Feedback: Use this for Show Feedback Layer action and Hide Feedback Layer action.
- JavaScript: Use this for Execute JavaScript action.
- Keyboard: Use this for Condition action.
- Mouse: Use this for Condition action.
- Number: Use this for Condition number action and Go to Slide Index action.
- Response: Use this for Show Responses action.
- Shape: Use this for Show Object action, Hide Object action and Highlight Object action.
- Slide: Use this for Go to Slide action, Go backward action and Go Forward action.
- Slide Object: Use this for the actions with Shape action.
- String: Use this for Condition Variable action.
- Submit Control: Use this for Submit action.
- Timeline: Use this for Start Timeline action, Pause Timeline action and Continue Timeline action.
- Variable (Boolean), Variable (Number), Variable (String): These are used for Action Adjust Variable action and Condition of Variable action.
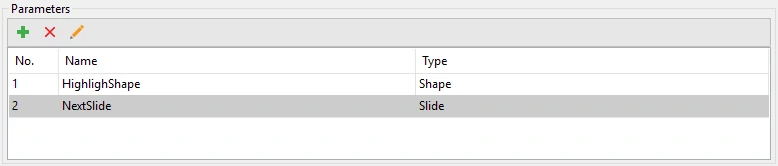
For instance, if you want to add Highlight Object action and Go to slide action, you will need to add two types of parameters including Shape and Slide, respectively. And, don’t forget to set a suitable name for each parameter.
Adding Actions
After accomplishing the Parameters section, take the following steps to add actions:
Step 1: Click the Add button in the Action section, then select one action from the gallery. After that, the action you select will appear below the action entry. 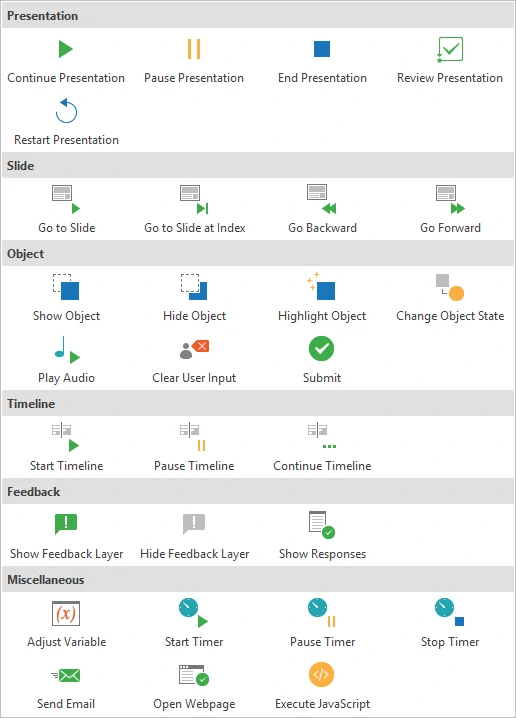 Step 2: Click Click to edit to take further steps with your action.
For example, if you select Highlight Object action, after choosing Click to edit, you have to choose the object you want from the Object drop-down list.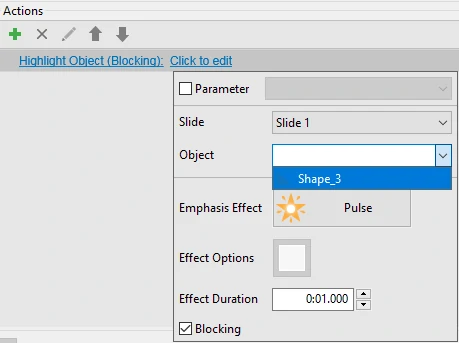
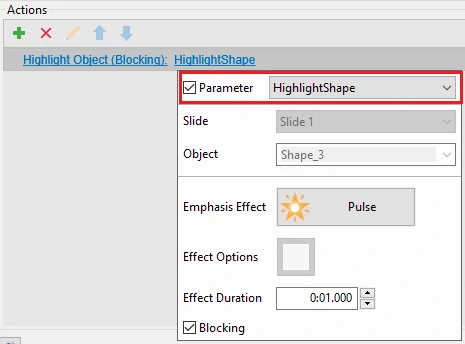
Step 3: Check the Parameter check box and then click the arrow of the spin box to select the Parameter you already set up.
Note: Advanced Actions allows you to group and work with multiple actions. So, repeat the process to add more actions as you want.
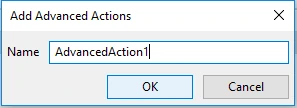
Step 4: Click Save, type a name for the advanced action you have just created in the Add Advanced Actions dialog. Then, click OK.
Step 5: Click Close in the Advanced Action dialog.
Applying Advanced Actions to Events
After having an advanced action created, you need to apply it to events. Follow these steps:
Step 1: Go to the Properties pane > Interactivity > Events – Actions > Add Event, then choose one event from the pop-up menu.
Step 2: Click Add Action > Advanced Actions.
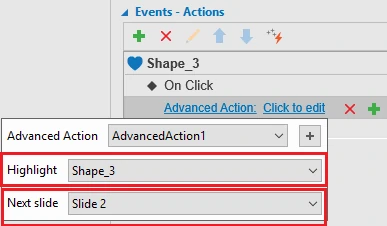
Step 3: Click Click to edit and choose the name of Advanced Action. After doing that, Parameters that already added will appear, then click the drop-down arrow to select the suitable values.
Note: It’s easy and quick now to apply the same actions for many objects or slides. To add the created advanced action to other objects, first go to the Properties pane, then add Events and Advanced Actions.

In short, the procedure of working with Advanced Actions is basically the same as that of working with Events – Actions. Now you can easily create your own actions as you wish and reuse them for multiple objects just with Advanced Action new feature of ActivePresenter. Try it and let us know if you need help.