As you may know, Themes play a crucial role in any successful project. So, in today’s tutorial, let’s explore using themes in ActivePresenter 8.
Overview of Themes
When working with ActivePresenter 8, utilizing themes helps create a consistent visual design for the whole project.
In a word, a theme is a predefined combination of design components: Theme Colors, Theme Fonts, Preset Background Styles, and Slide Master.

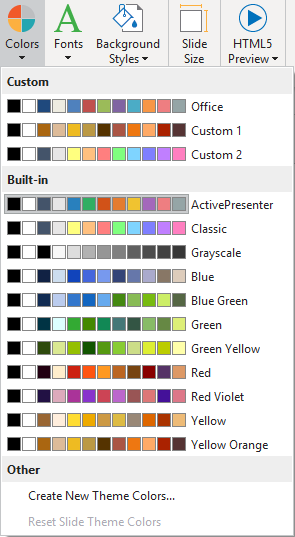
- Theme Colors are a set of colors. ActivePresenter comprises sets of built-in theme colors that determine the default color choices for text, background, fill styles, and outlines.
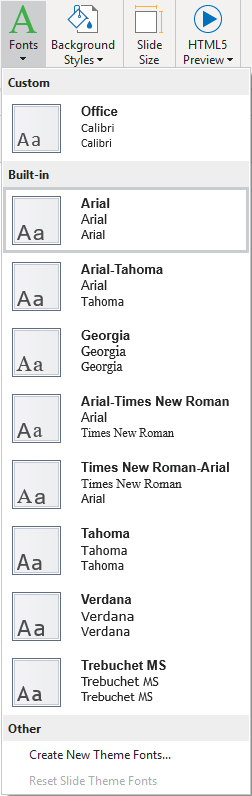
- Theme Fonts are a set of fonts that are meant for heading and body text. Particularly, each theme font has a font for the heading and a font for the body.
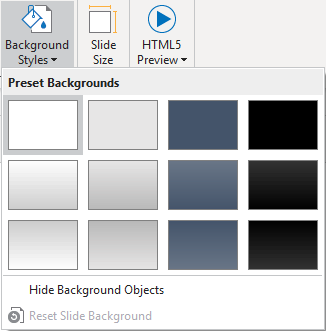
- Preset Background Styles come with each theme. So, using preset backgrounds, you can modify the slide background for the whole project quickly.
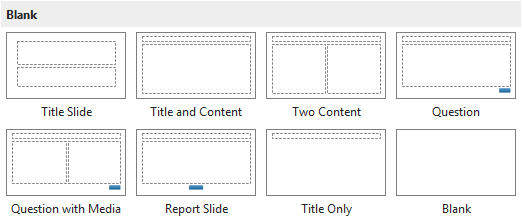
- Slide Masters give a uniform appearance for your presentation. Each theme contains a slide master and a related set of layouts. Besides, different themes use different slide layouts.
Use Themes
In general, ActivePresenter 8 provides a lot of themes that appear in the theme gallery. The app offers you two ways to use themes. First, create a new theme-based project. Perform this task by going to the Start Page. For further details, see How to Create New Blank Projects.
Second, change the theme of the whole project or some specific slides to new them. Regarding this technique, there are four major tasks as shown below.
Preview Themes
Now, to open the theme gallery, access the Design tab. Next, look at the below picture, this gallery shows thumbnail previews of themes. The theme currently applied to select slides will be displayed with a gray outline. Especially, you can hover the mouse over each thumbnail to see how a theme will change the appearance of your project once applied.
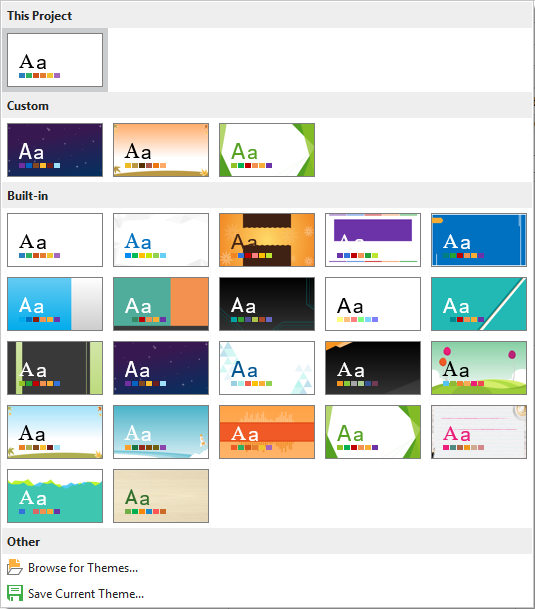
As you can see, the theme assigned to the current slide appears in the This Project section. Meanwhile, the Custom section contains all themes you’ve created (called custom themes). And, the third section is where to show built-in themes which come with ActivePresenter 8.
Note: By default, ActivePresenter applies the plain theme (called Blank theme) to a new blank project. If you don’t like it, just select another theme.
Apply and Manage Themes
Now, to apply a theme, just select a slide, and then click any theme thumbnail. This way, the theme is applied to all slides that use the same Slide Master as the selected slide. Slides based on other Slide Masters remain unchanged. It’s as simple as that!

In addition, the great thing is that ActivePresenter 8 gives you more options. To see them, right-click any theme thumbnail.
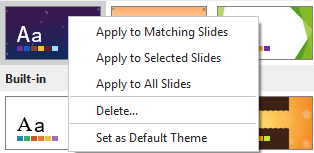
Next, perform any of the following:
- Apply to Matching Slides: This option works the same way as when you click the theme thumbnail.
- Apply to Selected Slides: This applies the theme to selected slides only. The option is practical when you need to use different themes for different slides.
- Apply to All Slides: This changes the theme of all slides in your working project to a new theme.
- Delete…: This option is available only for custom themes, not supported for built-in themes and any themes currently used in your project. Select it to remove the theme from ActivePresenter. By doing so, that theme no longer appears in the theme gallery.
- Set as Default Theme: This lets you set a theme as default for new projects. After that, whenever you start a new project, it will use that default theme.
Note:
If you have any theme (.aptheme) files created before, there are two ways to reuse them. Now, do one of the following:
- Copy those files to C:\Users\<user_name>\Documents\ActivePresenter Templates (for Windows) or /Users/<user_name>/Documents/ActivePresenter Templates (for macOS)). Then, restart the app, and you will see your themes appear in the theme gallery.
- Click Browse for Themes… and look for a theme file in your file system.
Customize Themes
ActivePresenter 8 allows you to make changes to the applied theme if you like. So, do either of the following:
- Change Theme Colors.
- Change Theme Fonts.
- Modify the Preset Background Style.
- Add or customize items on Slide Master.
Save Custom Themes
To save the current theme for use in other projects, select Save Current Theme… from the bottom of the theme gallery. Then, choose a name for your theme and click Save. Take a look at the tutorial How to Use Custom Themes in ActivePresenter 8 for further information.
So, you’ve walked through how to use themes in ActivePresenter 8. Download the app right now and create your first project using themes. Visit our YouTube channel to see more useful video tutorials. If you have any problems, don’t hesitate to contact us.
Related articles: