There are many new computer programs created every day and people use them to perform specific activities. There is nothing to discuss with the old and familiar apps. However, with the new and complex ones, people need to be trained on how to use them correctly.
So, if you have new software, would you like to train your users how to use it effectively? Do you want to have a home-based and low-budget training method? If yes, software simulations are what you need. An effective simulation is not difficult to create, as long as you have a professional screencasting tool like ActivePresenter. Download the app now and start creating stunning interactive software simulations following the tips in this blog.

What are interactive software simulations?
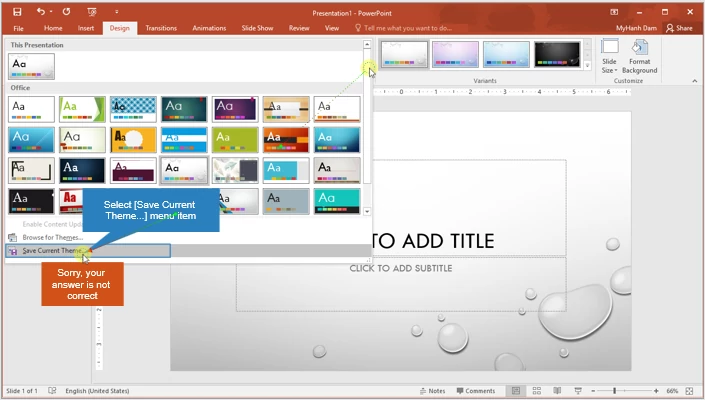
A software simulation is the process of a software real-world imitation that shows your users how the app works. With interactive software simulations, users can even actually perform the steps of the simulation. They give users the experience like they are actually working with the software. More interestingly, with some professional screencasting and eLearning authoring tools, you can also test users’ understanding and track their result easily with different kinds of assessment.
For any user, observing and understanding any software can never be easier thanks to the simulation. It’s extensively used for training and learning purposes and it’s a key to the world of effective software training.

Why you need interactive software simulations?
Are you implementing new software? Do you want to boost its full potential by providing your users with skills and knowledge to use the app? Would you like to simplify the training process but still give them real using experience? The solution for all the “yes” answers is interactive software simulations.
It is said that we remember much more when we do than when we just see. Training users by using interactive simulations can go a long way in conveying knowledge and skills. Interactive software simulations provide a better experiential learning to the users since they can not only see but actually work with the application while seeing.
To put it simply, effective interactive simulations are worth trying because:
- Creating courses using simulations is more cost-effective than using traditional methods.
- Teaching and training complex software and knowledge transfer become easier.
- Using interactive software simulations provide experiential learning to users.
- Users can explore every step in a process, redo the procedure if they want without disturbing their instructors.
How to create effective interactive software simulations?
Interactive software simulations are very successful in imparting the watch-try-do learning experience to users. So, how to create an outstanding simulation for your software? As promised, below are five easy-peasy tips:
1. Be clear about the target software
The first and foremost thing you need to bear in mind is your ability to use the target/simulated software professionally. How can you explain to others how to do the thing that you yourself don’t really understand? Practice the target application before actually recording. Knowing deeply the target application, you can give viewers tips and tricks on some steps, which is great. Besides, using skilfully the simulated software avoids you from making too many mistakes. As a result, there is no need to cut or delete the simulation many times.
2. Understand your users
Understanding your users is also a key to the success of a simulation. So, ask yourself some questions beforehand: Are you going to create software simulations for newbies or pros? Do they have technology backgrounds?
Newbies may need clear but slow simulations. On the other hand, users who are familiar with the app may need medium to high-speed ones. After researching and understating your users, classifying them into groups depending on their user experience is a good idea. This helps you make the most good-looking and user-oriented software simulations. Besides, basing on groups of users, you can make simple and advanced simulations separately. This is essential especially when your software is complex and unpopular.
However, regardless the group they belong to, simulations should be insightful, clear, and effective at the same time. Plus, the process should be easy to follow.
3. Decide the degree of interaction
To some extent, a software simulation is a type of eLearning simulations in which the interaction is an important part. For this reason, you should determine the level of interactivity beforehand.
While simple software needs some simple interactions like drag-n-drop, complex ones may need a bite-size procedure with more interactions. Some interactive steps can be skipped simulations for users who use the target software well, and they just need to know some more complicated features. Others may need a higher level of interactions. Besides, if your simulations require many details and interactive objects that need the programming skill, you should choose a tool that provides templates and rich ready-to-use event systems.
4. Choose the right eLearning authoring and screencasting tool
In the era of eLearning in general and eLearning simulations in particular, there are more and more tools that can help you create software simulations effortlessly. The issue is to decide which one to use. In the range of available choices, there are some the brightest names such as ActivePresenter 7 and Adobe Captivate.
Besides license cost, technical support and available documentations, you should consider the following important features before choosing a screencasting and eLearning authoring tool:
- Smart capture: Smart capture is critical in creating simulations because it lets the tool automatically capture when the mouse is clicked or a key is pressed.
- Full motion recording: Whenever you scroll the mouse or have a drag-n-drop action, the tool will record screen as a full-motion video with all the actions (and sound if you need) happened. Then, the video is embedded into a slide of the project, making it easy to edit and enhance.
- Audio recording: Easily record system audio or audio from the speaker with high quality.
- Audio and video editing: Edit audio or videos after recording with many built-in tools, ranging from basic to advanced ones, without quality loss.
Some of the prebuilt video and audio editing tools in ActivePresenter 7: Change volume, cut, crop, copy, delete, insert freeze frame, zoom-n-pan, join, split, blur, green screen, etc. They will surely meet all your wants and needs.
- Smart annotations and callouts: The tool you choose should have the ability to generate the descriptions from the action and target application, then automatically add them to shapes, callouts or things like that. Try this and you will see how much time they save you when editing simulations.
- Cursor path and click effects: Cursor paths stimulate the mouse movement on screen. With the flexible cursor, you can even edit the path after recording. Some software like ActivePresenter allows you to customize the cursor properties such as the highlight or click sound and effect. This will surely make your simulation look more engaging.
- Quizzes: Provide different types of quizzes to test users. With these types of assessments, you can know how much your users understand the software. Quizzes are even more important if you want to create eLearning simulations.
- Interactivity: Rich events – actions allows you to define different scenarios. With this powerful feature, you can specify the event for an object and what action should be taken for that event. For example, you can let the presentation show a message like “click here” when users hover the mouse over a specific button. It can also display a hint saying “you are going too far” when users hover the mouse out of the clickable area.
- HTML5 export: Export content to HTML5 which can run on any web browser and device including desktop, tablet, smartphone.
- SCORM & xAPI: Support SCORM and xAPI, two most popular eLearning specifications.
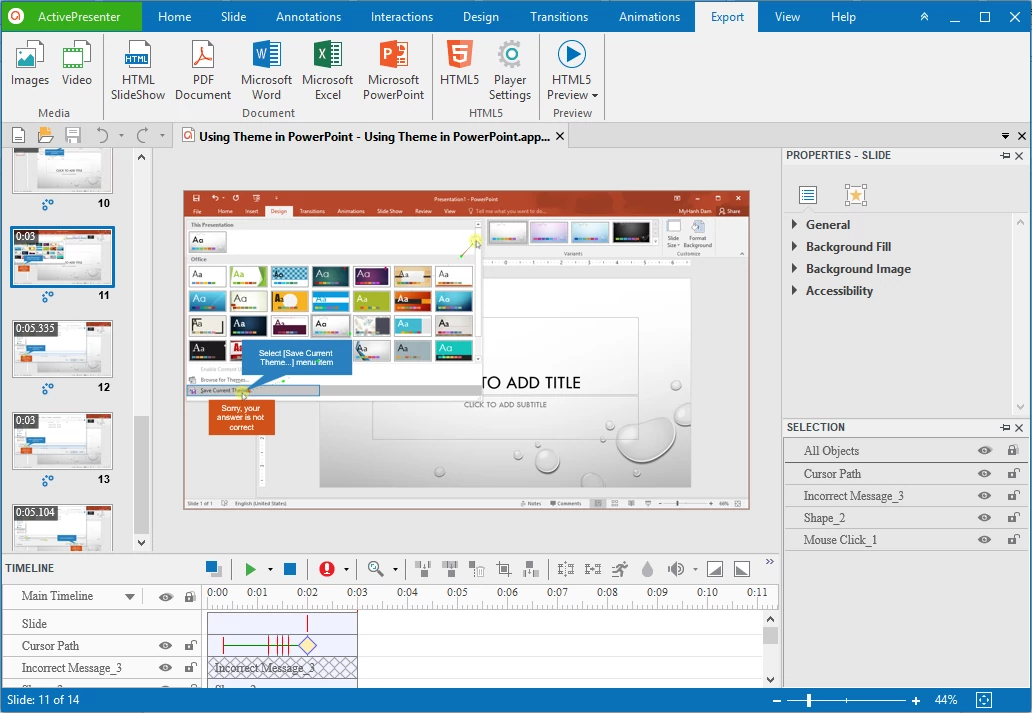
The user interface of the selected application is also important. It should be a professional but have a streamlined and user-friendly user interface. Let’s take a look at one typical example of that easy-to-use interface in ActivePresenter 7.

Tip: If you want to know more about how to choose the most suitable tool for creating interactive eLearning simulations, refer to following articles:
9 things to consider when choosing an eLearning authoring tool
How to choose best screen recorder, screencast software for specific purposes
5. Simulations mimic exactly what you have done
With a worthwhile simulation, users can overcome the real-world challenges and explore your software in their own place anytime. Though, you have to make sure that the simulation mimics exactly and truthfully the working procedure of the target software. Providing visual cues is one of many reasons that make simulations become widely used. Utilizing visuals to make your simulation more intuitive and easier to understand especially in complex steps.
Added to that, software simulations should contain one or some types of assessment so that your users can get feedback and track their progress.
Takeaway message
Creating good things always takes time, including professional software simulations. With a powerful eLearning authoring and screencasting tool like ActivePresenter 7, creating an interesting simulated world for users through software simulations will turn out to be an easy task.
Download ActivePresenter 7, open the Record Software Simulation feature and work with the target software as your normal speed and practice. Don’t worry about mistakes or redundant actions because you can edit them later. A lot of pre-built tools let you enhance the recorded simulation in a matter of clicks. Finally, export it to HTML (with or without LMS packages) to let users interact with it.

There are many useful tutorials on ActivePresenter 7 tutorial page. Feel free to take a look to get the most out of the app and apply these tips to create the most effective interactive software simulations.