Last Updated On: February 7, 2020
ActivePresenter 7 has a newly designed user interface. It’s now flat and streamlined. In this article, I’ll give you a brief overview of ActivePresenter 7 user interface. Thus, you can find it easier to get started with the app.
 Below are some changes you need to know.
Start Page
In ActivePresenter 7, the Start Page replaces the Welcome Screen in previous versions. As you notice, the Start Page has a well-organized and intuitive interface. It’s also much more powerful as you’re able to do many things on this page. For instance, you can create a new project using templates or open the documentation from here. What a useful facility!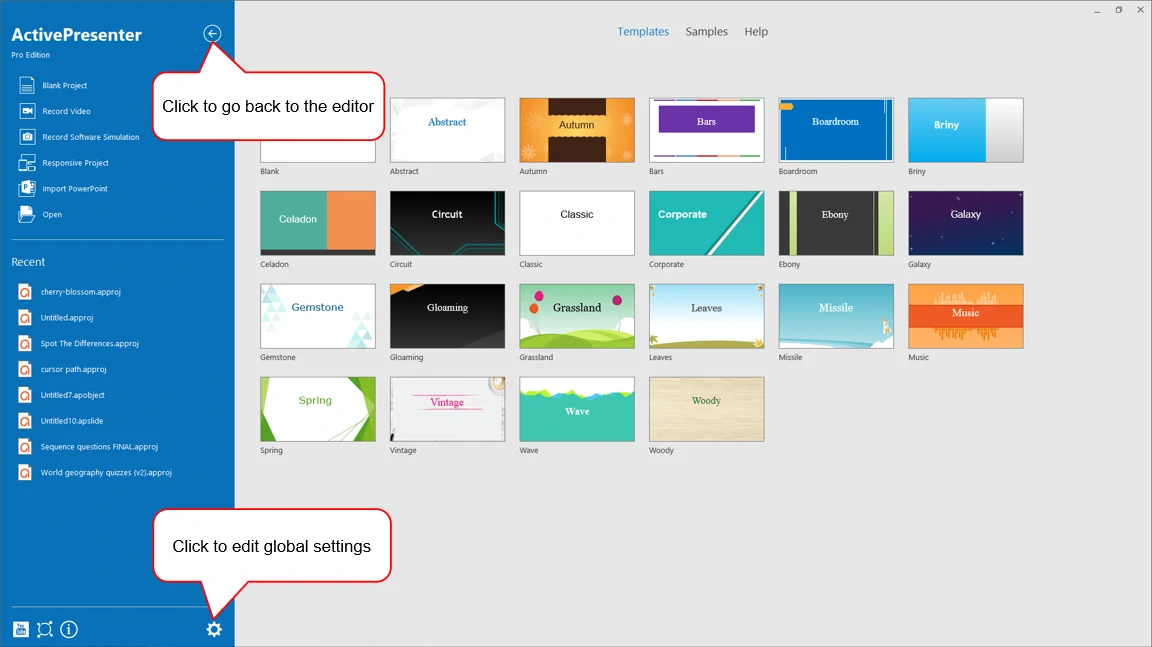
The left pane includes several practical commands, such as recording a video or creating a responsive project. All of them come in handy in designing screencasts and eLearning contents. The Start Page also lists out some of your recent projects. Just click on the project name to open it.
Note:- When there isn’t any project opened, the Start Page is shown.
- When you are in the editor, it’s possible to view the Start Page. To do that, click the ActivePresenter button and select Start Page from the menu. To go back to the editor, click the Back button.
- On the Start Page, you can customize global settings by clicking the Preferences button at the bottom.
Templates
The Templates tab offers many templates which allow previewing. Basically, a template is the layout of a single slide or a group of slides in your project. It can contain layouts, theme colors, theme fonts, theme effects, background styles, and even contents.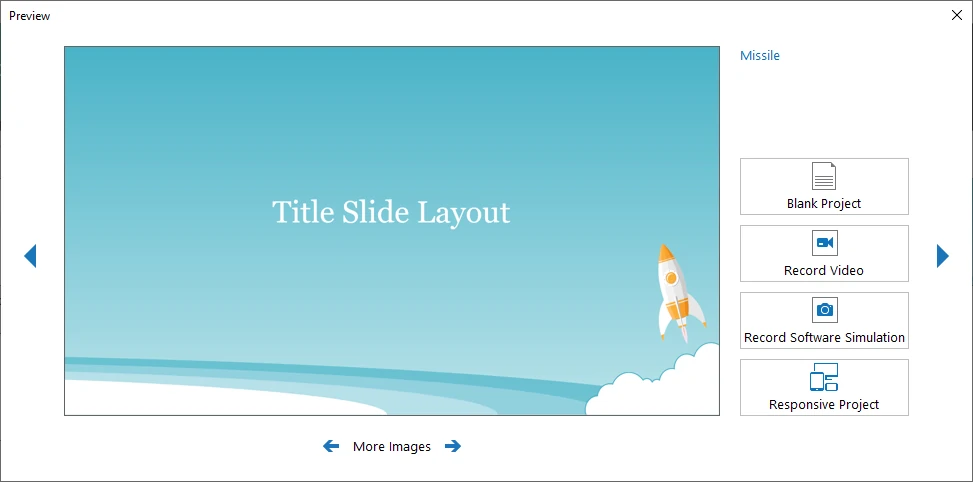
Samples

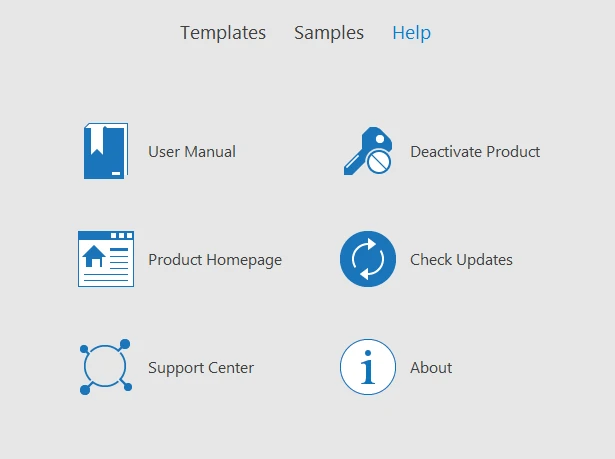
Help
The Editor
Apart from the Start Page, ActivePresenter 7 user interface also has a lot of differences in the editor. For example, the Properties pane now has tabs with specific functions. In particular, the event editor also appears on this tab. So, your workflow becomes much simpler and smoother.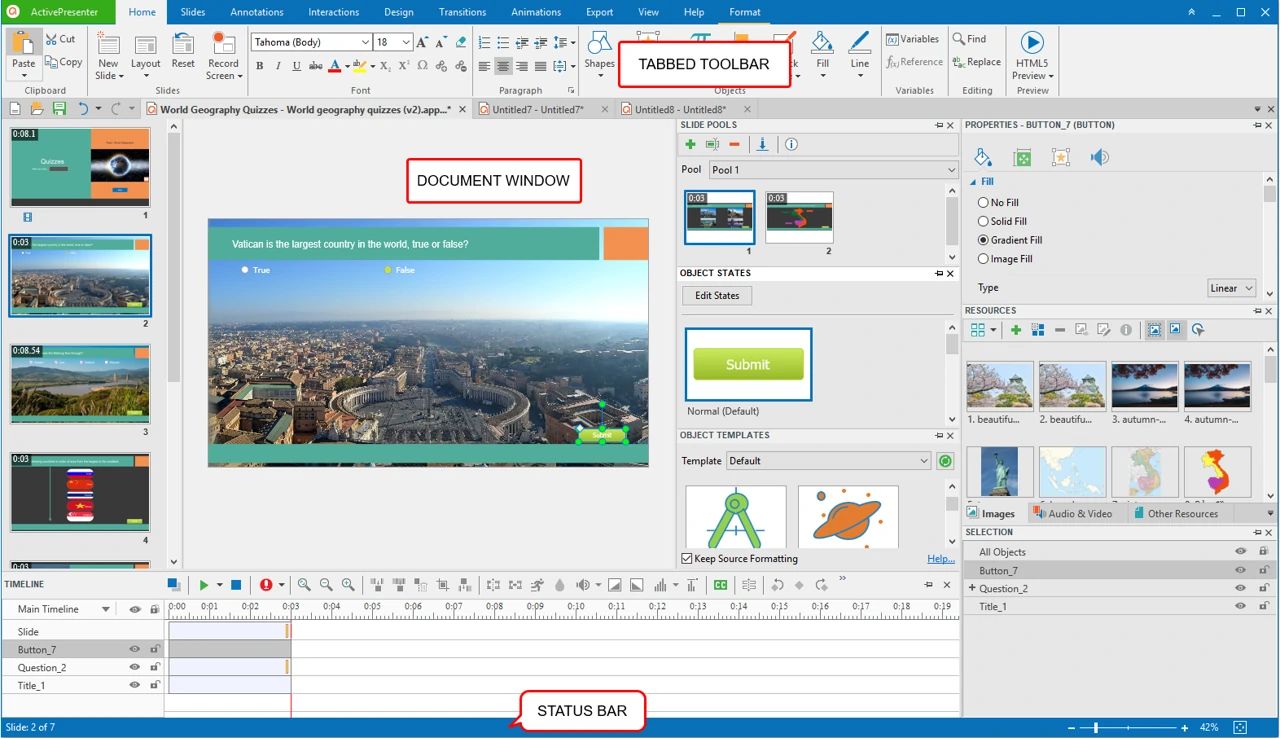 Below are some changes you need to know.
The Tabbed Toolbar
The Tabbed Toolbar contains almost necessary tools for creating and editing contents. These tools are organized into logical tabs. Each tab relates to a type of activity, such as inserting annotations and exporting projects. Click any tab to see an associated set of commands. Generally, most tabs like Home and Slide are visible all the time, except some contextual tabs such as Format and Drawing. They only appear when you are working with a particular object which can be edited using special options. In ActivePresenter 7, the position of ActivePresenter button remains unchanged. It lies in the top-left corner of the interface. On the top-right corner, you still see Standard Window buttons and Hide/Show Toolbar button. They are useful to collapse/expand the Tabbed Toolbar.Document Window
ActivePresenter 7 allows you to open multiple projects simultaneously. Then, the app displays document windows in tabs. So, it’s easier to navigate between them.
- Quick Access Toolbar: Contain the New, Open, Save, Undo, and Redo command.
- Document tabs: Navigate between opening documents. Hover over this tab to view the location of the project file (displayed in a tooltip). Or, right-click the tab to perform some tasks such as opening the file location and saving the file.
- Slides pane: Show the list of slides in your opening project. From here, you’re free to select a slide to edit its contents, change the order of slides, etc.
- Canvas: Display the slide contents. Your spatial editing is visually done here. It shows captured scenes and inserted annotations/interactive objects. Besides, there are many other things you can do on the Canvas.
- Timeline pane: Show the slide against time axis. Its main function is to show all objects against time, and let you adjust their entrance and exit times. From this pane, you’re able to play the slide and record your voice in real time. Note that Multiple Timelines is now available.
- Properties pane: Show all physical and behavioral properties of your selected objects either on the Canvas or in the Timeline pane. In addition, this is also where you create events and actions for questions, objects, and slides.
- Resources pane: Show the global and project-level resources with two categories, namely, Images and Audio & Video.
- Selection pane: Allow you to view and change the selection, lock, and visibility states of particular objects, groups along with their child objects in the current slide.
- Slide Pools pane: Contain slide pools. They serve for the purpose of slide randomization which allows you to create dynamic quizzes.
- Object States pane: Manage object states. You can add and edit states for an object. This feature brings many benefits, especially in eLearning design.
- Object Templates pane: Contain object templates. You can add objects to this pane and reuse them with ease.
Status Bar
The Status Bar is at the bottom of the editor. It shows the status of the current project. In addition, this bar also offers some certain functions.
- Show the active slide number and the number of slides in your working project. In other cases, this also shows the progress of the saving process.
- View and change the zoom scale of the editing project with the slider and level.
- Use the Zoom Fit button to adjust the zoom level to fit the space of the Canvas.