There is nothing worse than getting to the end of a long tutorial, training session, or lecture recording only to realize your free software crashed mid-way through. Windows 11 promises free, built-in recording options, but matching the right tool to your specific production workflow is harder than it looks.
We’ve all seen the articles—generic lists clearly spun up by AI that only look at surface-level marketing bullets rather than real-world performance.
You deserve a human perspective. I broke down the best free Windows 11 options based on how they actually function under pressure, and I’m going to show you exactly how to configure them for a flawless run.
In this post, we are going head-to-head with the big three:
- Snipping Tool: Fine for a 10-second grab, terrible for tutorials.
- Xbox Game Bar: Decent, but falls apart the second you need to switch windows.
- OBS Studio: The open-source powerhouse, but is the steep learning curve worth it? Plus, I’ll show you why ActivePresenter is the hidden-gem alternative that actually combines recording and editing into a workflow built specifically for course creators. Let’s dive in.
Why “Free” Doesn’t Always Mean “Ready for Tutorials”
There’s a meaningful difference between a tool that can record your screen and a tool that should be used to record your screen for professional content. A quick screen capture for a bug report? Almost anything will do. A structured software walkthrough for 200 new employees? That’s a different story entirely.
What Tutorial Makers and Trainers Actually Need
After a decade of working with eLearning content and instructional design teams, I’ve noticed that most educators and trainers need at least these five things from a screen recording tool:
- Reliable audio capture — system sound and microphone, independently controlled
- Webcam overlay — face-to-camera builds trust and engagement
- Region or full-screen flexibility — not every tutorial needs the entire display
- At least basic post-recording editing — trimming dead air, adding annotations
- A stable, predictable workflow — tools that crash or require complex setup kill momentum
Keep these five criteria in mind as we evaluate each option.
Tool #1 — Xbox Game Bar: The Quickest Option
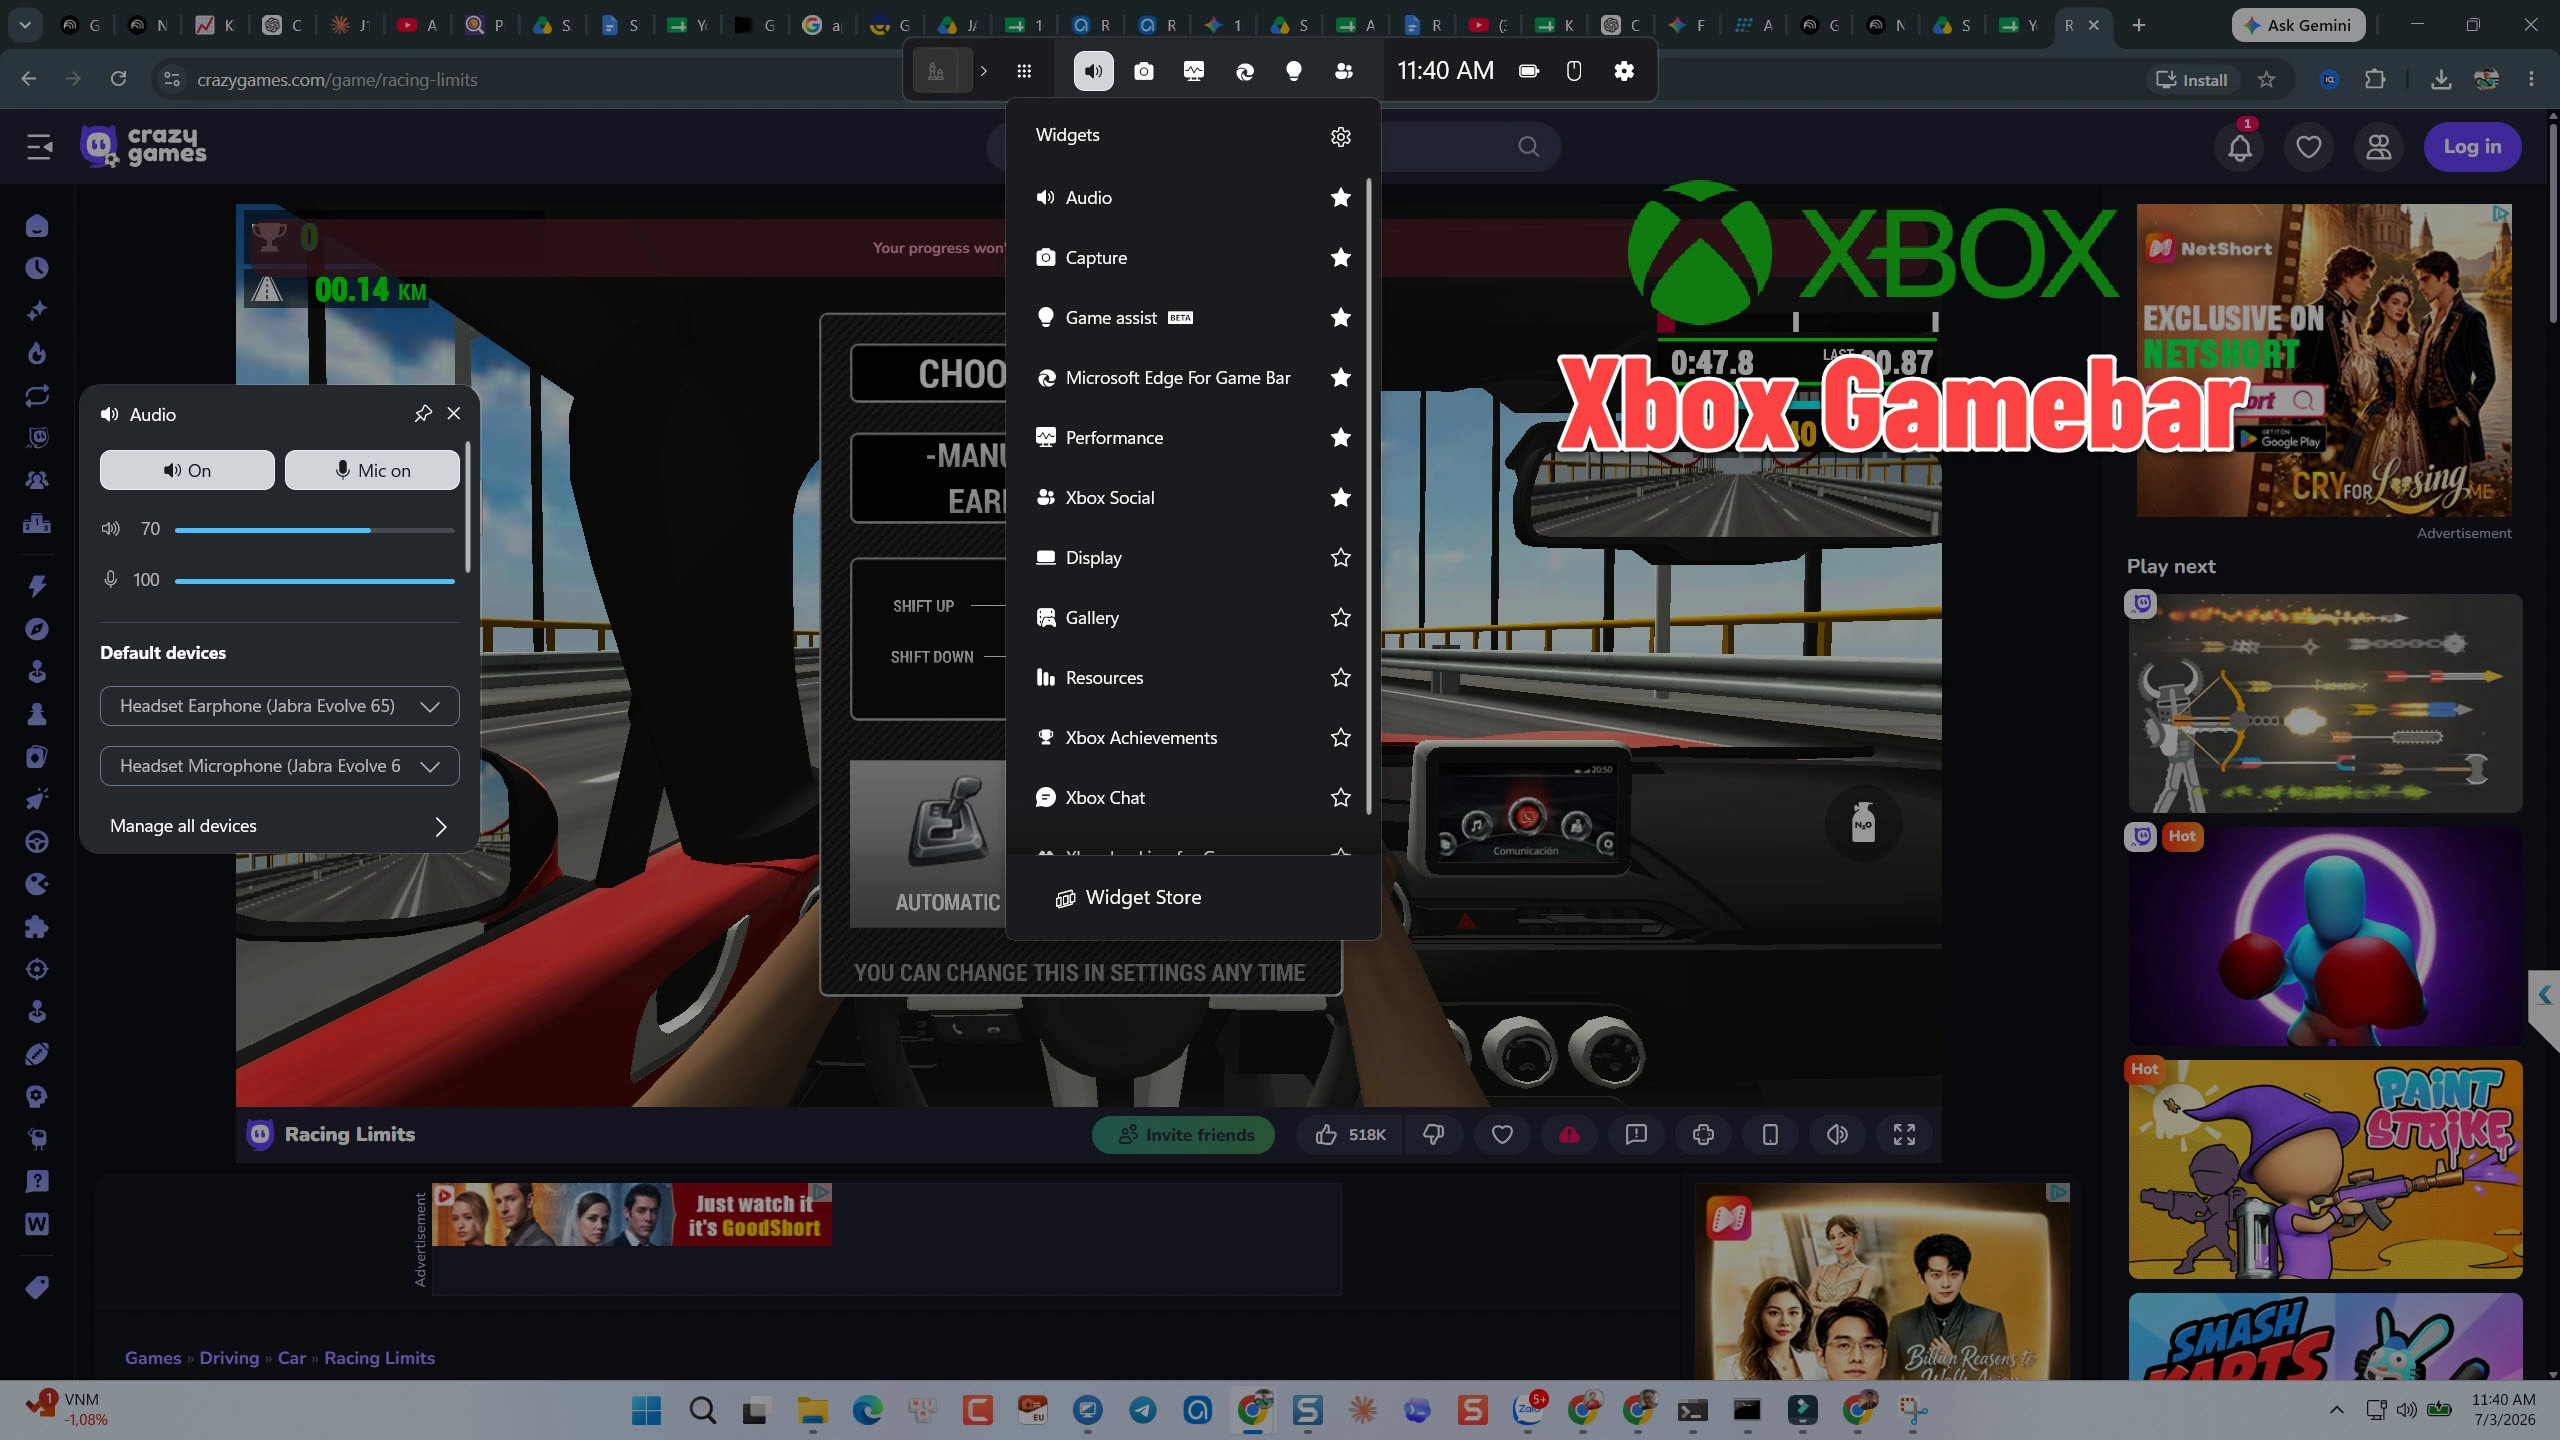
Xbox Game Bar is built into Windows 11 and requires zero installation. Press Win + G, and you’re recording within seconds.
How to Record Your Screen with Xbox Game Bar
- Press Win + G to open the Game Bar overlay
- In the Capture widget, click the microphone icon to toggle your mic on or off
- Click the Record button (or press Win + Alt + R) to start
- Press Win + Alt + R again to stop — the recording saves automatically to C:\Users\[YourName]\Videos\Captures
That’s genuinely it. No configuration, no learning curve.
Pros & Cons for Tutorial Makers
| ✅ Pros | ❌ Cons |
| Zero installation, always available | Cannot record the desktop or File Explorer |
| Fast keyboard shortcut activation | No webcam overlay support |
| Captures system audio + microphone | No editing tools whatsoever |
| Completely free, no watermark | Limited to one active application window |
| Runs silently in the background | No annotation or highlight tools |
When Xbox Game Bar Makes Sense (and When It Doesn’t)
Use it when: You need a fast, no-setup recording of a single application — a quick software demo clip, a short how-to snippet to paste into Slack, or a personal reference recording.
Avoid it when: You’re building a structured tutorial that requires a webcam, annotations, or any editing afterward. The moment you need to trim a clip or add a callout, you’ll be exporting to a separate video editor — which breaks your workflow entirely.
Tool #2 — Snipping Tool: The Underrated Native Option
The Snipping Tool got a quiet upgrade in Windows 11 that most people haven’t noticed: it can now record video. It’s not widely advertised, which is probably why it’s so often overlooked.
How to Use Snipping Tool for Screen Recording
- Open Snipping Tool from the Start Menu (search “Snipping Tool”)
- Click the video camera icon in the toolbar to switch from screenshot to recording mode
- Click New, then drag to select the specific region of your screen you want to capture
- Click Start to begin recording — a timer appears in the top bar
- Click Stop when finished; the recording opens in the preview window for saving

Pros & Cons for Educators
| ✅ Pros | ❌ Cons |
| Native, no installation needed | No audio recording in many configurations |
| Region-specific capture | No webcam support |
| Clean, minimal interface | Zero editing capabilities |
| No watermark | No cursor highlighting or effects |
| Good for quick bug reports | Not suitable for full-length tutorials |
The Hidden Limitation Most Users Miss
Here’s the thing about Snipping Tool that catches people off guard: audio recording behavior is inconsistent depending on your Windows 11 version and build. Some users get microphone audio; others get nothing. There’s no system audio capture at all. For a tutorial video where your voice narration is the tutorial, this is a dealbreaker.
It’s a screenshot tool that learned a new trick — useful for capturing a workflow quickly, but not built for content creation.
Tool #3 — OBS Studio: The Open-Source Powerhouse
OBS Studio (Open Broadcaster Software) is in a different league from the two native tools above. It’s free, open-source, and used by professional streamers, educators, and broadcasters worldwide. If you’re willing to invest time in setup, OBS gives you a level of control that’s genuinely impressive for a zero-cost tool.
How to Set Up OBS for Screen Recording on Windows 11
- Download OBS from obsproject.com and install it
- On first launch, run the Auto-Configuration Wizard — select “Optimize for recording” rather than streaming
- In the Sources panel, click + and add a Display Capture source for your screen
- Add a Video Capture Device source to enable your webcam
- In Audio Mixer, configure your desktop audio and microphone inputs
- Go to Settings → Output to set your recording format (MP4 recommended for editing)
- Click Start Recording — OBS records to your designated folder
Pros & Cons for Content Creators
| ✅ Pros | ❌ Cons |
| Full control over audio/video sources | Steep learning curve for new users |
| Webcam overlay supported | No built-in video editing |
| Multi-scene, multi-source recording | Initial setup takes significant time |
| Completely free, no watermark | Interface is complex and intimidating |
| Highly customizable output settings | Requires separate editor for post-production |
| Active community and plugin ecosystem | Overkill for simple tutorial recordings |
The Real Cost of OBS’s Learning Curve
OBS is powerful, but “powerful” and “efficient” aren’t the same thing. In practice, I’ve seen trainers spend 2–3 hours configuring OBS for a 10-minute tutorial video — fighting with audio sync issues, scene transitions, and output format settings. That’s not a knock on OBS; it’s just honest about the time investment required.
For developers, streamers, and technical users who record regularly and want maximum flexibility, OBS is worth every minute of that setup. For an educator who records twice a month and needs to focus on content rather than configuration, it may be more friction than it’s worth.
Head-to-Head Comparison: OBS vs. Game Bar vs. Snipping Tool
| Feature | Xbox Game Bar | Snipping Tool | OBS Studio |
| Installation required | ❌ | ❌ | ✅ |
| Full-screen recording | ❌ | ✅ | ✅ |
| Region-specific recording | ❌ | ✅ | ✅ |
| System audio capture | ✅ | ❌ | ✅ |
| Microphone capture | ✅ | ⚠️ Inconsistent | ✅ |
| Webcam overlay | ❌ | ❌ | ✅ |
| Built-in video editing | ❌ | ❌ | ❌ |
| Annotations/callouts | ❌ | ❌ | ❌ |
| Watermark | ❌ | ❌ | ❌ |
| Learning curve | Low | Very Low | High |
| Best for | Quick clips | Bug reports | Streaming/Advanced |
The honest verdict: None of these three tools is purpose-built for tutorial makers or trainers. They’re all missing at least one critical feature — and in most cases, two or three.
3 Real-World Scenarios — Which Tool Fits Your Workflow?
Scenario 1: IT Trainer Creating Software Walkthroughs
Context: You’re an IT trainer at a mid-sized company. You need to record a series of 5–10 minute walkthroughs showing employees how to use the new HR portal. Each video needs your voice narration, cursor highlights, and a clean output that can be uploaded to the company LMS.
With OBS: Technically possible, but you’ll spend more time in settings than in recording. And you’ll still need a separate editor for trimming and adding callouts.
With Xbox Game Bar: Works for the recording itself, but no cursor effects, no annotations, and no editing. The raw footage will need significant cleanup.
With Snipping Tool: Audio reliability is too inconsistent for professional content. Not recommended here.
Practical verdict: OBS is the best of these three options for this scenario — but it still leaves you needing a separate editing workflow.
Scenario 2: Educator Recording Lecture Videos
Context: You’re a university lecturer recording 20-minute lecture videos for an online course. You need your face on camera, your slides visible, and clear audio. Students will watch these on a course platform.
With OBS: Webcam overlay works well. Audio is solid. But editing the footage afterward means opening a separate application — and OBS files can be large and unwieldy.
With Xbox Game Bar: No webcam overlay means no face-to-camera. That’s a significant engagement loss for lecture content.
With Snipping Tool: Not suitable for this use case at all.
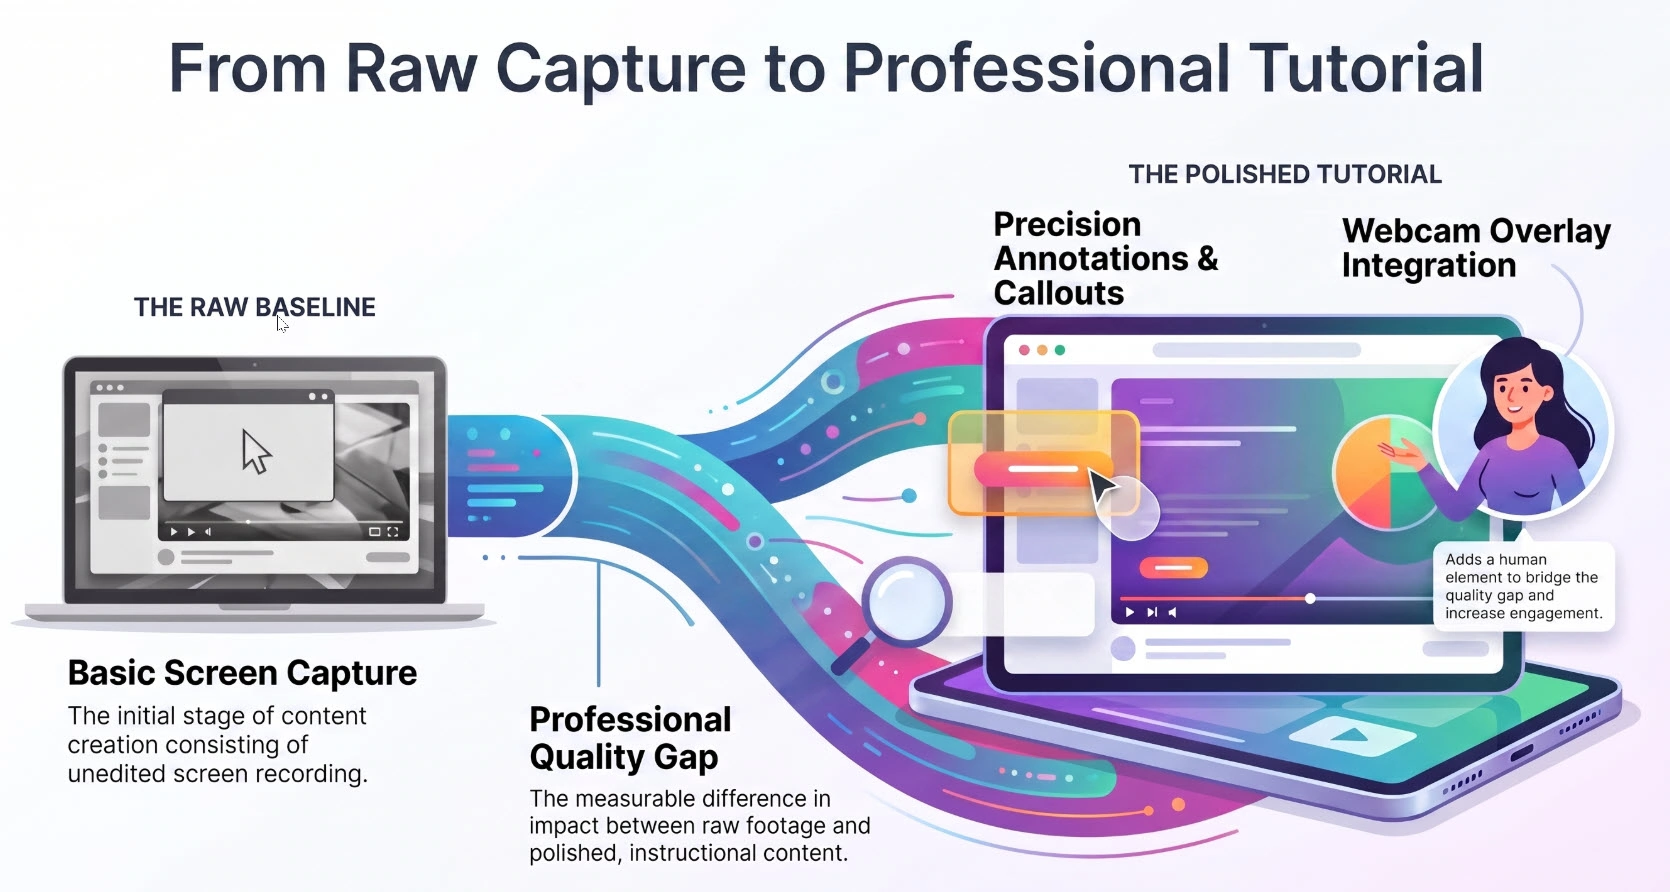
Practical verdict: OBS handles the recording, but the post-production gap is real. A 20-minute lecture with no editing capability means publishing raw footage — dead air, stumbles, and all.
Scenario 3: HR Team Building Onboarding Materials
Context: Your HR team needs to create a library of onboarding videos for new hires — screen walkthroughs, policy explanations, and process guides. These need to look polished, be easy to update, and ideally be interactive (with quizzes or clickable steps).
With any of these three tools: You’ll hit a wall immediately. None of them support interactive content, branching scenarios, or SCORM export for LMS delivery.
Practical verdict: This is where all three tools reach their hard ceiling. The onboarding use case requires a purpose-built authoring tool.
Pro Tips for Better Screen Recordings on Windows 11
Whether you’re using OBS, Game Bar, or something more advanced, these habits will improve your output quality noticeably:
🎙️ Audio first, always. Record a 10-second test clip and listen back before committing to a full recording. Background hum, echo, and mic distance issues are invisible until playback — and they’re painful to fix after the fact.
🖱️ Slow your cursor down. Windows 11’s default cursor speed is calibrated for navigation, not for tutorial viewing. Go to Settings → Bluetooth & devices → Mouse and reduce pointer speed by 20–30% before recording. Your viewers will thank you.
🖥️ Clean your desktop. Close unnecessary applications, hide your taskbar, and use a neutral desktop background. Distractions in the background pull attention away from your content.
📁 Set a dedicated output folder. OBS and Game Bar both have configurable output paths. Create a \ScreenRecordings\[ProjectName]\ folder structure before you start — raw files, edited files, and exports in separate subfolders. Future-you will be grateful.
⏸️ Use pause, not stop. In OBS, you can pause a recording mid-session (Alt+P by default) without ending the file. This lets you reposition, collect your thoughts, or re-read your script — then continue in the same file. Fewer files to merge in post-production.
When You’ve Outgrown These Tools: The Next Step Up
If you’ve worked through the scenarios above and recognized your own workflow in one of them, you’ve probably noticed a pattern: all three free tools leave a gap somewhere. They’re great for what they are, but they weren’t designed with tutorial makers and trainers in mind.
That’s the exact problem ActivePresenter was built to solve.
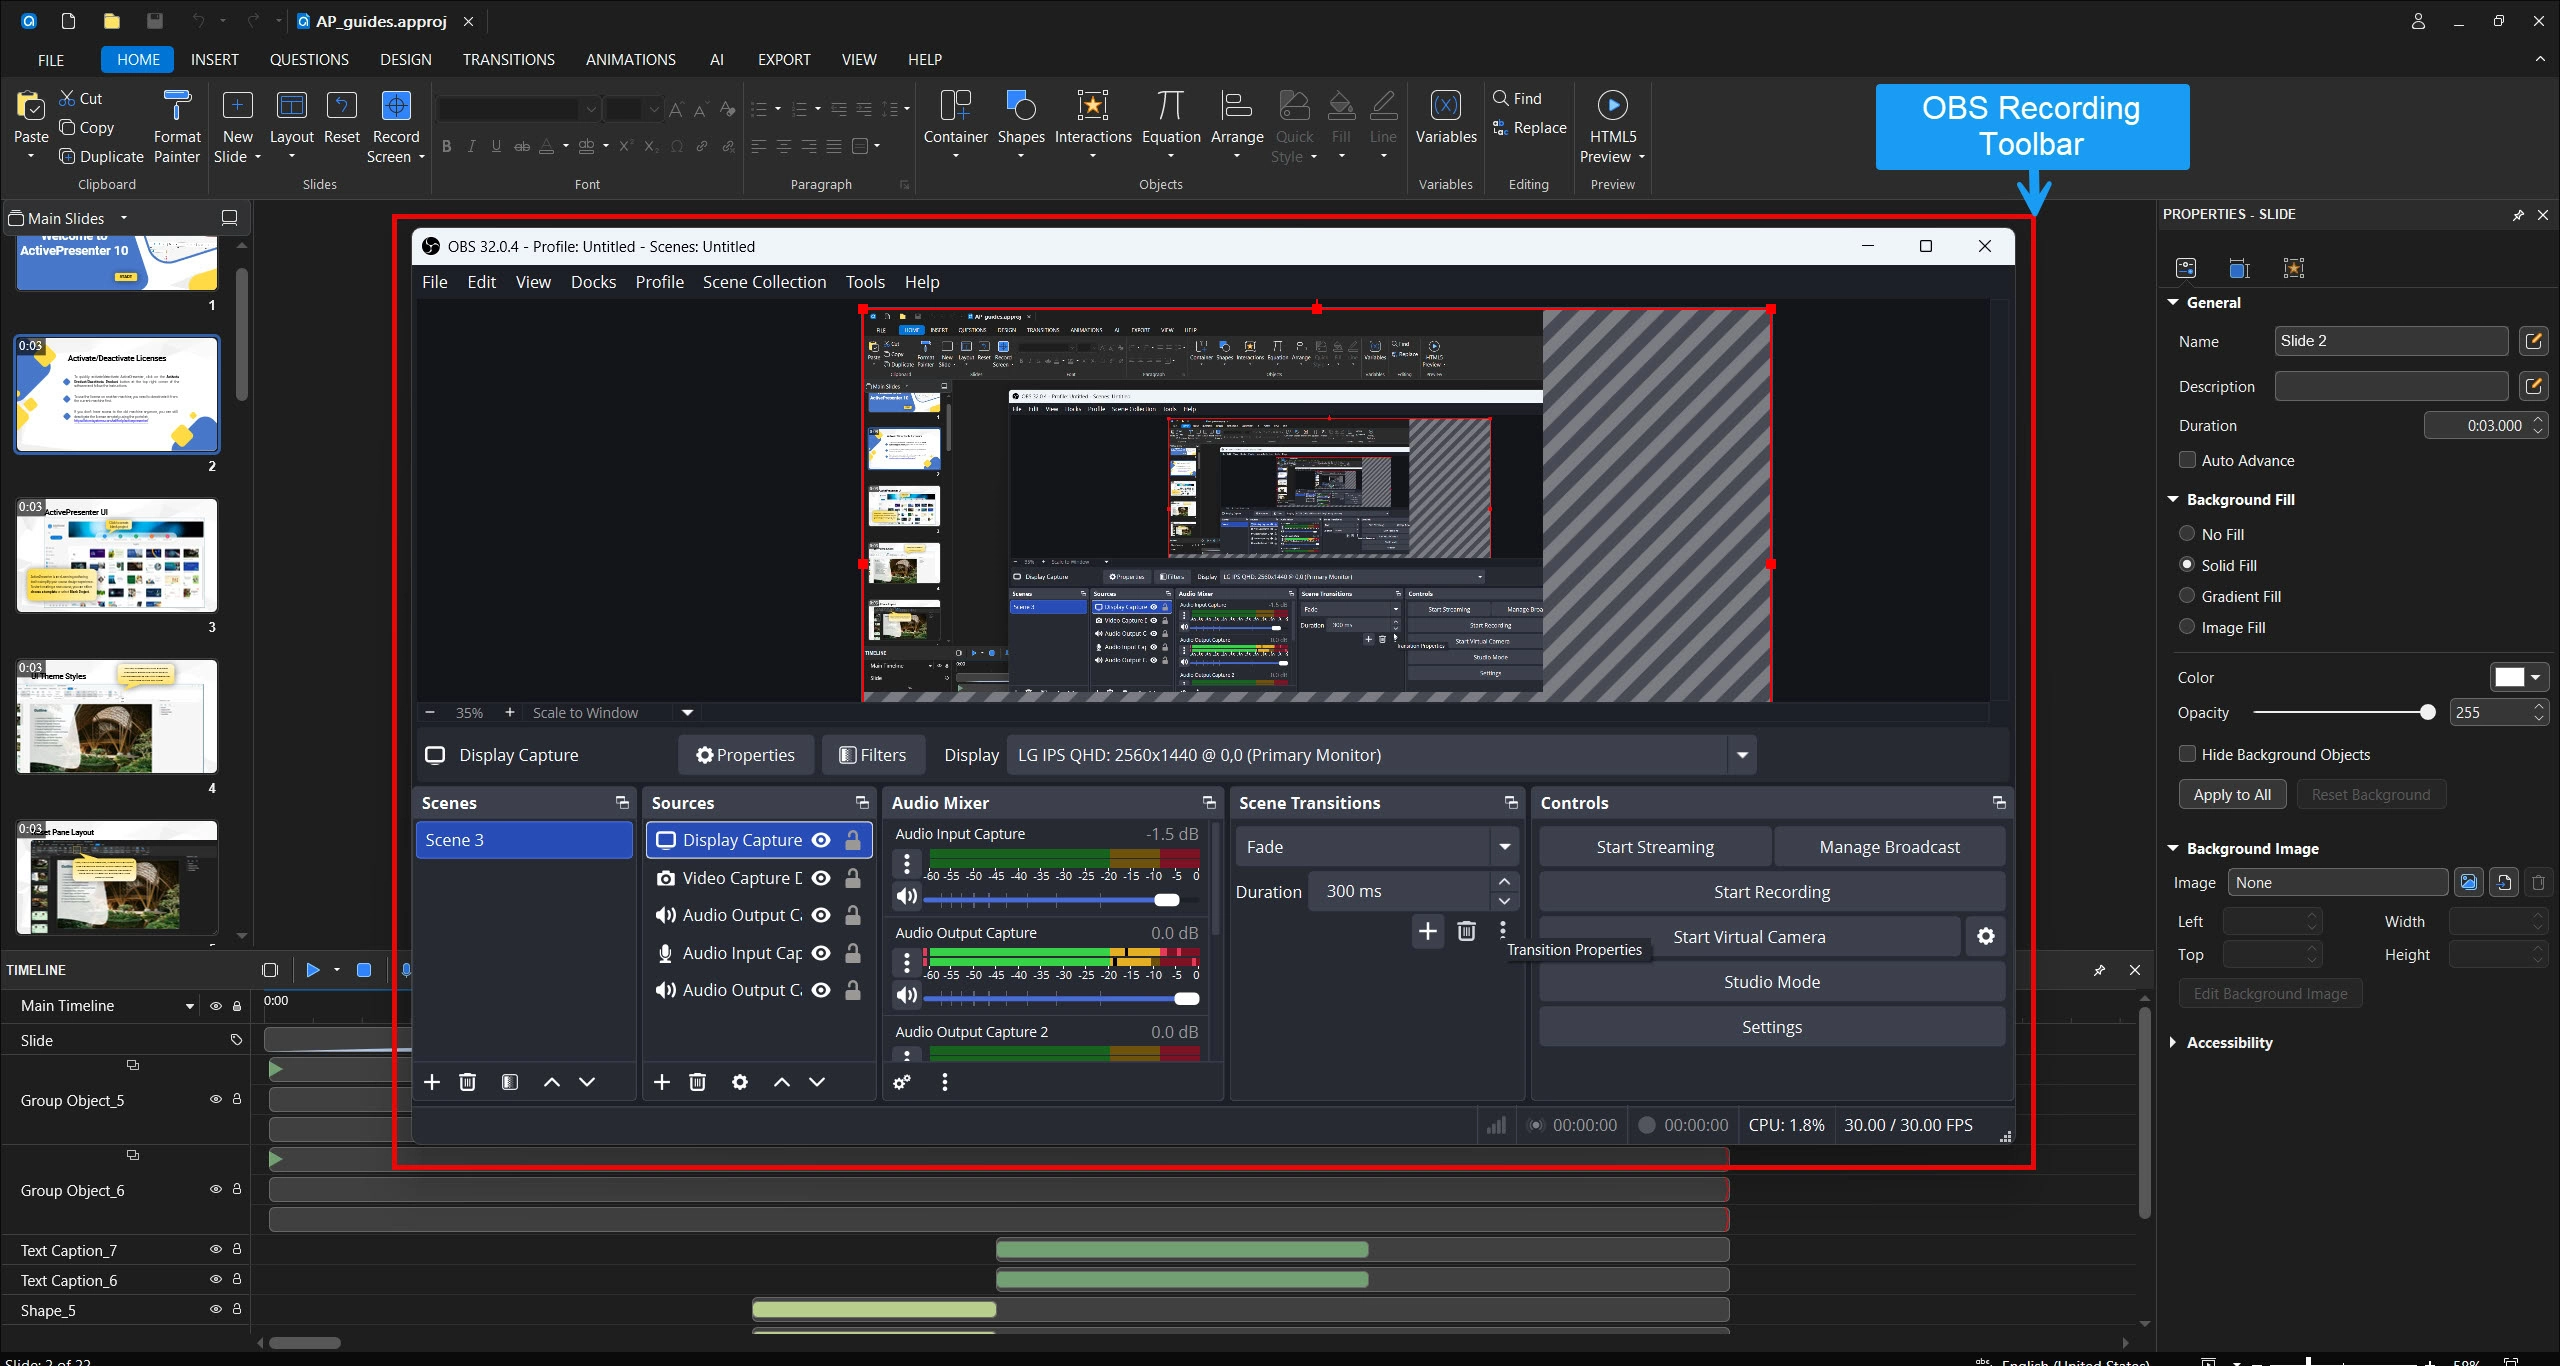
ActivePresenter is a free screen recorder and eLearning authoring tool developed by Atomi Systems. Unlike OBS, Game Bar, or Snipping Tool, it handles the full production pipeline in a single application: record → edit → publish — without switching apps.
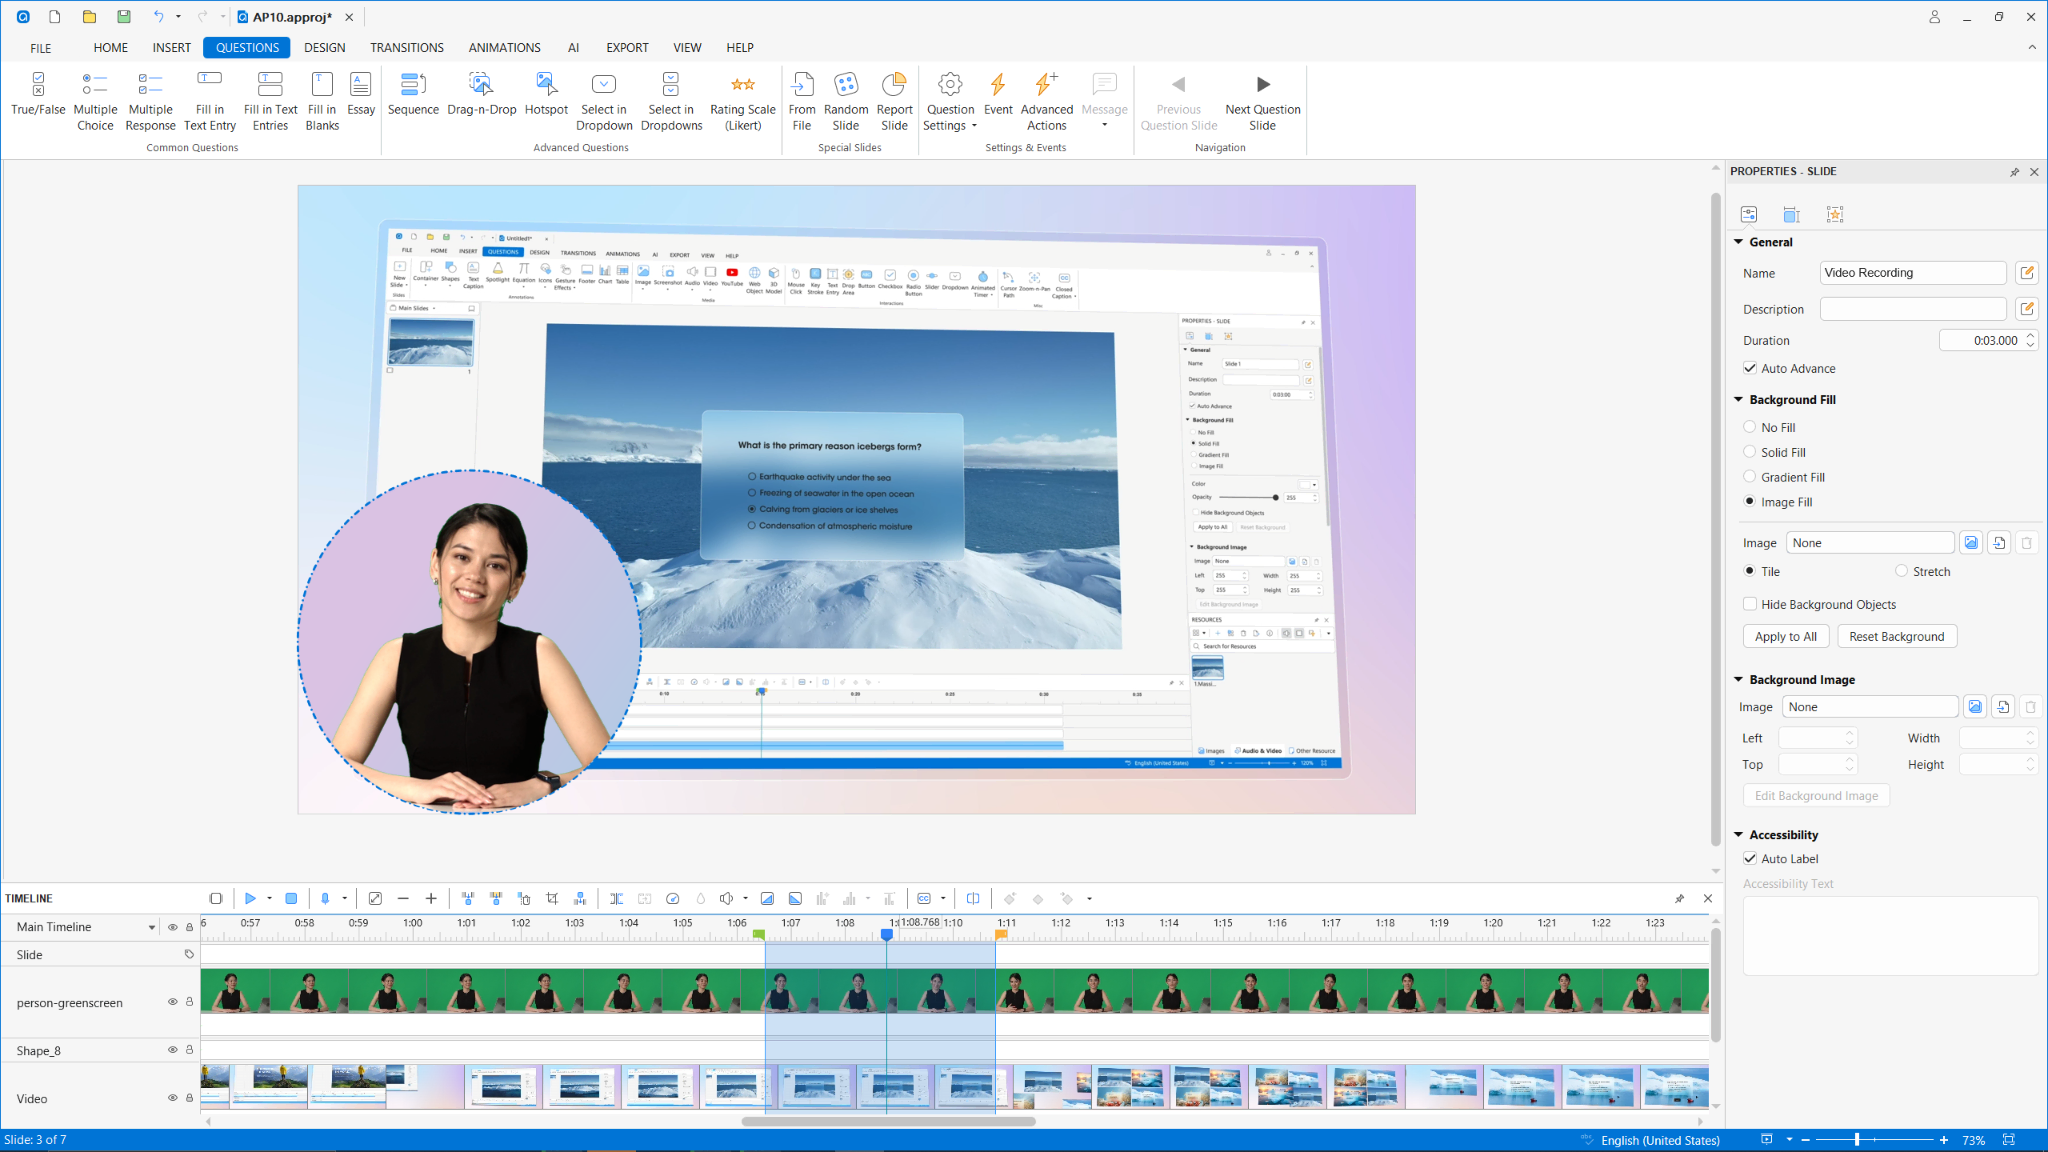
Here’s what makes it relevant to this comparison:
- Simultaneous screen + webcam recording — the feature Game Bar and Snipping Tool both lack
- System audio + microphone capture, independently configurable — no more inconsistent audio
- Full timeline-based video editor built in — no separate application needed
- Cursor effects, callouts, annotations — the professional touches OBS can’t add natively
- Noise reduction for cleaner voiceover audio
- eLearning authoring: quizzes, branching scenarios, SCORM/xAPI export for LMS delivery
- Software simulation mode for creating interactive training modules — not just passive video
And critically: the free version includes all of this with no watermark and no recording time limit. For tutorial makers and trainers who need a professional result without a professional budget, that’s a meaningful offer.
💡 Pro Tip: If you’re coming from OBS and already comfortable with multi-source recording, ActivePresenter’s setup will feel immediately familiar — but the built-in editor will save you from needing a second application in your workflow.
Frequently Asked Questions
Does Windows 11 have a built-in screen recorder?
Yes — Windows 11 includes Xbox Game Bar (Win + G) and the updated Snipping Tool. Both are free and require no installation. However, Xbox Game Bar cannot record the desktop or File Explorer, and Snipping Tool has inconsistent audio support. For anything beyond basic capture, a dedicated tool is recommended.
Can I record my screen on Windows 11 for free without a watermark?
Yes. Xbox Game Bar, Snipping Tool, OBS Studio, and the free version of ActivePresenter all export without watermarks. ActivePresenter’s free tier is particularly generous — unlimited recording time, full video editor access, and no watermarks.
Does OBS Studio work well for tutorial recording?
OBS is technically capable, but it requires significant setup time and has no built-in editing or annotation tools. For tutorial makers who need to add callouts, highlights, and interactive elements, a purpose-built tool like ActivePresenter is more efficient.
Which free screen recorder is best for Windows 11 with webcam?
Among the tools covered here, only OBS Studio supports webcam overlay. For a more complete solution that includes webcam, audio, editing, and annotation in one application, ActivePresenter is the strongest free option available in 2026.
Can I record screen and audio simultaneously on Windows 11 for free?
Yes. Xbox Game Bar and OBS Studio both support simultaneous screen and audio recording. ActivePresenter also supports this, with the added ability to configure system audio and microphone levels independently before you start.
The Verdict: Choosing the Right Tool for Your Workflow
Here’s the straightforward summary:
- Xbox Game Bar → Use it for quick, single-app clips when you need zero setup and don’t need webcam or editing
- Snipping Tool → Use it for short bug reports or quick region captures; not for professional content
- OBS Studio → Use it if you’re technically comfortable, record frequently, and need multi-source control — and you’re fine managing post-production separately
- Need webcam + audio + editing + annotations in one place? → None of these three will fully serve you
If you’re a tutorial maker, trainer, or educator who wants a reliable, professional-grade workflow without a subscription fee, it’s worth spending 10 minutes with ActivePresenter before committing to a patchwork of free tools.
Download ActivePresenter Free → — No watermark, no time limit, no credit card required. Record your first tutorial today and see the difference a purpose-built tool makes.

Have questions about your specific recording setup? The Atomi Systems community forum is active and genuinely helpful — whether you’re troubleshooting audio sync or figuring out the best export settings for your LMS.