With ActivePresenter, it’s easy to brand your training course with a logo. This tutorial shows you 2 ways to add company logos to your training content. The first one is using Slide Master and the second one is using the Show over Multiple Slide option. Let’s see which way is more convenient for you.
Using Slide Masters
The first way to add company logos to your training courses is using Slide masters. Slide masters give your entire project a uniform appearance. When you edit a slide master, your changes will take effect in all slides linking with it.
Using slide masters is an ideal way to add company logos to your training content because you can decide which layouts to display the logo. Besides, this avoids accidentally edit or delete the logo in the normal view (when you work with slides) as the logo then appears as a background object. Thus, to edit a logo added to a slide master, you must switch to the master view.
Perform the following:
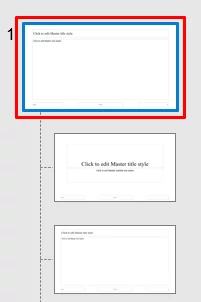
Step 1: Switch to the master view (View tab > Slide Master).

Step 2: Select the master layout, which is the large topmost thumbnail in the left pane.
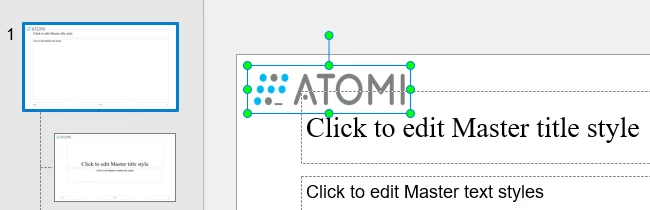
Step 3: Insert your logo into the master layout (Annotations tab > Image). The logo then appears in the master layout and all custom layouts within the hierarchy.

Step 4: Resize and reposition the logo as you want.
Step 5: Right-click the logo > Display Order > Send to Back to place the logo in the bottom layer of the stack order of slide objects. Do that because the logo shouldn’t cover the slide content within placeholders.
Step 6: You can hide the logo in some custom layouts. To do that, select the layout > Background Styles > Hide Background Objects.
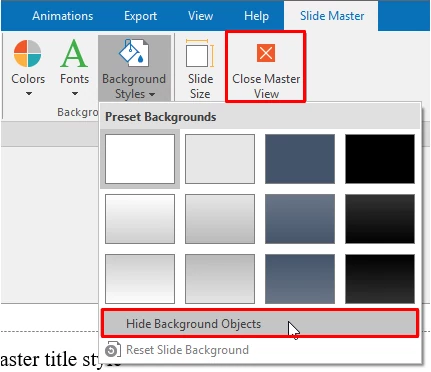
Step 7: When done, click Close Master View to go back to the normal view and work with slides in your project.
Tip: If you want the logo to appear in a specific layout, in the master view, select that layout only to insert the logo.
Showing the Logo over Multiple Slides
Another way to add company logos to your training course is using the Show over Multiple Slides option. As the name implies, this option shows a single object over multiple slides in a project.
Do the following:
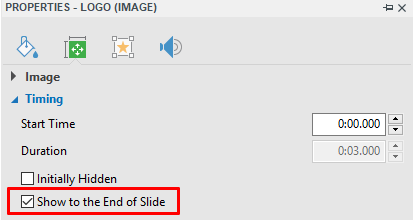
Step 1: Insert your logo into a slide (Annotations tab > Image). Your logo automatically shows to the end of the slide (Properties pane > Size & Properties > Timing > Show to the End of Slide). Resize and reposition the logo as you want.
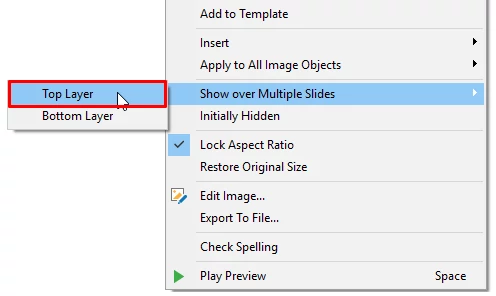
Step 2: Right-click the logo > Show over Multiple Slides. Next, choose to place the logo in the top or bottom layer of the object stack order.
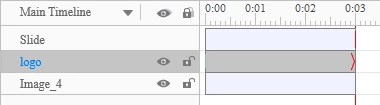
After that, in the Timeline and the Selection pane, the logo name changes to blue. Blue object name indicates that the object is displayed over multiple slides.
At this point, the logo appears in all the slides starting from the current slide. This is due to the Show to the End of Project option (right-click the logo time bar > Show to the End of Project). So, if you inserted the logo into the first slide, then it would show over all the slides in the project. And your work is done here. That said, you can totally decide in which slides your logo will appear. Take these additional steps:
Step 3: In the Timeline pane, click All Slides to view all the slides in the project.
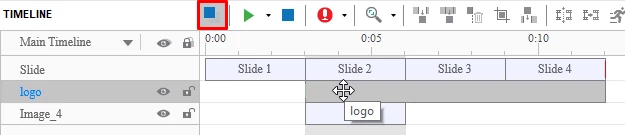
Step 4: Drag the logo time bar along the timeline and/or change its length to decide where the logo is visible.
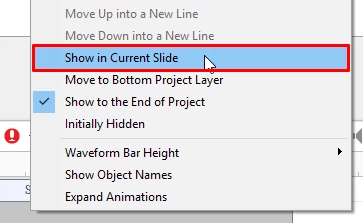
Tip: To display the logo back in a single slide, first select the slide you want. It can be any slide in the project as long as it’s currently showing the logo. Then, in the timeline, right-click the logo time bar > Show in Current Slide.
Now you know how to deal with corporate branding in your training content by adding a logo. Hope that this helps.