ActivePresenter eLearning authoring software allows you to add new languages to closed captions so that you can create subtitles for videos or projects in different languages. This feature helps your content be more accessible for everyone regardless of their language.
Add Closed Captions
To add closed captions to your project, follow the steps below:
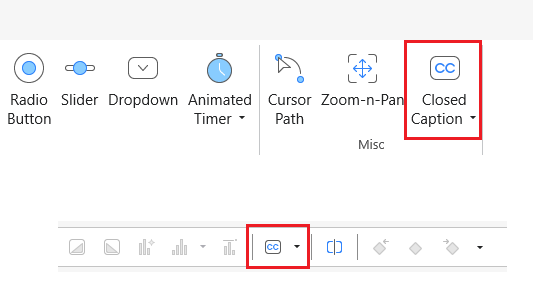
- Open the Insert tab > Closed Caption
 or click the Insert Caption button in the Timeline pane.
 - In the timeline, place the Playhead at the timestamp that you want the closed caption to appear.
Then, a closed caption node will appear at the position of the Playhead on the Timeline pane. Simultaneously, a closed caption editor appears on the Canvas for you to type the text.
For more details, let’s see How to Add CC to Projects.
Add Multiple Languages to Closed Captions
Add a New Language
Do the following steps to add a new language to closed captions:
Step 1: Select a CC node in the Timeline pane.
Step 2: Go to the Insert tab > click the drop-down arrow on the Closed Caption button > Multiple Languages. Or in the Properties pane > Closed Caption tab > General > click the Caption Editor ![]() button.
button.
Then, the Edit Closed Caption dialog appears:
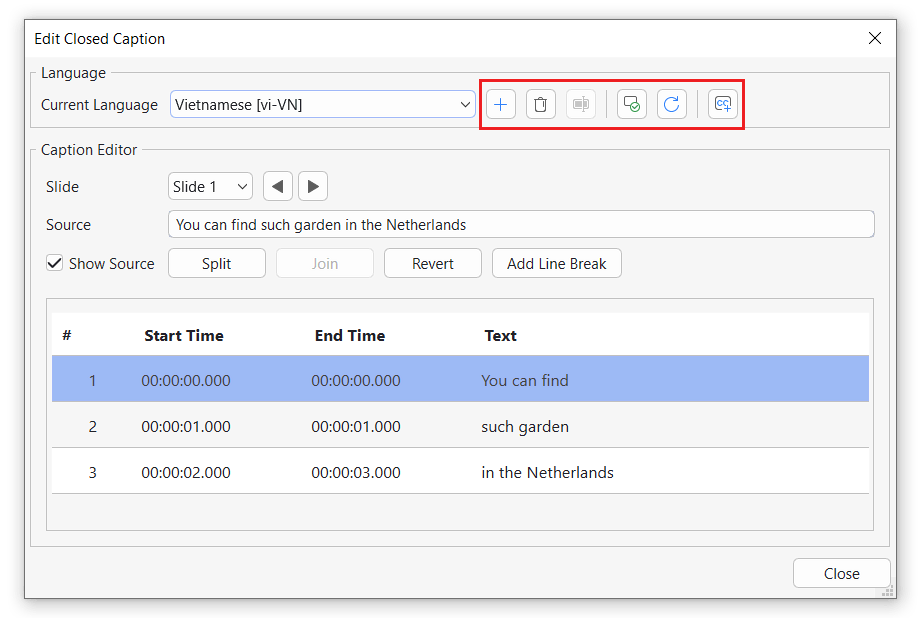
Step 3: Click the Add New Language button ![]() .
.
Step 4: Select a language from the drop-down list in the Add Language dialog that pops up.
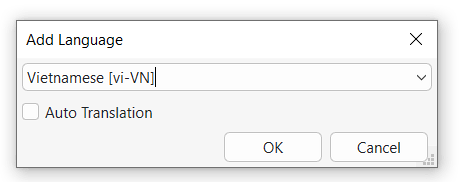
If Auto Translation is selected, a new caption language is created and the captions are translated automatically. If it is not selected, the captions are kept in the original language without translation
Then, click OK to finish.
Repeat these steps to add more languages as you want.
Manage New Languages
There are some options that you can manage newly added languages:
- Remove Language
 : Remove the current language.
 - Rename Language
 : Rename the current language.
 - Set As Default Language
 : Save the current language as the default language.
 - Reuse Default Language
 : The subtitle for the current language will be replaced by the default subtitle.
 - Add New Subtitle
 :
:
- Single Slide: Import subtitles from an *.srt or *.vtt file to the current slide only.
- Multiple Slides: Import subtitles from an *.srt or *.vtt file to multiple slides.
Edit New Languages
To edit a new language, do as follows:
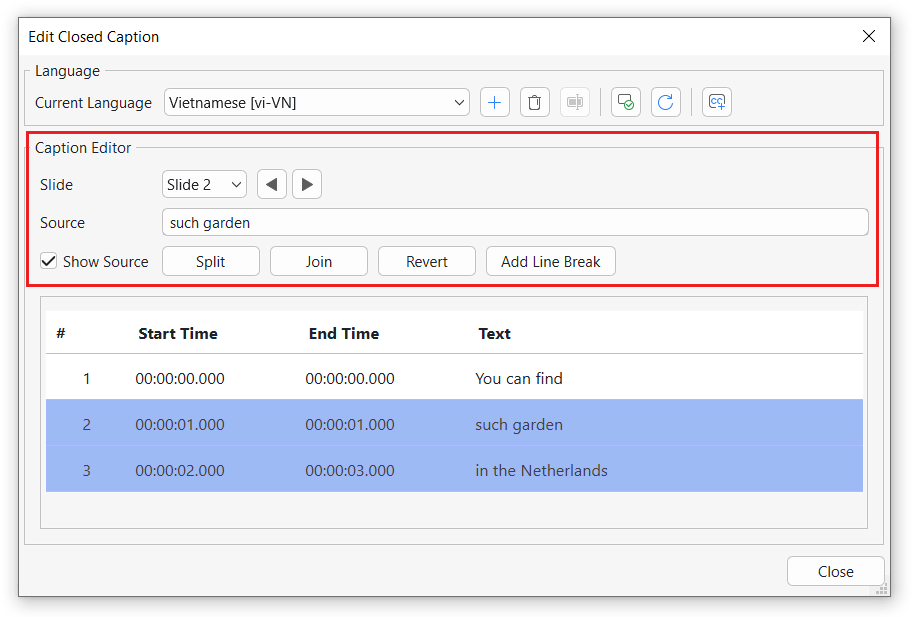
Step 1: Select a CC line in the dialog.
Step 2: The Caption Editor displays subtitles for one slide at a time. To navigate between slides, click the navigation buttons located on the right side of the Slide section. Start time, End time and Text can also be edited directly here
In the dialog:
- Show Original: Select this checkbox to show the source of the closed caption.
- Split: Split the selected caption node into multiples nodes.
- Join: Join selected caption nodes into one.
- Revert: Revert CC of the new language to the original one.
- Add Line Break: Add the <br> tag to a text to break it into different lines.
After that, the added text of the new language will replace the old one in the selected CC line.
Step 3: Click Close to apply.
Enable the Closed Caption Toggle Button
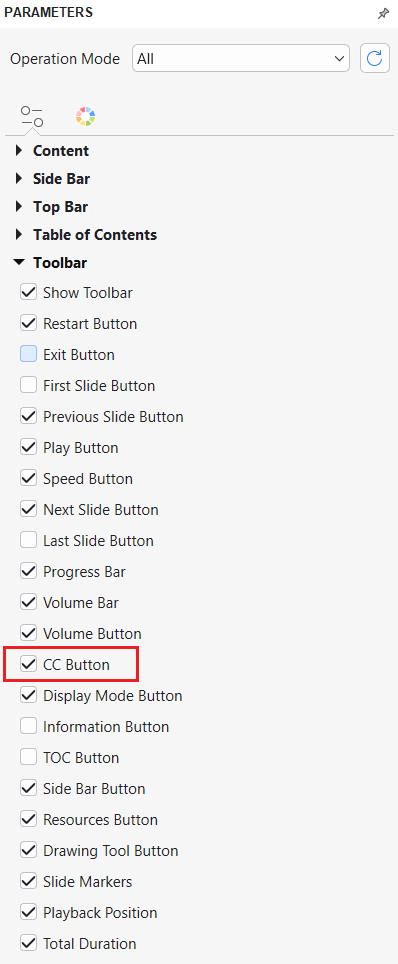
Toggle button allows you to hide/show closed captions as well as switch them between multiple languages. To enable this button, open the Export tab > Player Settings. Then, in the Player Settings dialog, access the General tab > General Parameters > Toolbar > select the CC Button check box > click OK to save the changes.
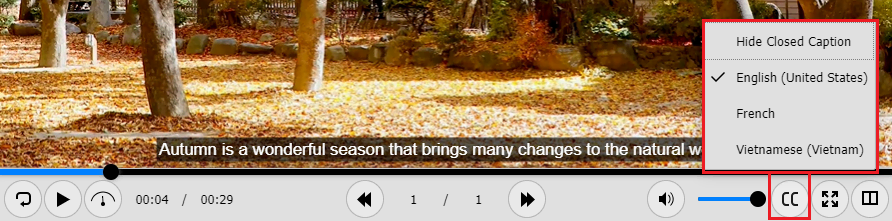
By doing so, the CC button will appear at the bottom right corner of the player. Click it to change closed captions to another language.
So, you’ve learned how to add new languages to closed captions in ActivePresenter 10. Download and try this amazing feature now.

Don’t forget to visit our Tutorials page and YouTube channel to get more ActivePresenter 10 written and video tutorials up-to-date.
See also: