This tutorial shows you how to use external script resources, namely JavaScript, CSS, and HTML files, to better control your document’s look and feel.
This tutorial covers:
- Importing Script Resources
- Editing Script Resources
- Including JavaScript and CSS in Document
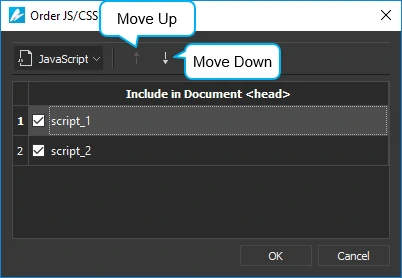
- Ordering JavaScript and CSS
Importing Script Resources
To import script resources, simply drag files to the Resources pane. Also, in the Resources pane, click Import > From File and choose the files you want from your computer. For JavaScript and CSS resources, you can directly import files from URL by clicking Import > From URL and specify the URL.
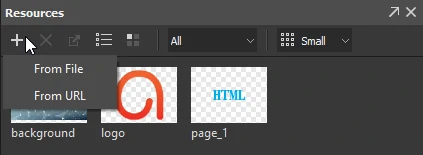
After importing script resources, you can:
- Rename resources: Select a resource and press F2 on your keyboard, or right-click > Rename.
- Add HTML resources to scene: Drag an HTML resource directly on to the Canvas or right-click > Add to Scene. That way, you create an HTML widget that embeds the resource file.
Editing Script Resources
To edit a script resource, double-click it to open the script editor. This editor is similar to the JavaScript Function editor except that it allows editing multiple script resources at once. To open another resource to edit, click Open from Resources in the toolbar and choose the resource you want.
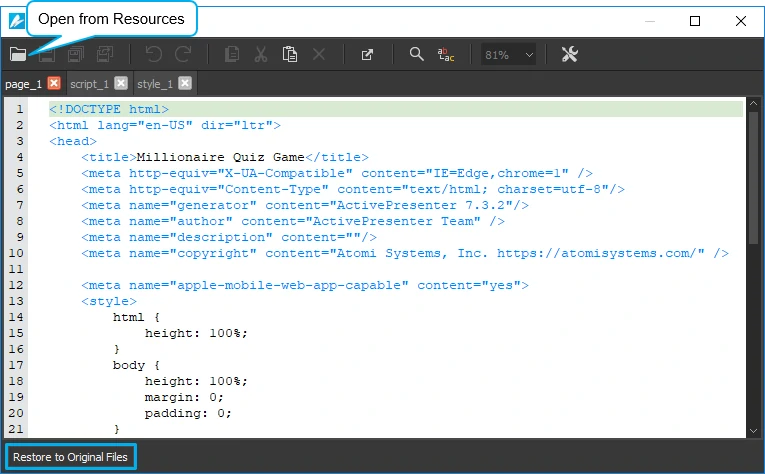
Besides, you can click Restore to Original Files to discard all changes and return to the original files at any time. Alternatively, right-click a script resource and select Update from Original Files.
Including JavaScript and CSS in Document
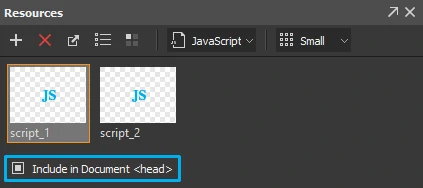
By default, JavaScript and CSS files added to a project are included in the document. To disable this behavior, select a JavaScript or CSS file and clear the Include in Document check box.