Using video containing background music might be an ideal way to make your projects or presentations more interesting and attracting. In this article, we will learn how to do that with ActivePresenter step by step. However, remember not to play background music if you are recording a narration. They should be added separately so you can edit their volume more precisely.
Add Background Music for Videos from Existing Audio File
In order to add a music file as background music for your project having multiple slides first, you should select the very first slide because ActivePresenter will play it from the slide that you are working on. Then, take following steps:
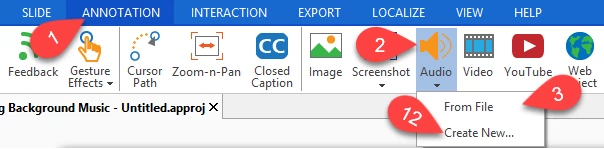
Step 1: Open the ANNOTATION tab. (1)
Step 2: Click the Audio icon. (2)
ActivePresenter provides you two options to add background music which are importing existing file from your computer and creating a new one.
Step 3: Click From File icon. (3)
This way lets you select an existing audio file in your computer as background music. Just choose the audio file that you like then click Open. Then, it will be added automatically to the slide that you are working with.
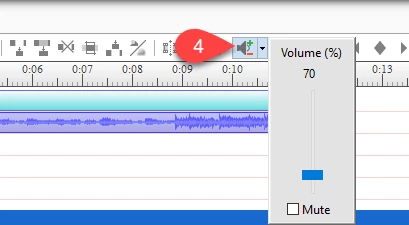
Step 4: Chang audio file volume
After adding the audio file, you can change its volume by clicking the Adjust Volume icon (4) and scale it the way you like.
However, you should scale it much lower than your narration voice (if any).
Play Background Music over Multiple Slides
After doing all the steps above, the audio file still is shown in the first slide only. You have to take further steps to let it play through all of the slides:
Step 5: Right-click the audio object either on the Timeline or on the Canvas then select Play over Multiple Slides. (5)
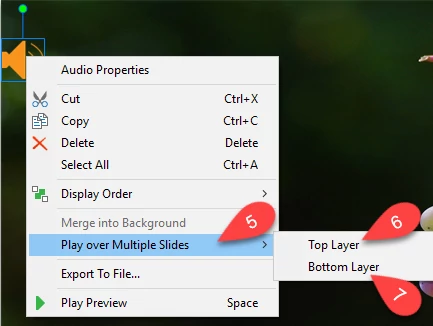
Step 6: Choose either Top Layer (6) or Bottom Layer (7).
Unlike inserting a logo or image, for an audio, they have the same result.
After adding background music, a chance is that your music file duration is shorter than project duration.
In that case, to make it play till the end of the project, take some more steps:
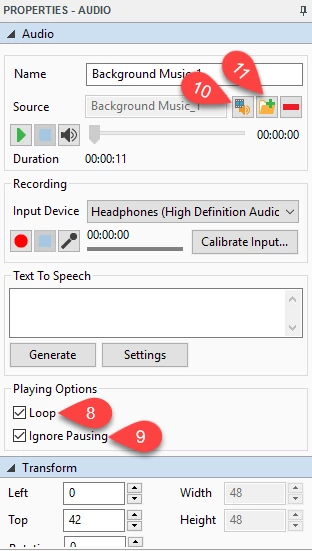
Step 7: Select Loop (8) in the in the Audio section of the Properties Pane.
This means that ActivePresenter will replay the music file when it comes to the end. And you will see the audio object stretches from the first to the last slide.
Step 8 (Optional): Select Ignore Pausing. (9)
If you select this checkbox, ActivePresenter will continue to play the background music while the presentation is paused to wait for user inputs.
Change Background Music
Now, what if you want to use another audio file as your background music? Do as followings:
- Select the audio file.
- Choose either Select an audio from the Library (10) or Import an audio file from your computer (11). Then, the new audio file will automatically replace the old one.
Add Background Music by Creating a New Audio File
The second way in which you can use to add background music for your video is creating a new audio file.
Follow these steps to do that:
- Open the Annotation (1)
- Select Audio (2)
- Select Create New… (12)
ActivePresenter offers you the Audio section in the Properties pane from which you can also import an audio file from the library or from your computer.
Or you can record your voice to use as background music under the Recording section (13).
Just choose Input Device and click the Record button to start recording.
All the following steps are the same to the those in the first way.
Delete Background Music
Just in case you don’t want to have any background music for your video anymore, just delete it.
Select the audio file and press Delete key on your keyboard.
So, hope that it helps you to add any favorite music file as background music for your videos with ActivePresenter. Try it today and feel free to let us know if you have any obstacle.