You may know that ActivePresenter now supports themes and templates. These features give you a lot of benefits. But they also offer another advantage that you probably don’t know.
Here it is: you can change default object settings and save them as a theme or template. Then, create new projects from that theme/template to reuse object settings you’ve changed. Sound interesting? Let’s find out this technique in today’s tutorial.
Change Default Settings for Objects in a Project
To change the default settings for any object in a project, do the following:
Step 1: Create a new blank project.
Step 2: Insert an object that you want to reuse the settings (also properties).
Step 3: Change default object settings. Do this the same way as you normally edit an object. For example, edit its color, size, events and actions, etc.
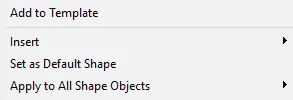
Step 4: Right-click the object > Set as Default . For example, if you’ve just edited a Shape object, you see the Set as Default Shape option in the context menu.
That way, the current formatting will be set as default, and used each time you insert a new shape in the project.
Note: The Set as Default Object feature only affects newly added objects. But you can apply the new default style and animation to existing objects of the same type.
Save and Reuse Object Settings across Projects
When you’re done with the above procedure, you need to save the project as *.apslide* to reuse objects inside it. Do as follows:
Step 1: Perform one of these tasks:
- Press CTRL+S.
- Click ActivePresenter
> Save or Save As….
Then, select ActivePresenter Slide Template (*.apslide) or ActivePresenter Theme (*.aptheme) in the Save as type list.
Step 2: Navigate to the location where you want to save the file and click Save. Save file in C:\Users\<user_name>\Documents\ActivePresenter Templates (for Windows) or /Users/<user_name>/Documents/ActivePresenter Templates (for macOS).
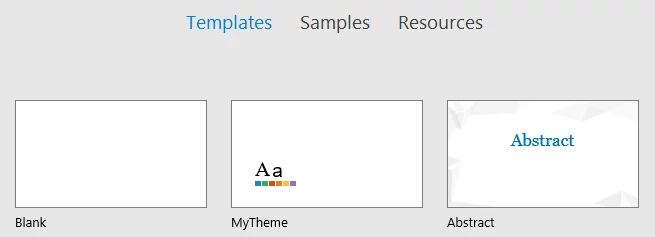
After that, your theme/template will appear on the Start Page. For example, if you save the project as MyTheme.aptheme, it’s shown on the Start Page like this.
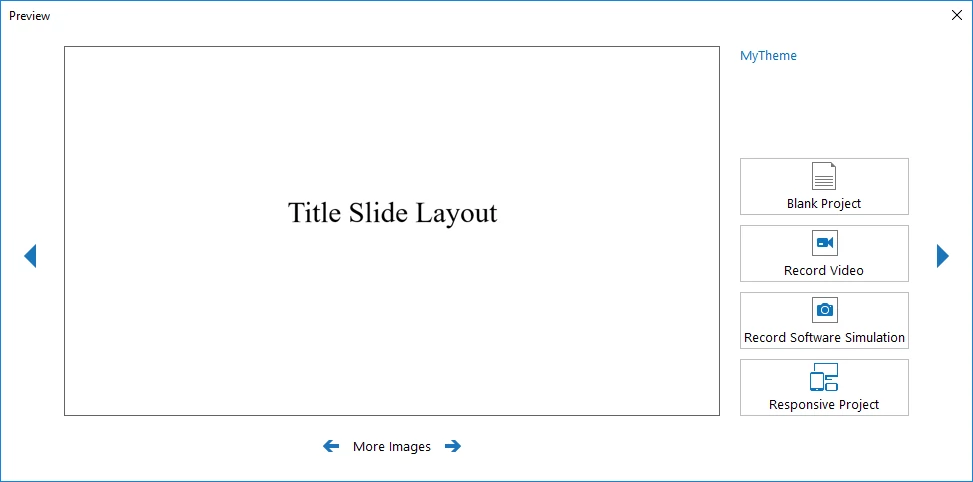
Step 3: In the Template tab of the Start Page, find MyTheme. Then, click it to open the Preview dialog.
As you can see, there are four options to create a new project from the selected theme: Blank Project, Record Video, Record Software Simulation, and Responsive Project. Their names say it all, so just select any of them which serves your needs.
Create a project as you normally do. When you finish this process, you’ll see object settings you’ve changed in that newly created project.
Tip: You can set the new theme as the default theme (right-click the theme > Set as Default Theme). Then, this theme is applied each time you record or create a new project. You no longer need to right-click the theme to show options or click to preview the theme before making a project.
Hope you find this tutorial useful. Don’t forget to follow us on the Tutorial page, blog, online community, YouTube, and Facebook to get more tips and tricks.


