By default, ActivePresenter 9 creates new projects with a fixed slide size. You can change the slide size whenever you wish.
There might be a need for widescreen or 4:3 versions of your presentation, depending on where you’ll give it. Therefore, it is necessary to change the project size or slide size. In this tutorial, you will learn how to:
Let’s download version 9 of ActivePresenter and follow the steps below.

Change the Slide Size of the Current Opening Project
In case you have created a new project or opened existing ones, ActivePresenter 9 allows you to change the slide size with ease. To do that, do any of the following:
- Open the Design tab > Slide Size.

- Click the ActivePresenter button > Project > Properties > Properties pane > General > Change Size.
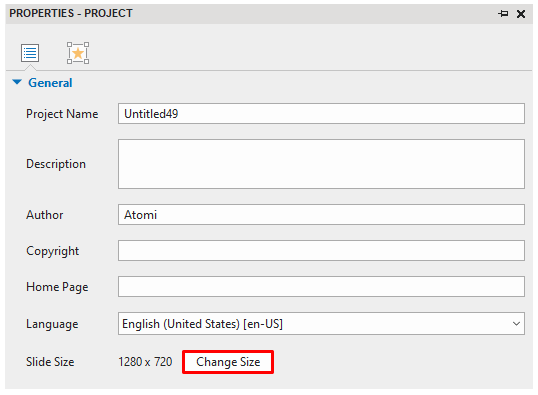
When you click the Slide Size or Change Size button, the Change Project Size dialog appears.
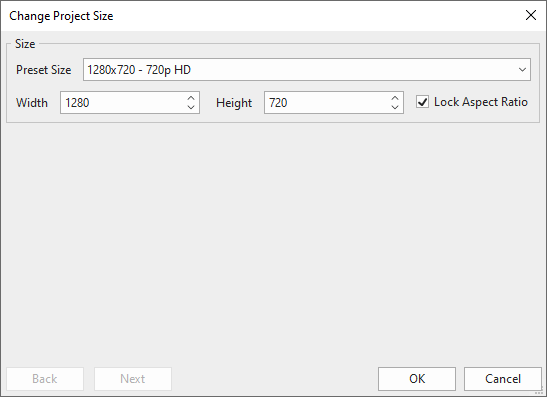
The Size section in the dialog tells you some information. In this example:
- Preset Size shows the dimension (1280×720) and resolution (720p HD) of the current project.
- Width and Height display the width and height of the slide.
- Lock Aspect Ratio is to maintain the ratio between slide width and height. If you want a custom size, simply untick the checkbox.
The custom size may be larger or smaller than the current one. Let’s learn how to change slide size in both situations.
The Custom Size is Larger than the Current Slide Size
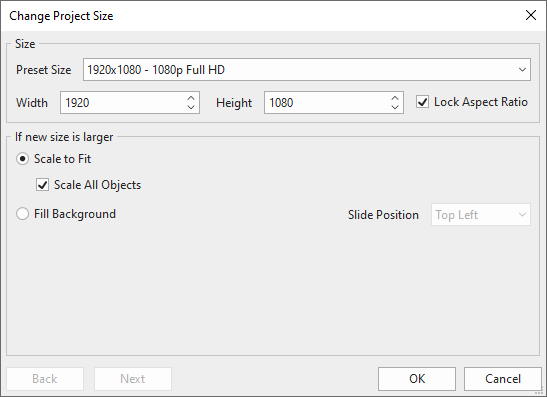
As can be seen, if the new size is larger, there are 2 options:
- Scale to Fit will scale the current slide size to fit the new one.
Scale All Objects means to scale all the objects in the slide to fit the new size. They include placeholders in slides and Slide Masters.
If you choose Scale to Fit without Scale All Objects, the slide is still scaled. However, the objects remain their original size, which may not fit the new slide size. Once that’s done, you should adjust their sizes.
- Fill Background will keep the content’s size and add it as background with the specific position you select. The position can be selected in the Slide Position list.
When the size satisfies you, click OK to finish.

The example shows the result when you selected Fill Background and the slide position is Top Left.
The Custom Size is Smaller than the Current Slide Size
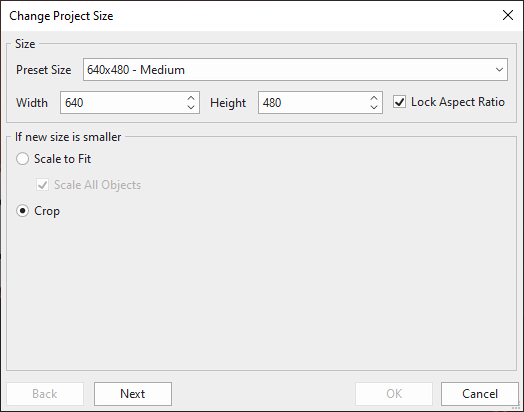
If the new size is smaller than the current size, you also have 2 options with:
- Scale to Fit acts the same way shown above. You can choose to scale all objects or not.
- Crop helps to change slide size by removing some unwanted parts. Since the new size is smaller, some parts of the current slide will be cropped. Select Crop > Next > select crop position.
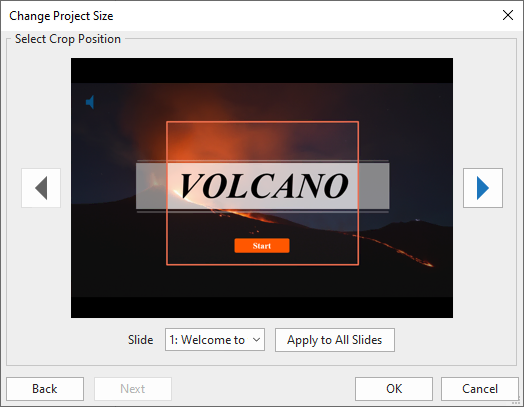
The parts outside the orange frame will be cropped. Drag the frame to the desired position.
You can also crop each slide individually by selecting a single slide in the Slide list.
Or click Apply to All Slides to crop all slides.
To finish cropping, click OK.
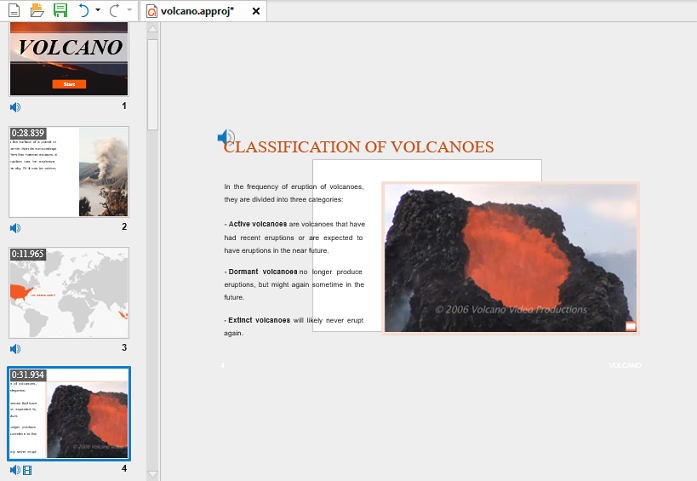
This is the result when you apply the cropped area to all slides.
Keep in mind that when you choose to crop the slide in any position, objects, and placeholders of the slides or slide masters will not be cut. They keep their original sizes. Simply manually drag their handles to fit the new slide size.
Change the Default Slide Size
Besides, the app also allows you to change the default slide size. The default size of an ActivePresenter 9 project is 1280×720 (width x height) in pixels. To change it, click the Preferences button ![]() on the bottom-right corner of the left pane in the Start Page. Alternatively, if you are in the workspace, click the ActivePresenter button > Preferences.
on the bottom-right corner of the left pane in the Start Page. Alternatively, if you are in the workspace, click the ActivePresenter button > Preferences.
Then, the Preferences dialog appears. You will see the default project size in the General tab.
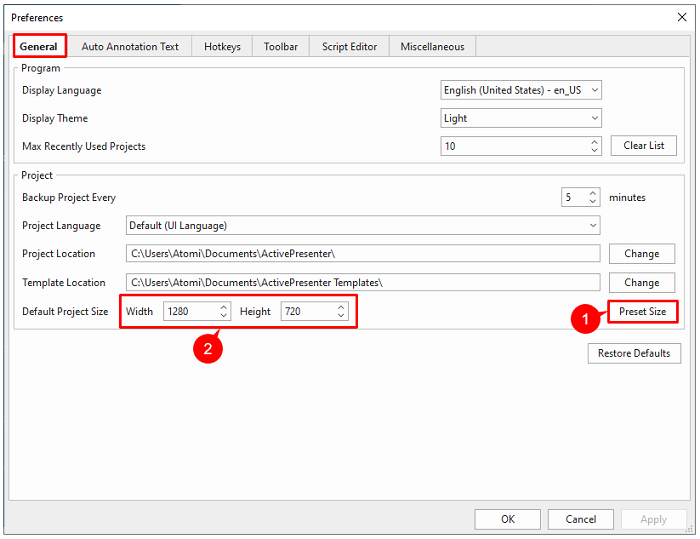
Do either of the following ways to change the default size:
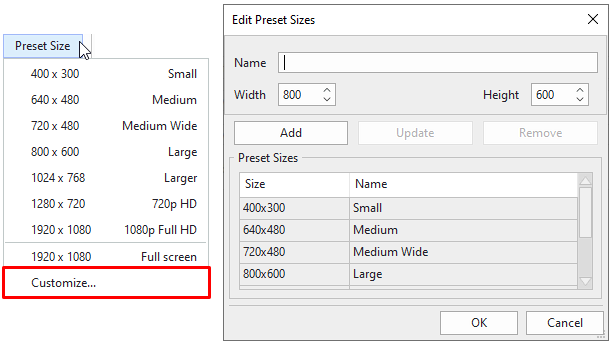
- Click Preset Size (1) to see the preset size list. If it doesn’t meet your needs, click Customize… to set a new size.
- Enter new values to the Width and Height spin boxes (2). Or, click the up or down arrow in each box to increase or decrease the values respectively.
When you are done adjusting the size, click Apply. The new default slide size will be applied to the later created projects.
That’s how to change the slide size in ActivePresenter 9. Visit our Tutorials page and YouTube channel to know more new features and updated information.
See more: