With a professional video editing software, it would be very easy to manipulate in recorded videos. And off course, videos play an important part in captivating learners’ attention when creating eLearning lessons. Today, I will introduce you how to use three techniques to insert videos into slides and some needed basic steps when you want to adjust or remove them. ActivePresenter is not only about screen recorder but also great video editor and elearning authoring software.
Inserting Videos
ActiverPresenter supports many popular video formats, including MP4, WMV, FLV, and AVI. Basically, you can add videos from files, fresh capturing, and YouTube. Let’s take a look at each method below.
Inserting Videos into Slides from Files
To add a new video stored on your computer to a slide, do as one of the followings:
- Right-click anywhere on the slide, point to Annotation (1) and then click Video (2).
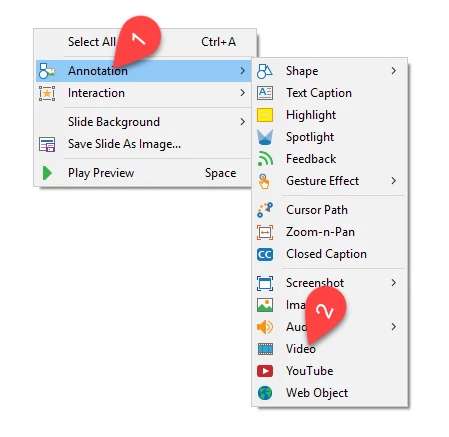
- In the Annotation tab (3), click Video (4).

The quickest way to do this task is to drag and drop an existing video from computer to the slide. But in that way, new video and the slide do not automatically fit together. Then, you have to drag it into canvas manually.
Inserting Videos into Slides from Fresh Capturing
There are two ways to add a video by screen recording in ActivePresenter:
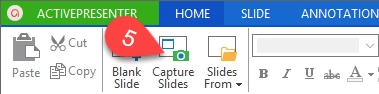
- Go to the Home tab, click Capture Slides (5).
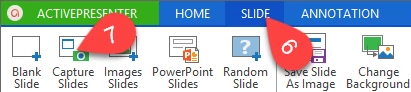
- In the Slide tab (6), click Capture Slides (7).
After that, choose your desired capture profile, and the next steps are similar to launching a new Capture Project. However, if there is any existing slide, newly captured video will be inserted right after the slide you are working on.
Besides, in case you have a pre-recorded project containing your desired video, you can also open it, copy and paste that video into the working project.
Inserting Videos into Slides from YouTube
ActivePresenter also enables you to add YouTube videos into slides with some simple method below:
- In the Annotation tab, click YouTube (8).

- Right-click anywhere on the slide, point to Annotation, and click YouTube (9).

After that, a new window appears on the screen, and then you can paste your desired YouTube URL into the box.
However, compared with two techniques described earlier, YouTube video cannot be previewed on the inside of ActivePresenter, but HTML5 output.
Adjusting Videos
Here are some options to customize your video.
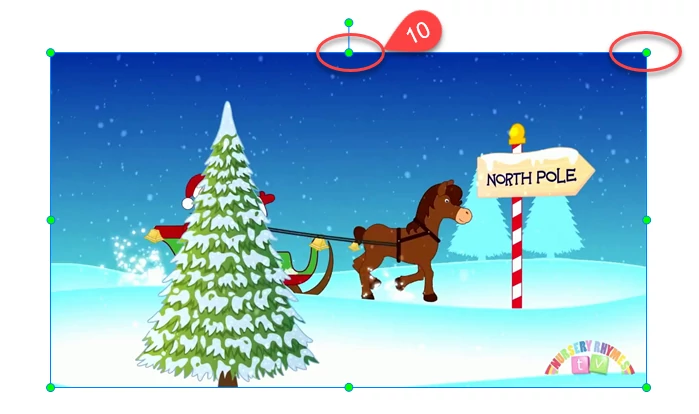
Step 1: Resize and reposition the video
- Click, hold and drag its green handles to change its size and position.
- Then drag it to where you want (10).
Step 2: Change the start time of video
Without Playhead in the Timeline, the start time is set to 0.
- Select the video object on the Timeline.
- Drag it to the left or right along the time bar (11).
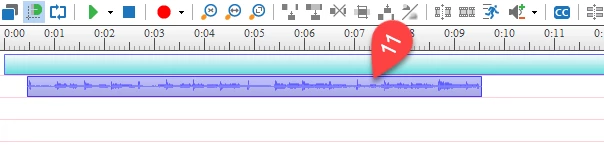
Also, you can select the time bar of the video, and specify the exact start time in the Timing & Animations section from the properties pane (12).

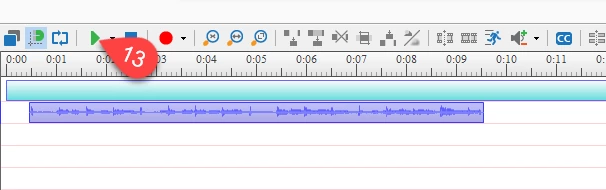
Step 3: Click the Play button on the Timeline to preview the video (13).
Deleting Videos
If you don’t want a video anymore, just delete it by selecting the video and pressing Delete key on the keyboard.
Now, you have a clear understanding about how to insert a video in ActivePresenter. If you want more information about how to enhance it, please check out our video Advanced Video Editing: Cut, Copy, Delete or Crop Range.