Have you ever heard of or seen whiteboard animation videos and been curious about how to create them? If that’s the case then you are in the right place. The following 5 simple steps will help you make a perfect whiteboard animation video effortlessly.
Whiteboard animation has increasingly become popular in recent years. It is also one of the most trending animation types among others. Do you know why? One of the reasons is its broad applicability in so many aspects. Marketers, educators, and teachers love using whiteboard animations. A study shows that whiteboard animation videos could increase by 15% of information recall than talking head ones. Whiteboard video was more entertaining by 33% as well.
Creating a whiteboard animation video can seem daunting if you have never done it before. What should the process be? Don’t worry! That’s what we’re talking about in today’s blog post.
Let’s start by exploring deeper what whiteboard animation is.
What is Whiteboard Animation?
As the name implies, whiteboard animation looks like black lines being drawn by hand on a whiteboard. The classic style of a whiteboard video always has three things. Those are the white background, the drawing hand, and the black drawing. Illustrations will be revealed following the drawing hand movement. As the animation combines sound, movement, and visuals, viewers are intrigued to find out what will happen next. Animated whiteboards are often used for sharing information, explaining ideas, and telling stories.
How to Create a Perfect Whiteboard Animation Video for Beginners?
If you are a newbie working on creating a whiteboard animation video, we’ll have you covered. Through the following easy and step-by-step process, you can make a compelling whiteboard video regardless of your animation skill level.
Now, let’s begin.
Step 1: Define Whiteboard Animation Video Story
The first and foremost step, you must think about the story of your whiteboard animation video. It means what do you want to say? You need to start with the main ideas and write down an outline of what to focus on. It seems you may take some time to think and work on this step. Worry no longer, it makes sure your whiteboard video will go in the right direction.

The following questions will help you get started:
- Who are your target viewers?
- What is the purpose of your whiteboard animation video?
- How long should the video be?
- What are the main points of the video?
- What types of images or characters will be included in the video?
- What should viewers do after watching your whiteboard animation video?
Thinking about this stuff will give you a good idea of what your video needs to accomplish.
Step 2: Create Whiteboard Video Script
Once you’ve determined the video’s objectives, the next step is to begin writing a script for your whiteboard animation video. The script means the fully written voice-over script for the video. With the help of the voiceover, you can reinforce the video’s overall message and professionalism. The first draft of the script can be anything you think of. And then you can go back to revise it afterward. As a side note, not every word in the script is all turned into illustrations in the video. Illustrations may be characters, texts, or images. You should decide which events should happen on screen by highlighting them in the script.
Step 3: Design a Storyboard
You can either do this step along with the scripting of the video or separately. Storyboarding means indicating the sequence of scenes in your whiteboard animation video, along with the script’s words.
A storyboard usually looks like this:
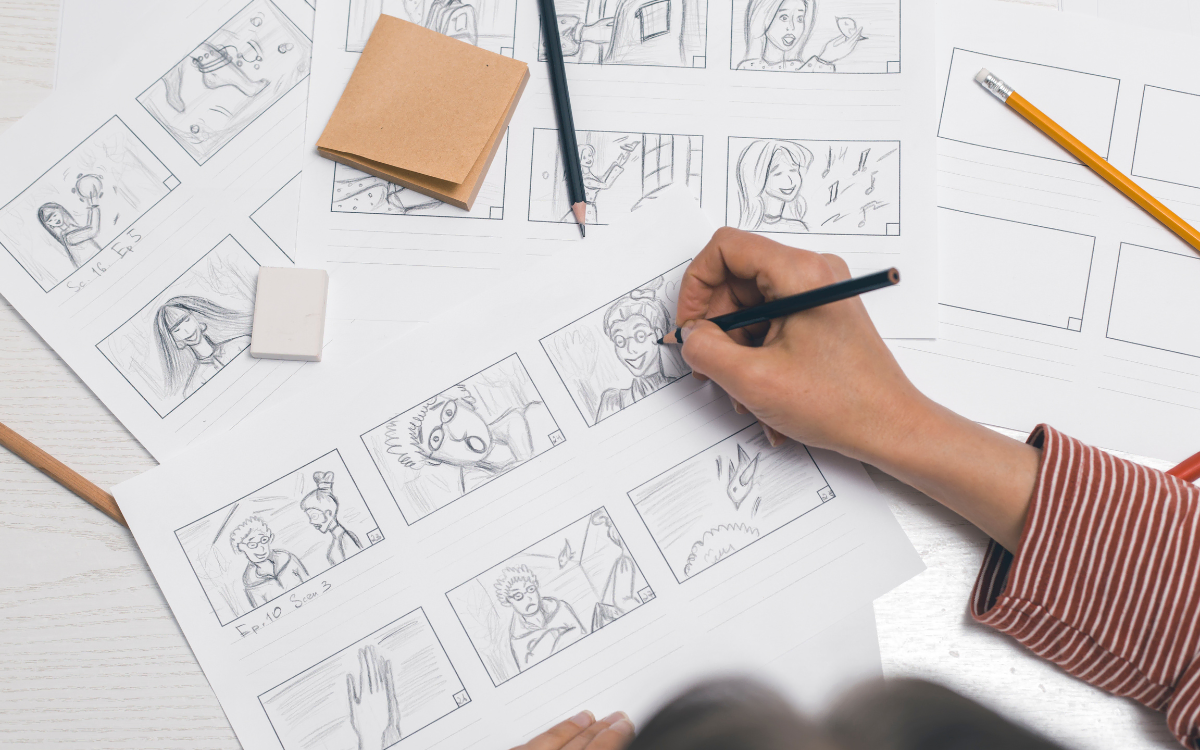
There are two ways to do storyboarding. One way is to sketch rough images that you want to appear in each scene with paper and pen. Draw a square representing each scene and work on it. The other way is you can go with the help of storyboard software. Whatever the way you use, bear in mind to draw the only main event of each scene instead of cramming all the details into the storyboard.
Step 4: Create Your Whiteboard Animation Video
You’ve done storyboarding. Now it’s time to make your whiteboard video. Fortunately, as a powerful animation software, Saola Animate can help you with this step. Its keyframe-based animation system allows you do to almost anything without coding knowledge. For engaging the hand-drawn animations, you can use the Line length keyframe to animate a line drawing. Moreover, creating the drawing hand movements by converting from any available shapes and freeforms on the Canvas helps make it easily consistent with the animations. A lot of effects and easing methods are available also to bring your animations to life. When you’ve done making whiteboard animations in Saola Animate, you can export them to popular video formats such as MP4, WebM, and MKV.
Below is an example of a whiteboard animation made with Saola Animate:
Do more with Saola Animate!
Not only is Saola Animate whiteboard animation tool, but it also has a powerful set of animation features. Just create sprite sheets, morph animations, text animations, and whatever you want.
Get Saola Animate 30-day free trial!

Step 5: Record Voiceover for the Whiteboard Video
It can be said that voiceover is an inseparable part of an explainer video like a whiteboard animation. With the voice of the narrator, viewers will see the story behind those drawing lines comprehensively. The cheapest and most convenient option is recording the script by yourself. To get self-recorded high-quality audio, we have some tips for you. For example, preparing a quiet recording space, using a standard microphone, or limiting the ambient sound. If you struggle to handle self-recording, you can consider hiring a voice actor or using a text-to-speech tool.
In case you opt to go with the latter option, we recommend ActivePresenter, a professional eLearning authoring tool. This tool is able to detect available voices installed on your computer and convert your text to these voices. You can also easily access cloud voices of multiple languages from Amazon Polly, Microsoft Azure, and Google Cloud with a few clicks. There are tons of voices to choose from. So you can test them out and select the voice that converts the best for your whiteboard animation video.
In addition, there is one more cool thing you can do with ActivePresenter. That’s you can import your whiteboard animation video into the app to sync it with your voiceover simply. ActivePresenter provides versatile audio and video editing features from basic to advanced. Do you want to try ActivePresenter? Just download it below:

Wrap It Up
We’ve now covered the steps to creating a whiteboard animation video. These steps are all simple and straightforward even for newbies. Developing and polishing the whiteboard video, however, still requires time and effort. So, start making your first whiteboard animation video today and see the benefits it will bring to your work.
Did you find this article helpful? Don’t forget to visit our Blog to read further useful content.
More articles: