When it comes to recording software simulation, you might not be satisfied with the default settings of several objects. And, you may want to modify these objects to fit your new ideas. In ActivePresenter 7, you can save a substantial amount of time to set default objects and reuse them in other projects with just simple steps. In this tutorial, I will show you how to change the default settings of Cursor Path, Shape, Correct/Incorrect Messages and Hint Message before recording software simulation.
Setting Default Objects before Recording Simulation
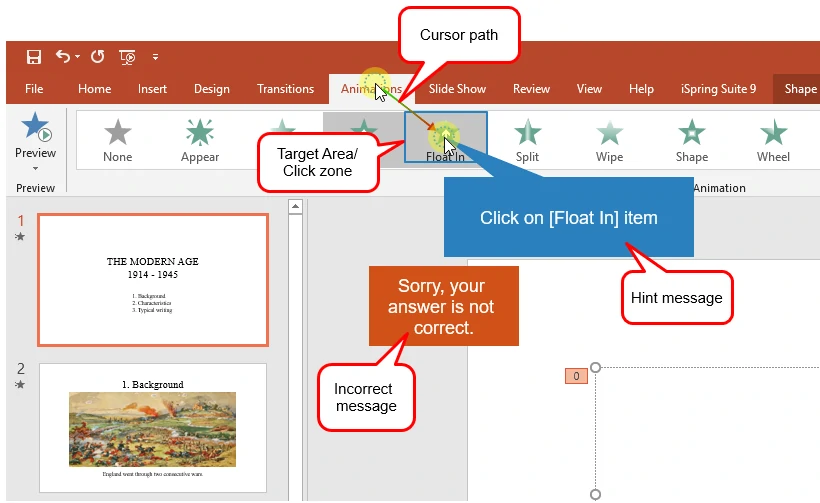
Here is the default objects when recording software simulation.
To change the default setting for objects before recording simulation, do the following:
Step 1: Create a new blank project by clicking the Create blank project command or access ActivePresenter > Blank Project.
Step 2: Insert and change the settings for objects in this new blank project.
Cursor Path

To modify cursors in the recording simulation phase means to modify the cursor path. So, we need to insert a cursor path (click Cursor Path in the Annotations tab) then edit it.At the same time, a cursor path appears on the Canvas like this:
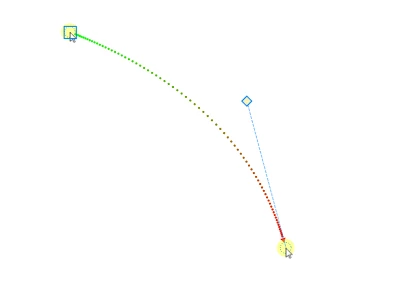
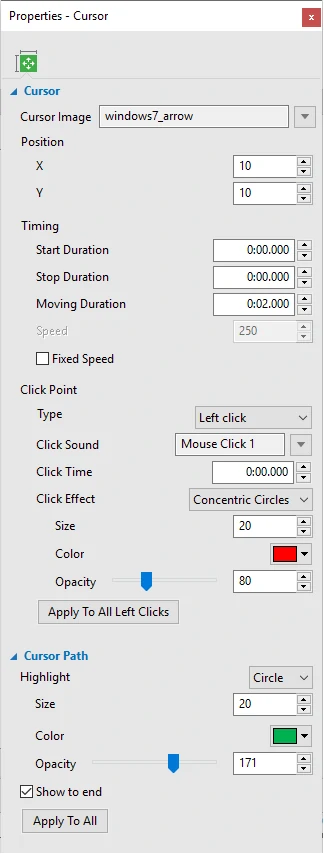
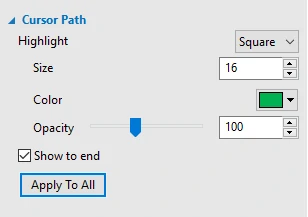
Now, we can change all the attributes of a cursor and its path in the Properties pane.
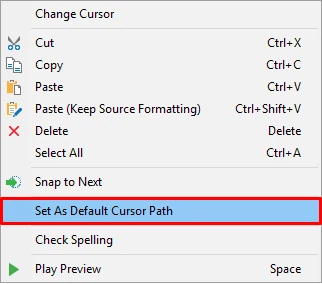
After that, right-click the cursor path on the Canvas, then select Set As Default Cursor Path.
Shape
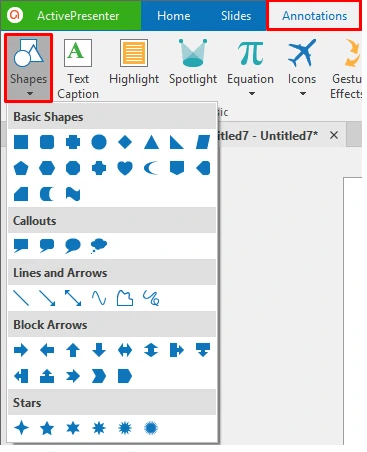
The hint message shape will inherit all the properties from the shape that you are going to modify. To insert a shape, do either of the following:
- In the Annotations tab > Shapes > Select your desire shape.
- In the Home tab > Shapes > Select one shape in the list.
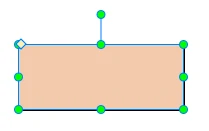
Now all you need to do is to style the shape the way you want. You can adjust the shape by dragging the green handles, change its size, color, etc. in the Properties pane.
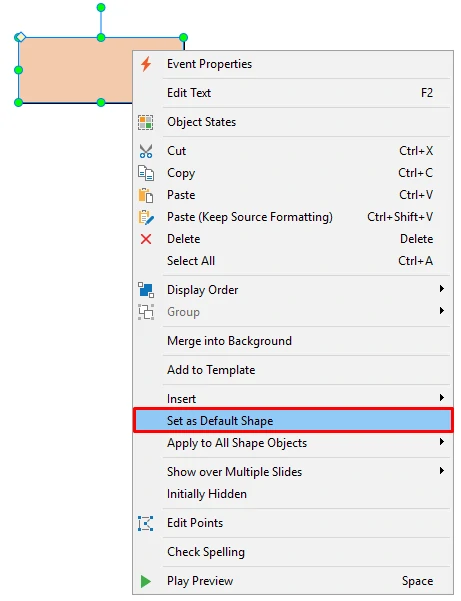
After finishing styling the shape, right-click it on the canvas and select Set as Default Shape.
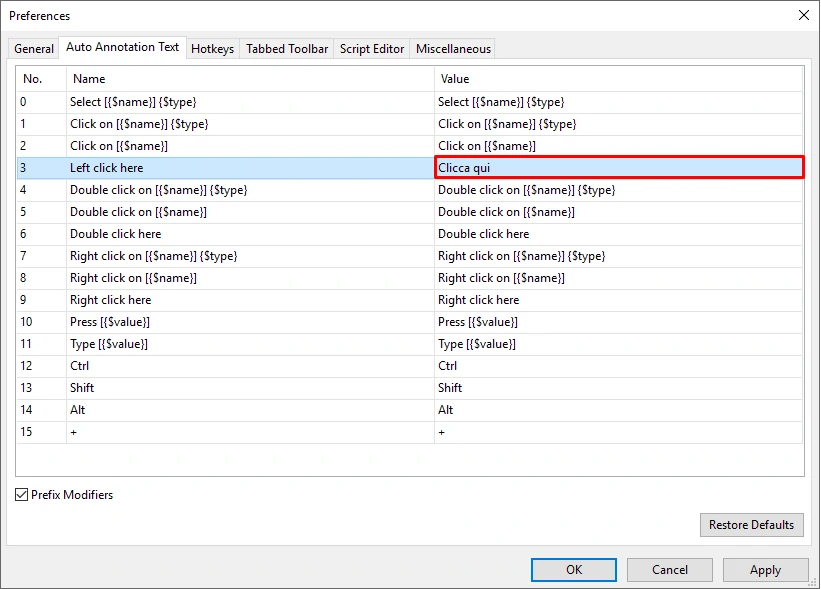
In case you want to modify the text in the Hint message, for example, you want to translate it into another language that ActivePresenter hasn’t supported yet. You just need to change the text in the value column of the Auto Annotation Text tab in the Preferences dialog. ( ActivePresenter button > Preferences > Auto Annotation Text). For example, I change the text “Left click here” of the Hint message into “Clicca qui” in Italian. Then click OK to save.
Correct/Incorrect Message
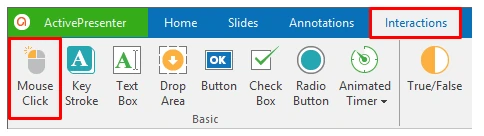
To modify target area and correct/incorrect messages, you need to insert a mouse click and format its styles. Perform either of the following to insert a mouse click into the project:
- Click the Interactions tab > Mouse Click.
- Click the Home tab > Interactions > Mouse Click.
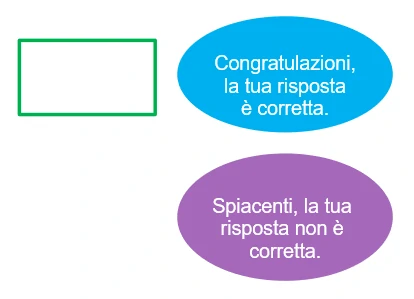
After that, modify the target area and correct/incorrect messages as your wish like editing their shape, text, color, size and so on.
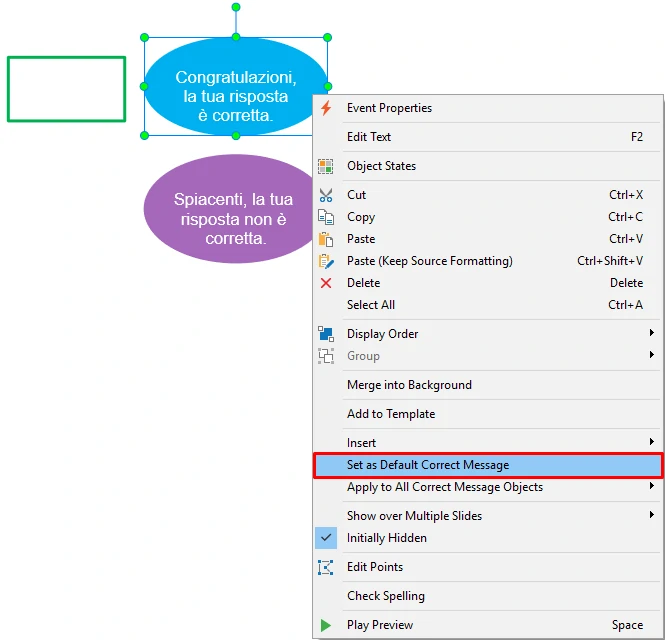
Right-click the target area, correct Message or incorrect message on the canvas then select Set as Default Mouse Click / Set as Default Correct Message or Set as Default Incorrect Message for each attribute.
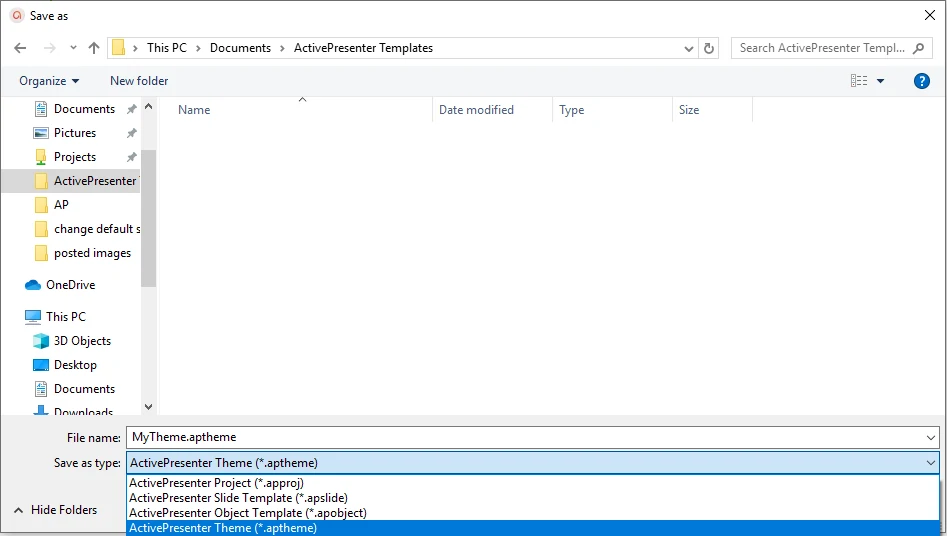
Step 3: Save the current project as a theme (*.aptheme) or slide template (*.apslide) in the location C: Users<user_name>DocumentsActivePresenter Templates (for Windows) or /Users/<user_name>/Documents/ActivePresenter Templates (for macOS). So, ActivePresenter will load it automatically. For example, I save it as MyTheme.aptheme. This custom theme will be saved and you can reuse it for other projects.
Note:
All the setting changes should be saved as a slide template when you want to create a custom slide and reuse it in other projects later on. In case you want to change the colors, shapes, and appearances of objects, saving as a theme template is a good choice for you.
Take a look at Creating and Using Object Templates in case you want to learn more about object templates.
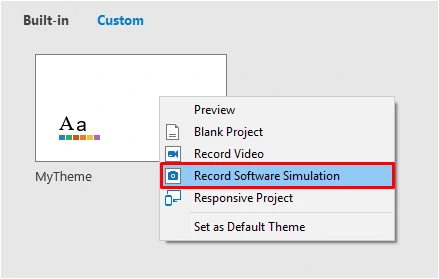
Step 4: Use this custom theme for recording. Go to Start Page > Templates > Custom > Right-click the custom theme, then choose Record Software Simulation.
Note:
Before recording software simulation, in the Cursor tab of the Recording Setting ![]() section, make sure to check these two options below to enable recording mouse cursor and making cursor editable for full motion recording:
section, make sure to check these two options below to enable recording mouse cursor and making cursor editable for full motion recording:
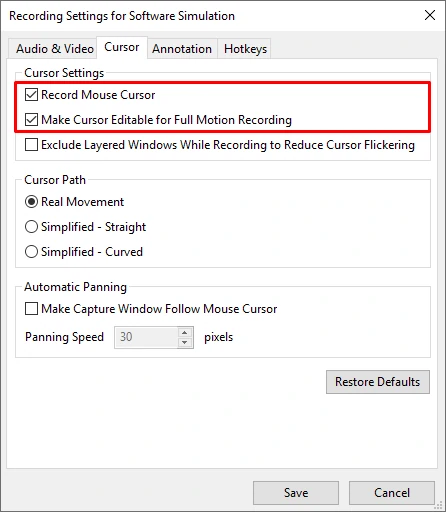
- Record Mouse Cursor: enables recording mouse cursor.
- Make Cursor Editable for Full Motion Recording: allows editing cursor effects after recording. If you deselect this option, all the cursor effects will be removed and you are unable to edit them.
Editing Cursor Path after Recording Simulation
What if you want to change the default settings of cursor path after recording simulation? In this case, you just need to select any mouse cursor and navigate to the Properties pane to change the settings. After that, select Apply to All to apply the settings to all the cursor paths in the projects. Take a look at Adding cursor paths for more information about how to customize cursor paths.
That’s all about setting default object as a theme or a slide template before recording simulation and reuse them in many other projects. Hope you find this tutorial useful and that it saves you some time in recording simulation.