Overall, ActivePresenter 7.5 offers you new features and enhancements for eLearning design. One of these amazing features is Animated Timer which enhances the user experience of eLearning task.
What is Animated Timer?
Basically, Animated Timer is a time-counter which can be used for quizzes and eLearning courses.
So, Animated Timer is a useful tool for:
- Creating a sense of urgency, tension, or pressure.
- Simulating practical tasks that involve time constraints.
- Making activities more interesting and enjoyable.
- Motivating problem-solving capability.
- Creating timed skill and drill exercises.
How to Use Animated Timer?
In general, Animated Timer is a simple tool to use. Now, let’s get to know how to work with Animated Timer in ActivePresenter.
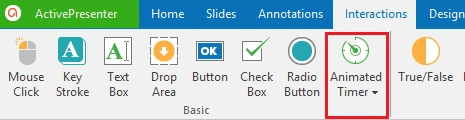
Step 1: Go to the Interactions tab and click Animated Timer.
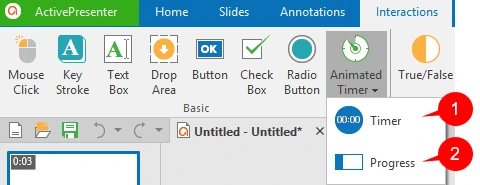
There are two types of Animated Timers: Timer or Progress.
Step 2: Select either Timer (1) or Progress (2). The timer will be inserted in the slide that you are working with.
Inserting Timer
Firstly, we will learn to use Timer. The Timer option is used for keeping track of time spent on a slide.
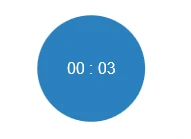
After selecting Timer, on the Canvas, Timer is presented with the default digital display consisting of 2 sides. The left side is Minute and the right side is Second because we are using MM:SS default type.
To change Timer’s display, go to the Properties pane > Interactivity tab > Timer section.
This section provides you four choices of format:

HH:MM:SS: Hour:Minute:Second
HH:MM: Hour:Minute
MM:SS: Minute:Second
SS:MS: Second:Millisecond
In addition, ActivePresenter enables you to adjust more with Timer section. From Timer in the Properties pane, there are three check boxes: Countdown (3), Match Object Duration (4), Start Automatically (5).
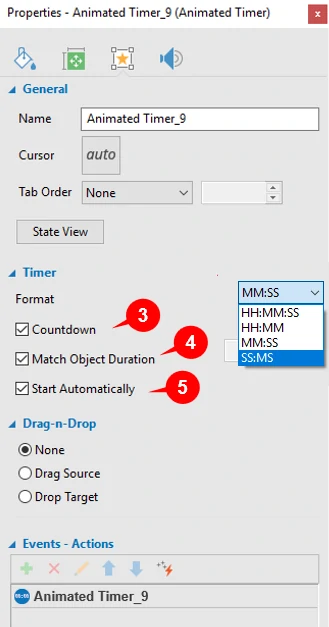
- Countdown: Helps you set countdown for your Timer. If you check this box, Timer will count down from a specific number to zero. If not, Timer will count up. For example, when you check this box and set time to count down in 3 seconds, the timer will count from 3 to 0. If you uncheck this box, the timer will count from 0 to 3.
- Match Object Duration: Supports you set the same duration for Timer and Object. If you check this box, Timing duration will equal to Object duration and the timer will count simultaneously with the Object. If not, Object duration will appear on the right side and you can change it as you want.
- Start Automatically: Allows how Timer works. If you check the box, the timer will start immediately when it appears on main timeline. If not, Timer will be controlled by Actions. And we will cover how to use Actions to control Timer later.
Tip: If you want to change or create your own Timer style, click Format. Timer can be edited the same way objects are.
Inserting Progress
Next, the second type of Animated Timer is Progress. After selecting Progress, a progress bar will appear on the canvas.

Go to the Properties pane for more changes. Basically, working with Progress is very similar to working with Timer. However, Progress will not show the amount of time passed to the viewer. It can only be seen in the Properties pane.
Adding Events and Actions for Timer
In addition to the default Events and Actions that provided by ActivePresenter, Animated Timer has its own Events and Actions. So, use these Events and Actions to make the Animated Timer interact with the slide.
Adding Events
In order to add events for Animated Timer, take the following steps:
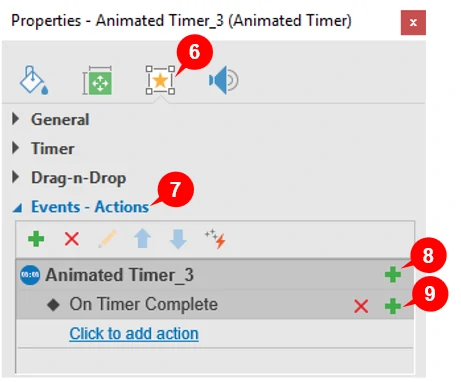
Step 1: Go to the Interactivity tab (6) in the Properties pane.
Step 2: Expand the Events – Actions (7) section.
Step 3: Hover the mouse over the Animated Timer title and click the Add Event button (8). Next, select one out of 8 available events from the pop-up menu.
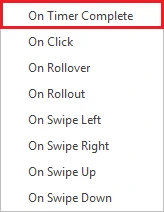
Animated Timer has one new event called On Timer Complete, which occurs when the Timer finishes.
For instance, if you create a quiz and you want to show the answer when time’s up, use the One Timer Complete event and choose suitable action.
After selecting, you can see On Timer Complete event entry appears below the Animated Timer title.
Adding Actions
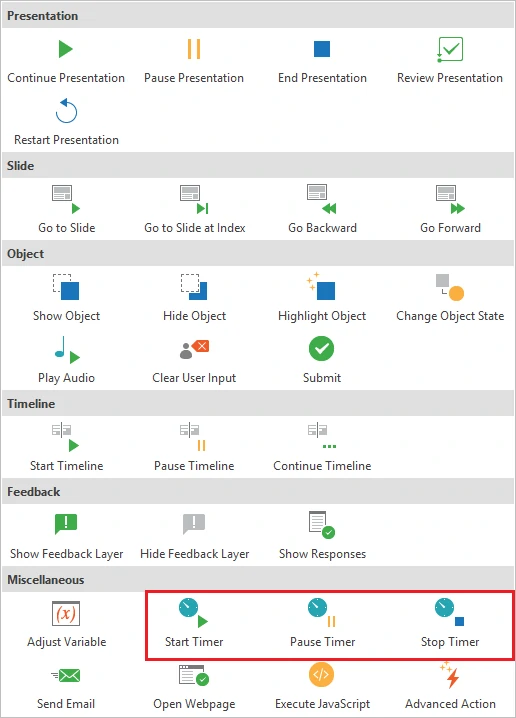
To begin with, click Click to add action and select one action from the list. ActivePresenter gives you 30 actions to choose. Therefore, if you want to add more actions, click Add Action (9) then repeat the procedure.
There are 3 actions are used for Animated Timer:
- Start Timer: Make Timer start counting.
- Pause Timer: Stop Timer counting temporarily.
- Stop Timer: Stop Timer counting.
For example, when you select On Click event and Pause Timer action (In Miscellaneous), counting Timer will be paused when you click on Timer display. This is useful for creating quizzes in which the timer pauses once the learners answer.
Note: Now, you are able to use Javascript API to work with Timers. The supported functions are:
- prez.object(“TimerA”).startTimer();
- prez.object(“TimerA”).pauseTimer();
- prez.object(“TimerA”).stopTimer();
Tip: ActivePresenter allows you to add more than one action to an event easily. In that case, actions will take place in the order that you insert.
Then, to change an action’s order, select it and click the Move Action Up button or More Action Down button to bring an action up or down one level respectively.
Take a look at Working with Events – Actions to know how to add condition to Actions, remove Events or Actions or even more.
All in all, it is all about Animated Timer in ActivePresenter 7. So, visit the following links if you want to learn more about how to work with other types of interactive objects in ActivePresenter:
Working with Mouse Clicks
Working with Key Strokes
Working with Text Boxes
Working with Drop Area
Working with Buttons
Working with Check Boxes and Radio Buttons