The Change Playback Speed feature in ActivePresenter 9 lets you speed up or slow down the playback speed of the whole video or just parts of it in a single click.
When it comes to editing videos, changing video speed is an effective tool. For example, you might have a long video scene or some parts which contain not much important information such as writing a text, repeating some steps, changing the appearance of objects, etc. In these cases, let’s increase or decrease speed either for the whole video or just parts of it. Now, we will walk you through how to speed up or slow down video playback in ActivePresenter 9.
In general, you will learn:
- Change playback speed for the whole video
- Speed up/slow down specific parts of video
- Reset to original video speed
Change Playback Speed for the Whole Video
To speed up or slow down the whole video, do as follows:
Step 1: Select the video object (on the Canvas, Timeline, or Selection pane).
Step 2: Click the Change Playback Speed button (1).
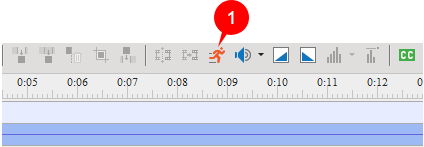
This opens this dialog:
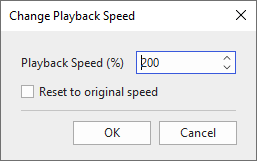
Step 3: Specify the percentage in the Playback Speed box > click OK. If you want your video object to run faster, enter a value higher than 100%. In contrast, enter a value lower than 100%.
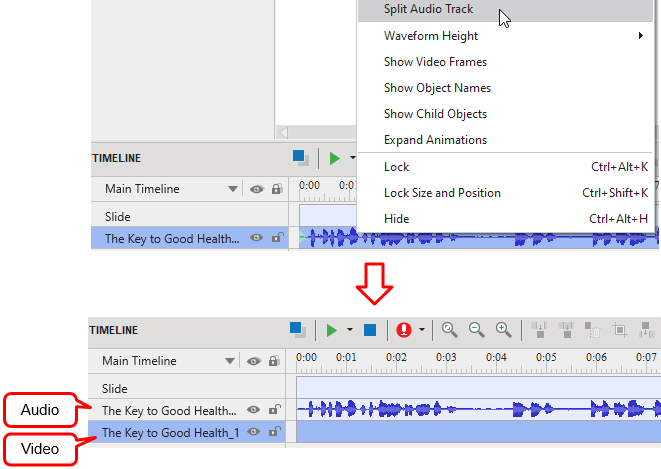
Tip: The best practice of this Change Playback Speed feature is to apply it to video objects not containing audio. That’s because when you change the speed of the video containing audio, the playback speed of both will be affected as well. If you need to speed up or slow down video only, ActivePresenter 9 now helps you separate audio from the original video in a flash. To do that, you right-click on the video and select Split Audio Track. Then, ActivePresenter will automatically separate your video into 2 different video and audio objects in the Timeline pane. Now you can change the playback speed of the video object as normal.
Note: Remember to select the video object only. If you don’t select any object, the command will apply to all objects in the Timeline pane.
Speed up/Slow Down Specific Parts of Video
It’s easy to change the playback speed of a specific part of the video. Take the following steps:
Step 1: Drag the Start marker (green) and the End marker (yellow) to define the range of the video you want to speed up or slow down.
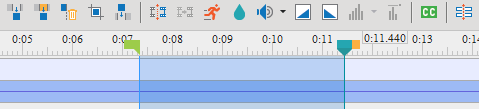
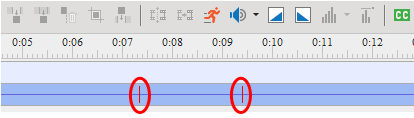
Step 2: Click the Change Playback Speed button (1) and enter the value in the dialog as mentioned above. In the Timeline pane, the red marks show where the video is sped up or slowed down.
Reset to Original Video Speed
After making changes, you still can restore the original speed. To get it done, do as follows:
1. Select the whole video or drag markers of the Playhead to select exactly the range that you have changed the speed before (the range between two red marks).
2. Click the Change Playback Speed button (1).
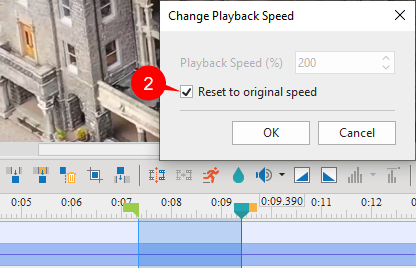
3. Select Reset to original speed check box (2). Finally, click OK.
So, it’s quite easy to speed up or slow down video speed with ActivePresenter 9, isn’t it? Download the app and use this feature to save the duration and the file size of your videos.

Hope that it will help in your video/audio editing procedure.
See also: