In addition to many built-in shapes, Saola Animate 3 provides you with seven freeform tools to draw your own vector graphics. In detail, you can use:
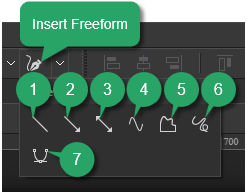
- (1) Line: to draw straight lines without arrows.
- (2) Arrow: to draw straight lines with an arrow on one side.
- (3) Double arrow: to draw straight lines with both arrows on two sides.
- (4) Curve: to draw curved lines (open curves) or shapes (closed curves).
- (5) Shape: to draw lines/ shapes that have both straight and freeform segments.
- (6) Scribble: to draw lines/ shapes as if you are using a pencil on paper.
- (7) Line and Curve: to draw lines/ shapes that have both straight and curved segments.
In this tutorial, let’s learn how to use each of them in turn.
This tutorial covers:
Define Vector Graphics
If you are a graphic designer, you probably know about two categories of graphics, including:
- Vector graphics
- Raster graphics (which is also known as bitmap graphics)
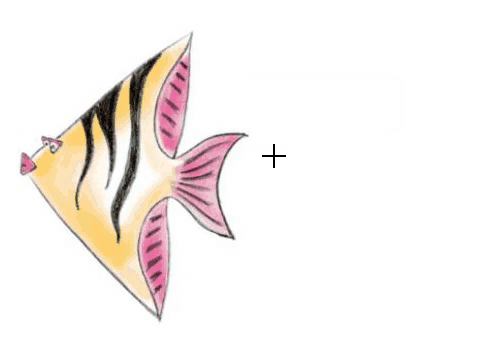
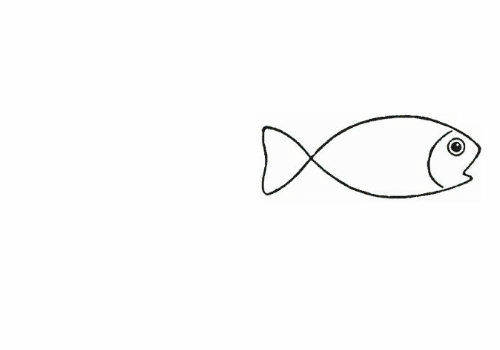
Based on mathematical formulas, vector graphics consist of points connected by either lines or curves. In other words, vector graphics are like connect-the-dots drawings. As the output of the connected points, vector graphics can look good at different sizes without loss of quality. As you can see in the image below, when a vector graphic file is scaled up, it still looks clear and sharp at every point:
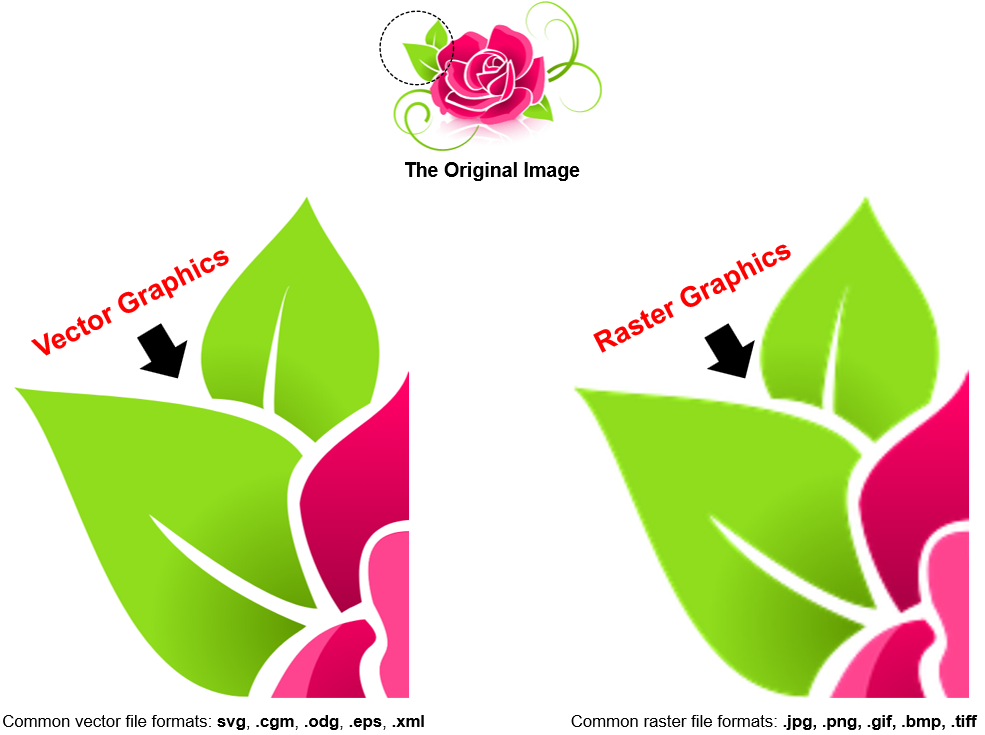
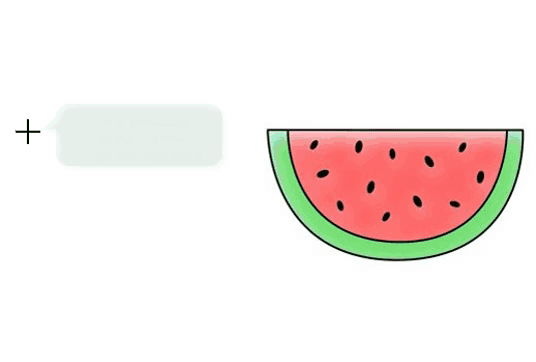
Meanwhile, raster graphics are formed of a fixed number of colorized pixels. These tiny pixels are arranged in a grid formation to display an image. Therefore, when you scale up a raster graphic file, it becomes blurred. The larger an image is zoomed in, the more chances you can see many tiny squared pixels. In short, its image quality is lost, hence, it is low-resolution.
Besides, if you take images’ file size into consideration, vector graphics will be a better choice. That’s because vector graphics can maintain a small file size. With vector graphics, a computer only needs to store a series of connected points. In contrast, it must store information on every single pixel of a raster image. This is a reason why vector files are usually smaller than raster ones.
With these unique advantages of vector graphics, now, let’s learn how to draw them with supported tools in Saola Animate 3.0.
Use Freeform Tools to Draw Vector Graphics
To start drawing vector graphics, you first need to select a tool. In the Insert toolbar, click the Insert Freeform button and select one out of seven freeform tools from the list.
Draw Lines, Arrows, Double Arrows
The way to draw Line (1), Arrow (2), Double Arrow (3) is the same. After you select a freeform tool, the cursor changes into a cross hair. Press and hold down the left mouse button to set the start point. While still holding onto the left mouse button, move your mouse to draw a line. Note that while moving the mouse, you can hold down SHIFT to draw a straight line inclined at an angle of 30, 45, 60, 90, 120, 135, 150, and 180 degrees. Once you are satisfied, release the mouse button to set the end point:
Draw Curves
As soon as you select the Curve button (4), the cursor changes into a cross hair. Click anywhere on the Canvas to set the start point. Move the mouse to a different position to form a line. Click the left mouse button to curve the line. Now continue moving the mouse, the curve changes correspondingly. Each click adds a new turn to the curve. Note that to draw a curve, no need to hold down the left mouse button as when you draw a line.
A curve can be either open or closed. If you want an open curve, double-click it or click and press ESC on your keyboard to set the end point. Otherwise, move the mouse near the start point and click to get a closed curve filled with a solid color.
Draw Shapes
The Shape tool (5) allows you to draw both straight lines and curves. First, click anywhere on the Canvas to set the start point. To form a straight line, release the mouse button and place the cursor elsewhere, then click. If you keep holding down the left mouse button while moving, you’ll draw a freehand curve. You can alternate between straight lines and freehand curves to form your desired shape.
Double-click or click and press ESC at any time to set the end point, making an open shape. Otherwise, move the mouse near the start point and click to get a closed shape filled with a solid color.
Draw Scribble
The Scribble tool (6) enables you to mimic hand-drawings. You can draw as you are using a pencil on paper. Once you start a scribble, keep holding down the left mouse button until you finish. The point where you release the mouse button will be the end point of your drawing.
Draw Line and Curve
The Line and Curve tool (7) is a brand new tool added in Saola Animate version 3.0. To use this tool, first, click anywhere on the Canvas to set the start point. Then:
• To draw a straight line: Release the mouse button, move the mouse, place the cursor anywhere on the Canvas, then click.
• To make a curve: Release the mouse button, move the mouse, then click and drag the mouse. After that, you will see two blue handles with an anchor point (the blue dot) and two control points (the white dots). Continue dragging the mouse to reshape the curved segment until you satisfy, then release the mouse button.
Note that if you want to cancel drawing a curved segment, just click on the recent curve’s anchor point, and move the mouse to another location to draw a line. In case you want to draw a curve again, move the mouse to an anchor point, then click and drag.
That’s how to use freeform tools to draw vector graphics in Saola Animate 3.0. As you can see, the drawings in this tutorial are not perfect. We need to edit their anchor points and control points to make them look better. The methods to edit free forms will be introduced in the next tutorials.
Related Articles: