ActivePresenter lets you record operation steps on your computer screen and export recorded projects to Word documents to create software operations manuals and training manuals. You can even design a custom Word template, and then use it to export the project. This technique comes in handy when you wish to develop brand consistency with uniform styles and formats.
The created Word template controls the formatting and style of the document output. It contains the following tags that tell ActivePresenter what to export.
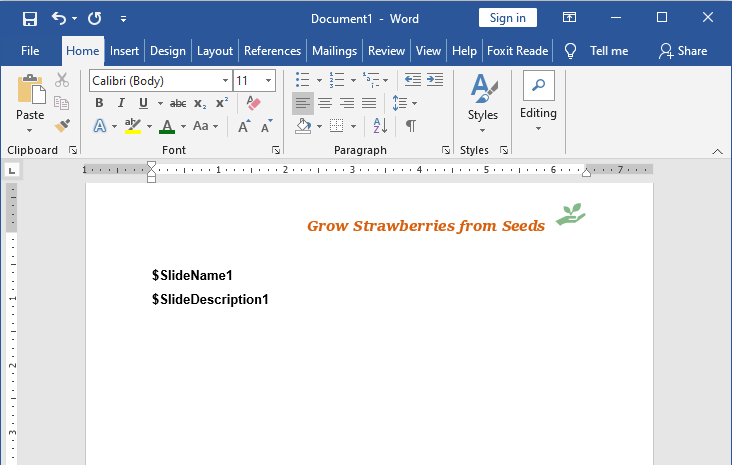
- $SlideName1: Specify the location to place slide names.
- $SlideDescription1: Specify the location to place slide descriptions.
- $SlideImage1: Specify the location to place the slide contents (slide background, shapes, captions, screenshots, etc.) in the template.
During the export process, these tags in the template are replaced with ActivePresenter contents. If there is no content to export for a tag, the tag is removed in the output. Any formatting, static text, and image in the template are also included in the exported document.
The tutorial covers 3 main parts to show you how to create and use a custom Word template.
- Create a Word Template
- Create a Custom Word Template
- Export Project to Word Using Custom Word Template
Create a Word Template
First of all, open a Microsoft Word file and create a word template. You can create a new template from scratch or make use of sample templates that Microsoft Word offers you on the Home page.

Create a Custom Word Template
Now, you have your own one, follow these steps below to make your Word template compatible with ActivePresenter.
Step 1: Add the tags.
- Place the $SlideName1 and $SlideDescription1 tags into the page. You can place them anywhere you want.
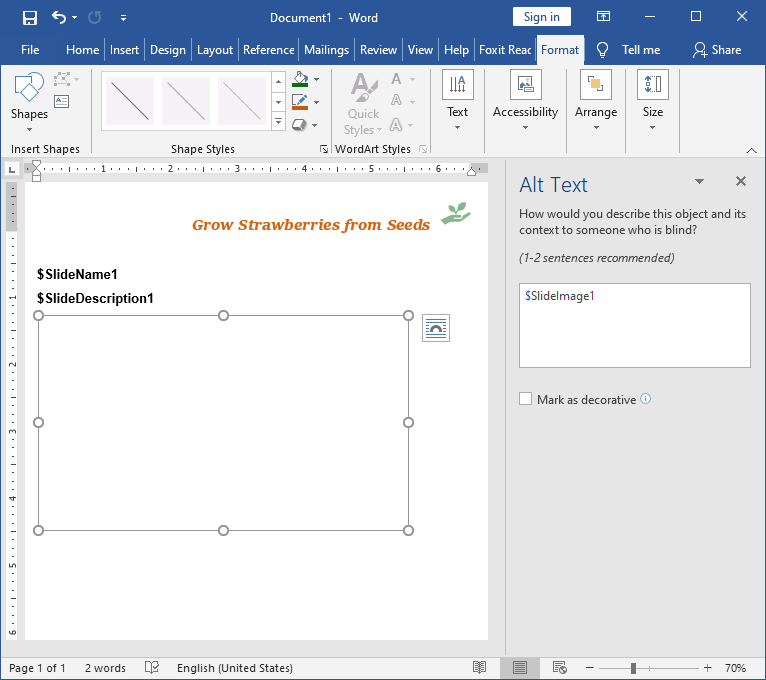
- Regarding the $SlideImage1 tag, you need to insert a Word drawing canvas. To do that, in the Insert tab > Shapes > New Drawing Canvas > right-click the drawing canvas > select Edit Alt Text > type $SlideImage1 in the Alternative text box.
Step 2: Style the tags.
You can set styles (font name, font size, color, etc.) for slide names and slide descriptions. ActivePresenter will automatically use these styles when writing Slide Name and Slide Description text.
To set tag styles, first select each tag. Then, go to the Styles pane (Home tab > Style) to apply built-in styles or create a new style.
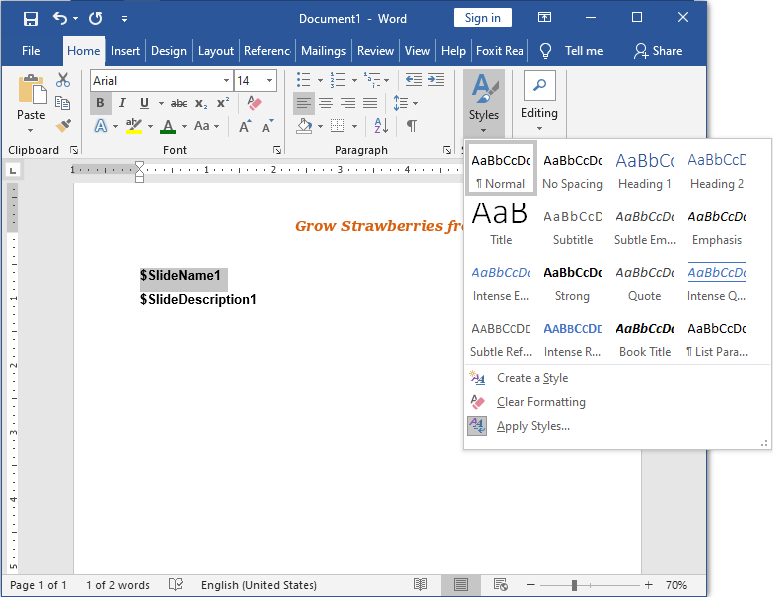
At this point, if you want to create a table of contents for your exported Word document, remember to set heading styles for tags.
Step 3: Save the file. Press CTRL+S or click Save or Save as on the Home page.
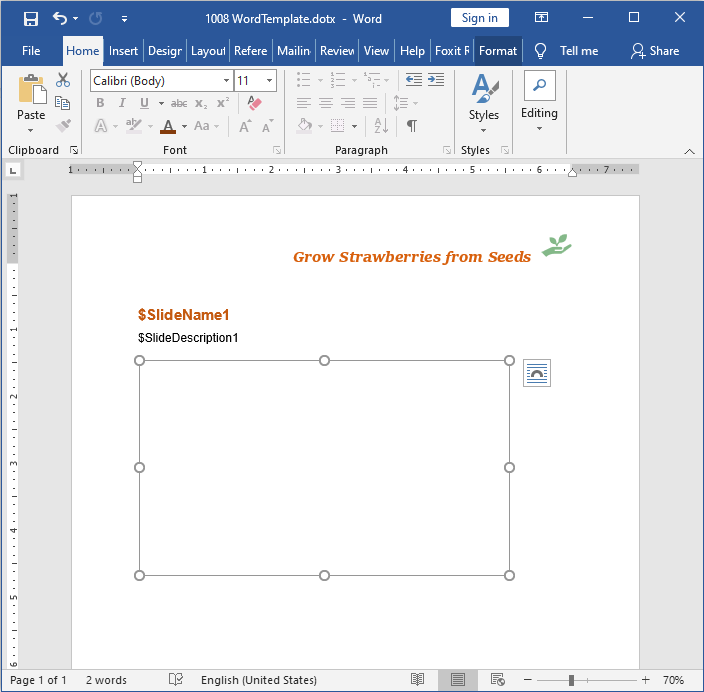
Remember to select the .dotx format (or Word Template) to save it as a template. Once you’ve done with this, here is your custom template.
Note: Creating a custom Word template requires Microsoft Word 2012 or higher installed on your computer.
Tip: Styles for slide names and slide descriptions can be changed after exporting. Just open the exported Word document and normally change these styles.
Export Projects to Word Using Custom Word Template
The practice is that you’ll import the created Word template to ActivePresenter. Then, the app uses the template to export your project as a Word document. The output you get is a Word file with all contents, formatting, and style you’ve created before.
In the current ActivePresenter project, do as follows:
Step 1: In the Export tab > Microsoft Word. This opens the Export To Microsoft Word dialog which has four sections: General, Layout, Image, and Output.
In terms of the General and Image sections, see Exporting Projects to PDF, Word, Excel Documents for more details. The next steps focus on the Layout and Output sections which directly concern exporting the project using a Word template.
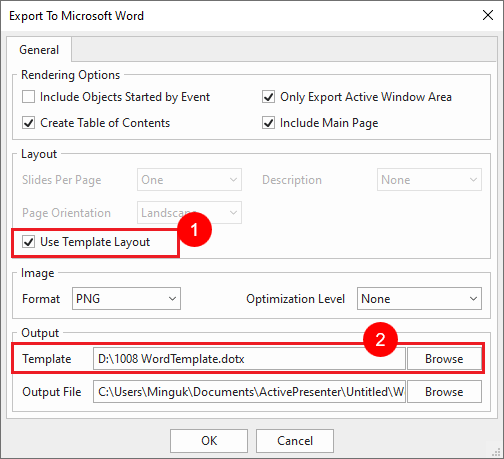
Step 2: In the Layout section > select the Use Template Layout checkbox (1).
Step 3: In the Output section > Template box > Browse (2). Then, select the Word template you’ve created before from your computer.
Step 4: Click OK to start exporting. After that, you’ve got a Word document like this.

Tip:
- You can edit this exported Word document as you do with a normal Word file.
- There is the Create PDF/XPS Document feature in the MS Word application. Therefore, you can edit the exported Word document, and then convert it into a PDF one easily.
That’s how to create and use a custom Word template in ActivePresenter 8. Use these techniques to create the software operations and training manuals you want. In addition, visit our Tutorials page and YouTube channel to get more useful written and video tutorials about using ActivePresenter features.
See more: