Object grouping in ActivePresenter 9 lets you modify multiple objects at the same time and keep your objects organized.
In this tutorial, you will learn how to:
- Group Multiple Objects
- Add Objects to a Group
- Remove Object from a Group
- Nest a Group in Another Group
- Change Group Layout
- Ungroup Objects
Before diving deep into the detailed steps, click the button below to download the latest version of ActivePresenter.

Group Multiple Objects
Object grouping allows you to modify multiple objects at the same time such as move, rotate, and resize them. ActivePresenter 9 lets you group several types of objects: shapes, images, text captions, audio tracks, videos, questions, etc. Note that this feature is unavailable to some objects including closed captions, spotlights, and zoom-n-pans.
To group objects, do the following:
Step 1: Hold down CTRL while selecting all the objects that you want to include in a group.
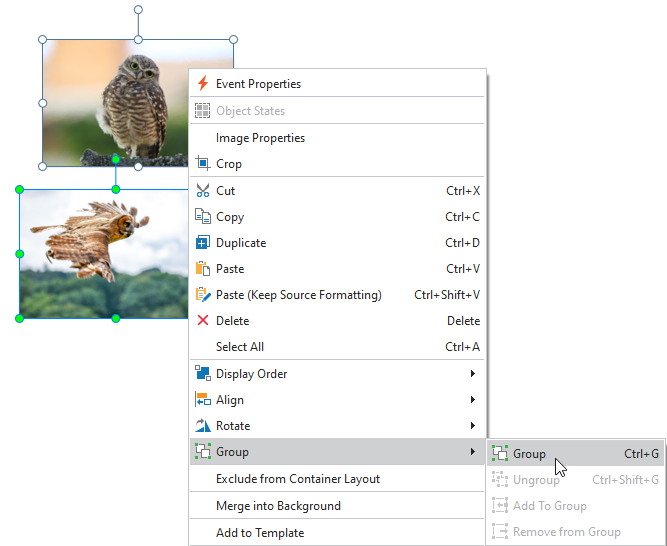
Step 2: Right-click the objects > Group > Group. Alternatively, click the Format tab > Group > Group or the Home tab > Arrange > Group. You can also quickly make a group by pressing the CTRL+G hotkey.
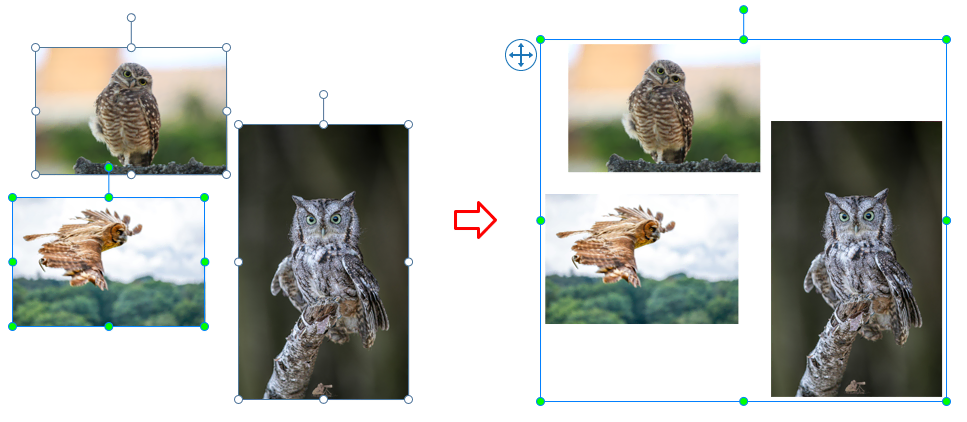
As a result, all the selected objects are grouped. A single box with resizing handles appears around the entire group.
At the same time, in the Timeline pane, all the child objects’ time bars are merged into the only time bar of the group.

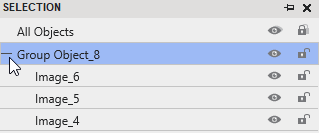
The Selection pane lists all the child objects under and at the next indent level compared to their group. Click the +/- button to expand or collapse these child objects. If the Selection pane is not present, click the View tab > Selection to open it.
Step 3: Rename the group to easily find and work with it. Click the Properties pane > Interactivity > General or double click the object/group name in the Selection pane.
Note:
- Another way to select multiple objects is dragging the mouse across them. In other words, use a rubber-band selector. Click on a slide and drag the mouse, a rubber-band selector appears. All the objects that stay in or intersect with the selector will be selected.
- If you’ve already selected several objects and want to select more, hold down CTRL and click them. If you include some objects you don’t want, hold down CTRL and click redundant objects to deselect them.
- After you make a group, you can still work with its child objects. Select the group, and then click an object to select it.
- A group and its child objects are mutually exclusive when it comes to converting objects into drag sources/drop targets. That is, you can only convert either a group or its child objects into drag sources/drop targets.
- Some features are not available to child objects, namely Attached audio, Show to the end of slide, and Pause presentation to wait for user input.
After grouping, you can manipulate the existing group like adding more objects to it, or removing objects from it, or ungrouping, etc. Keep reading to know how to do that.
Add Objects to Group
ActivePresenter 9 allows you to add more objects to an existing group. Do the following:
Step 1: Select a group and one or more objects that you want to add to the group.
Step 2: Right-click them > Group > Add to Group. Alternatively, click the Format tab > Group > Add to Group or the Home tab > Arrange > Add to Group.

Remove Objects from Group
You can remove some objects out of a group easily without ungrouping the entire group. Do the following:
Step 1: Select one or more objects that you want to remove.
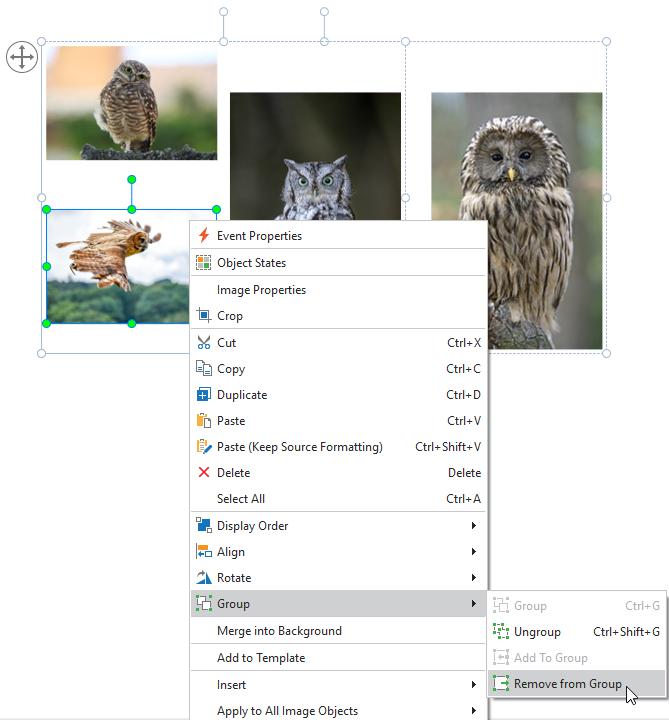
Step 2: Right-click them > Group > Remove from Group. Alternatively, click the Format tab > Group > Remove from Group or the Home tab > Arrange > Remove from Group.
In the Timeline pane, the time bars of the removed objects are placed in separate lines.
Nest a Group in Another Group
Nested groups are available in ActivePresenter 9. You can nest groups within groups. Simply put, groups can contain groups as members. To nest a group in another group, use the same techniques for grouping objects. Just select all the objects/groups you want, right-click > Group > Group. Then, a new group is created containing all the selected objects/groups as members.
Change Group Layout
ActivePresenter 9 supports flex layout and grid layout for a group. To change the group layout, just select that group, then go to the Properties pane > Size & Properties > Container Layout > select None, Flex, or Grid layout.
- None: You can freely change child objects’ size or move them to any position you want.
- Flex: The flex layout helps align child objects in that group either horizontally or vertically and distribute space between them effectively.
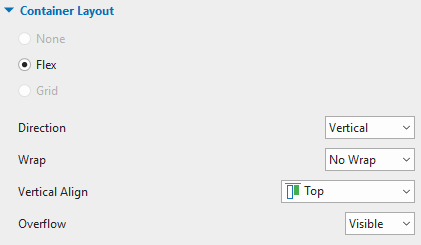
Flex Layout
To be more precise, Flex layout allows aligning and distributing space within a container by expanding objects to fill the available space (growing) or shrinking them to prevent overflowing.
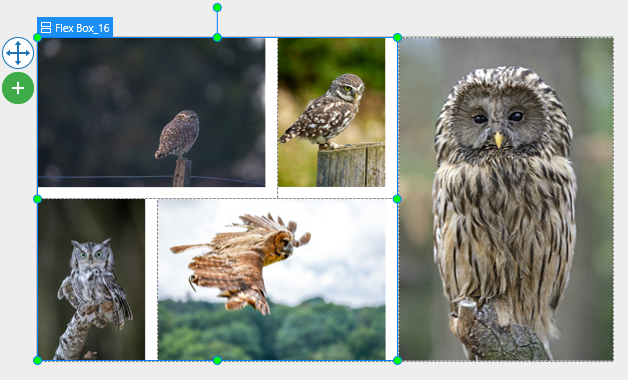
Each child object in flex layout is a flex child. You can change its size, growing, shrinking, alignment, margin, and rotation in the Properties pane. ActivePresenter 9 also allows you to add built-in flex containers by accessing the Insert tab > Container > Preset Slide Layout.
See Use Flex Box for more information.
Grid Layout
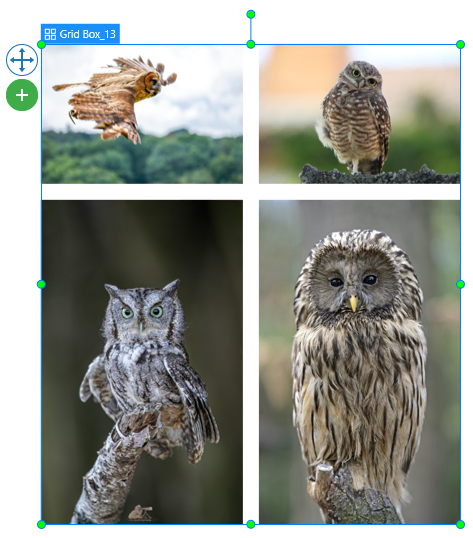
- Grid: The grid layout places child objects of a group in a grid pattern and align them both horizontally and vertically, which is useful when you want to draw tables to display fields in a grid layout.
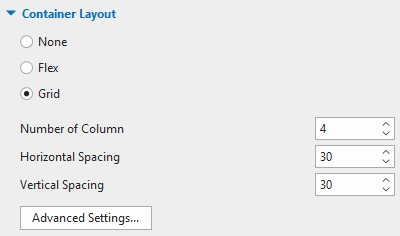
Child objects in flex layout can have different sizes within a single row or single column but their sizes are predefined in the grid layout. The grid layout ignores the original size of all objects in a group. Instead, it assigns a fixed size to all of them.
The grid size is defined by the number of columns, horizontal spacing between columns, and vertical spacing between rows. Change the values for these parameters if needed. The number of rows will be automatically counted based on the number of child objects and columns.
See Use Grid Box for details.
Note: After changing the container layout to Grid or Flex, if the selected container contains less than 2 children, you can not remove its group layout. That said, you can not re-switch the container layout to None. In that case, ActivePresenter 9 will warn you with a dialog.
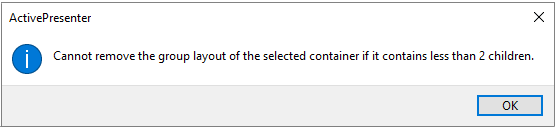
Therefore, to freely change that child object’s size and position without depending on Flex or Grid layout’s properties, you can ungroup them. This will be mentioned in the next part.
Ungroup Objects
Sometimes, you no longer need a group. You want to break it apart so that you can more easily select and format each individual object. To ungroup a group, first select the group. Then, right-click it > Group > Ungroup. Alternatively, click the Format tab > Group > Ungroup or the Home tab > Arrange > Ungroup. You can also quickly ungroup objects by pressing the CTRL+SHIFT+ G hotkey.
That’s it! You’ve learned all about object grouping in ActivePresenter 9. Don’t forget to follow our Tutorials page and YouTube channel for more information.
See Also: