You have just updated your computer, and don’t know how to take a screenshot on Windows 11? If so, let’s follow this blog to learn about it.
Effectively communicating and documenting what you see on your screen is more crucial than ever. Whether you’re a student, a professional, or simply navigating the online world, the ability to quickly capture and share your display is an invaluable skill. This is where taking screenshots comes in – a fundamental function that allows you to grab a snapshot of your Windows 11 screen with ease.
But why exactly do we need to take screenshots, and what can we use them for? The applications are vast and varied. Screenshots serve as visual evidence, perfect for troubleshooting technical issues by showing exactly what error message you’re encountering. They are essential for creating guides and tutorials, providing step-by-step visuals that make instructions clear and easy to follow. Need to save an important piece of information online, capture a frame from a video, or share a design idea? A screenshot is often the quickest and most efficient way to do it. From preserving memorable moments during video calls to documenting settings or configurations, screenshots are a versatile tool for everything from productivity to personal use.
If you want to guide someone in using an app, the easiest way is sharing screenshots. Or, if you are facing a technical issue, IT supporters may ask you to send them screenshots of the error for better support. How will it be if you don’t know how to take screenshots? So, let’s pocket 4 easy ways to take screenshots on your Windows 10 computer:
On Windows 11, you can use hotkey:
built-in tools:
or, using a third-party app:
How to Take a Screenshot on Windows 11 Using Windows + Print Screen?
This may be the quickest and easiest way to take a screenshot on Windows 11. All you need is to press the Windows + Print Screen (or PrtSc, PrtScn,…) keys on your keyboard at the same time. By doing so, you capture the full screen of your computer. For some keyboards, you may see other signs marked along with Print Screen. In this case, you need to press the Fn key simultaneously when capturing. The captured screenshot will be saved in C:\Users\ADMIN\Pictures\Screenshots as a PNG image.
Despite its simpleness and quickness, this way only allows you to capture the full screen. To crop images, you need to use Paint or other tools.
How to Take a Screenshot on Windows 11 Using Built-in Tools?
Windows 11 has integrated tools to take a screenshot quickly and easily.
Snipping Tool
If you want to capture anything other than full screen, the Snipping Tool is here to help. The Snipping Tool allows you to capture both full screen, a part of the screen, and a specific window. Particularly, there are four modes of capturing: rectangle, window, full screen, and freeform.
To take a screenshot on Windows 11, firstly, launch the Snipping Tool by pressing the key combination of Shift + Windows + S on the keyboard. Alternatively, enter “snipping tool” in the search bar of the Start menu to open it. Then, select one mode:
- Rectangle Snip: Left-click > drag the mouse cursor to define the target area > release mouse cursor.
- Freeform Snip: Do the same as those of Rectangle Snip. In this mode, you can define the capture area as a freeform shape.
- Window Snip: Move the mouse cursor to the target window until it’s highlighted and left-click to capture. Remember that the target window must be in the top layer. If not, your captured window will be covered partly by others.
- Fullscreen Snip: As soon as you click the Fullscreen Snip button, it takes a screenshot.
After that, the captured screenshot is copied to the clipboard and its thumbnail is shown on the bottom right corner of the screen. Click its thumbnail to open the editing window. Here, you can edit the image such as drawing lines, highlighting texts, etc., and save it as a PNG, JPG, or GIF file.
Xbox Game Bar
Windows 11 creates the Xbox Game Bar to assist gamers in capturing screenshots or videos of their game. So, it’s also an alternative to take a screenshot in Windows 11. Using this way, you can only capture the full screen, except the main toolbar of Windows.
Press the Windows + G keys to access the Xbox Game Bar. Notice the Capture window in the top left corner, then click the camera icon to take a screenshot.
The captured image is saved as a PNG file in C:\Users\ADMIN\Videos\Captures.
How to Take a Screenshot on Windows 11 Using a Third-party App?
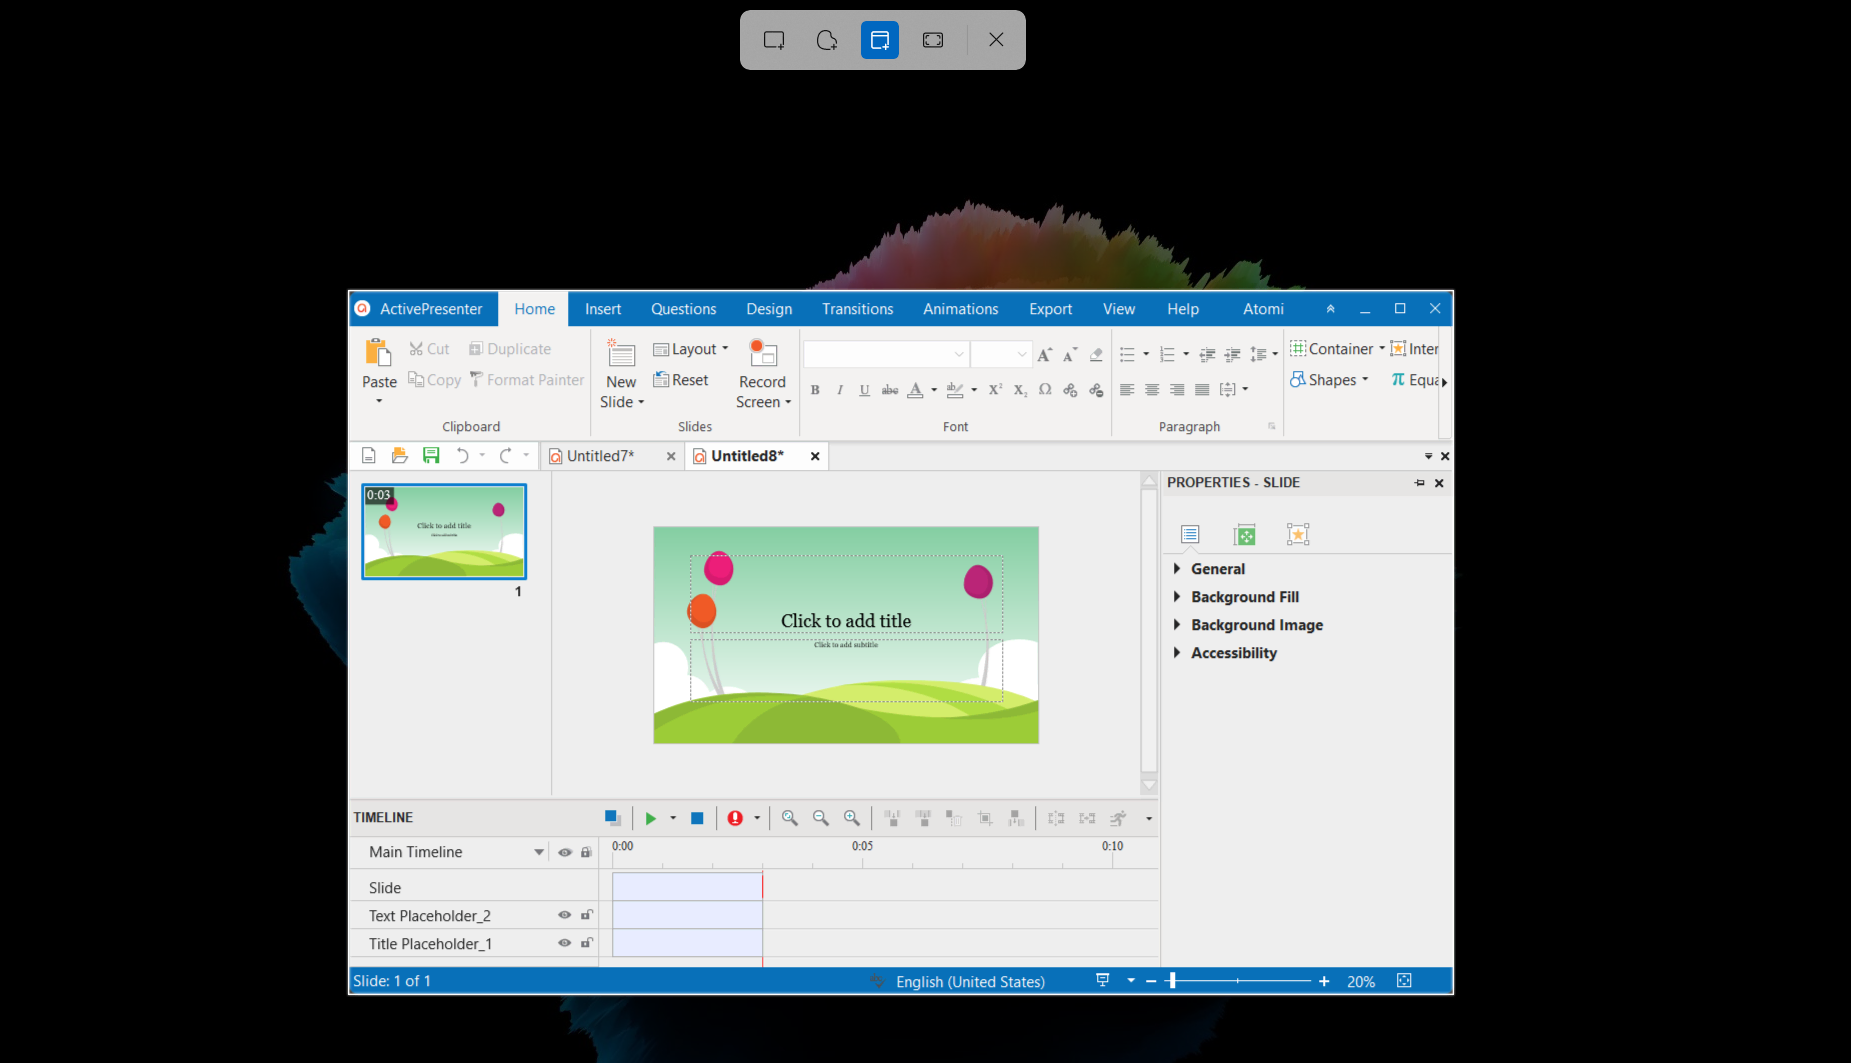
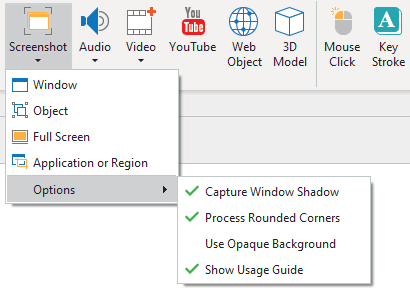
Apart from built-in tools on Windows 11, apps from a third party can help you take screenshots with ease. This blog will recommend you to ActivePresenter. Although the main functions of this app are screen recording, video editing, and eLearning authoring; it’s still a powerful tool for taking a screenshot. It allows you to capture windows, objects, full screen, applications, or regions.
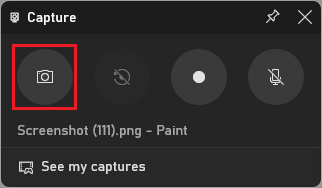
Open the Insert tab > Screenshot > select one of the three modes: Window, Object, or Full Screen. Then, move the mouse cursor to define the target area. The captured area is bordered by a red dashed line. Hold the CTRL key and left-click, or press the Print Screen key on the keyboard to take a screenshot. If you select the Application or Region mode, the Take Screenshot dialog will appear and allows you to customize some screenshot properties.
Additionally, before capturing, you can change some properties. For example, capturing the drop-shadow around an application window border or showing guides to take a screenshot.
ActivePresenter inserts the captured image into a slide. Right-click it > Edit Image to edit it if needed. For example, you can crop, scale, rotate it, add blur effects to it and more. If you are satisfied with the screenshot, right-click > Export To File to save it as a PNG, JPG, or BMP file.
Besides, ActivePresenter supports a smart capturing feature called Record Interactive Simulations. It helps capture anything on your screen and convert it to a slide-based project including:
- Image slides (for mouse click, keystroke actions);
- Video slides (for mouse scroll, drag-n-drop actions).
For this reason, this feature can be considered a perfect way to illustrate any software. Refer to the Record Interactive Simulations tutorial for details.
So, you have just learned how to take a screenshot on Windows 11. Hope that it helps. Remember to follow our Blog for more useful posts.
Download ActivePresenter and try it out!

See more: