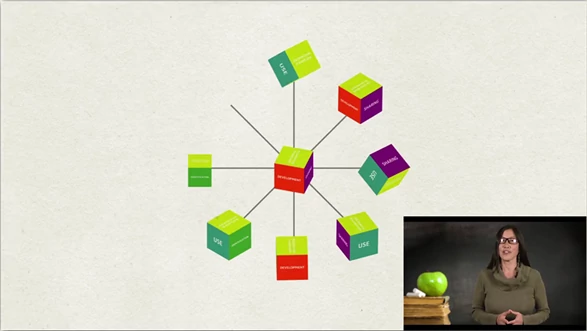
The picture-in-picture effect (also called video overlay) lets you place a video clip in a small frame on top of another so that they play at the same time. You often see this effect in instructional videos where webcam videos are placed at the corner of the tutorial ones. In this tutorial, you’ll learn how to create the picture-in-picture effect in ActivePresenter.
Before getting into details, bear in mind that:
- ActivePresenter enables you to record screen and webcam at the same time. What you get is a slide that displays both your screencast and webcam as two separate videos. The webcam video is smaller and placed at the bottom-right corner of the screencast, making a picture-in-picture (PIP) effect.
- Alternatively, you can record your webcam separately and insert the webcam video into the main video slide.
- It’s practical to combine the video overlay effect with the green screen effect. Use the latter to key out the background of the superimposed video to integrate two videos.
To create a video overlay, you need to:
Step 1: Insert the PIP video (the smaller video clip placed on top of another) into a slide.
Step 2: Resize and reposition the video and change its timing. You can also add animation effects to the video to make it more engaging.
Step 3: Optionally, create a zoom-n-pan effect to zoom in the PIP video. That way, audience can focus on the PIP video instead of the entire screen.
Details about these steps are described in the following three parts.
Inserting Videos for Picture-in-Picture
ActivePresenter allows you to insert videos by three ways:
- Import from your computer: Directly drag videos onto the Canvas or click the Annotations tab > Video > From Files….
- Record webcam: Click the Annotations tab > Video > Webcam Recording.
- Record video: Click the Slide tab > Record Video.
For details about inserting videos, see Adding Videos to Projects.
Modifying PIP Videos
In a video overlay effect, the PIP video must be smaller than the background video/slide. It’s usually placed at any corner of the background video/slide. So, after inserting a PIP video, you have to resize and reposition it.
Resizing Videos
PIP videos should not be either too big or too small because they may cover a large area of the background or look so tiny. To resize videos, do one of the following:
- Click and drag the resizing handles (green dots).

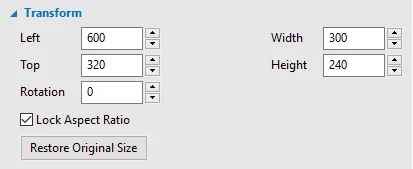
- Click the Properties pane > Size & Properties > Transform > Width and Height. You can also clear the Lock Aspect Ratio check box to freely change the video’s proportions. If you wish to go back to the original size, click Restore Original Size.
Repositioning Videos
Usually, PIP videos are placed at the corner of the screen so that they won’t cover important information in the center. Similar to resizing videos, do either of the following to reposition them:
- Drag and drop the video to another position on the background video/slide.
- Click the Properties pane > Size & Properties > Transform > Left and Top.
Changing Videos’ Timing
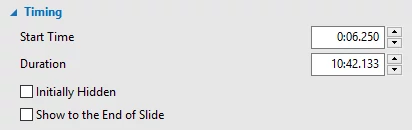
In the Timeline pane, drag the video object along the timeline to change its start time. Alternatively, you can click the Properties pane > Size & Properties > Timing.
Animating Videos
Optionally, you can animate your video to make it more engaging. ActivePresenter provides four types of animation effects, namely entrance, exit, emphasis, and motion path. For more details, see the following tutorials:
Playing PIP Videos over Multiple Slides
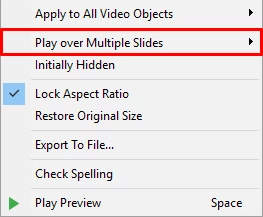
Play the PIP video over multiple slides if your project has more than one slide. To do so, right-click the video > Play over Multiple Slides. Then, choose to place the video in the top layer of the stack order of slide objects.
Inserting Zoom-n-Pan Effects
Creating a picture-in-picture effect, chances are you want to zoom in the superimposed video to focus on it. The solution to that is adding a zoom-n-pan effect by clicking the Annotations tab > Zoom-n-Pan.
For more details, see Working with Zoom-n-Pan.
So, that’s how to create a picture-in-picture or video overlay effect in ActivePresenter. Use this effect to create effective eLearning courses or how-to videos.