Aside from the 13 question types, ActivePresenter 9 includes 10 different types of interaction objects that allow learners to interact with content in an online environment and track their progress.
Users can interact with these objects in the HTML5 output by answering questions, clicking on a button, dragging and dropping objects, selecting checkboxes/radio buttons, or entering text into a text box. All these interaction objects help keep track of learners’ activities by assessing their performance. Therefore, kindly note that the Pass Condition in the Export to HTML5 dialog consists of all the interaction objects in the presentation. They can be questions, mouse clicks, key strokes, text entries, and so on.
Before exploring the interaction objects in ActivePresenter 9, click the button below to download the application if you haven’t installed it yet.

Insert Interaction Objects
Other than 13 types of questions in the Questions tab, you can add 10 other types of interaction objects by doing one of the following:
- Open the Insert tab and select an object from the Interactions section:

- In the Home tab, click Interactions, then select an object from the list:
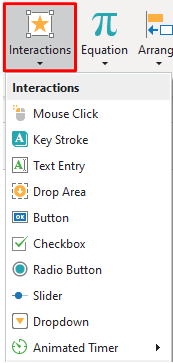
Then, click/drag anywhere on the Canvas to insert the object into the current slide. Note that you can insert more than one interaction object into a slide.
Below are details about each type of interaction objects in ActivePresenter 9.
#1. Mouse Click
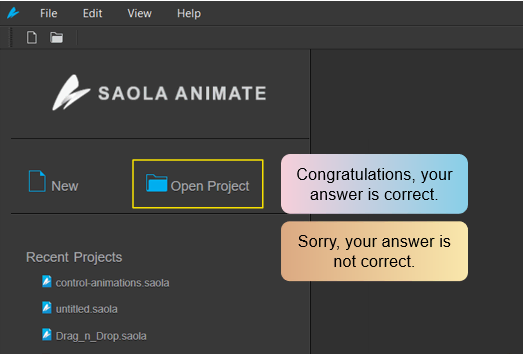
Mouse click is an interaction object that requires users to trigger the next action. They are often used in software simulations to instruct learners on how to use applications. For example, place a mouse click object on a button or a menu where users must click to perform a certain task in an application. Mouse clicks use the On Click event to trigger actions, just like buttons, but they are designed to assess user knowledge of a target application. Mouse clicks validate mouse actions as correct and incorrect and can give users points for correct actions.
#2. Key Stroke
Key strokes are interaction objects that allow you to simulate a single action on your keyboard, such as pressing a key or a combination of keys, to interact with target content. When you record interactive simulations, key strokes are automatically inserted whenever you press a keyboard shortcut.
#3. Text Entry
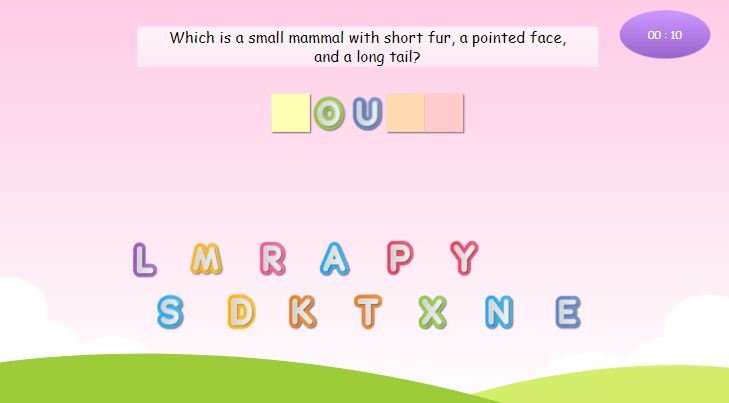
Text entries are interactive text fields into which users can enter text. Text entries provide a great way to test user knowledge and collect information from users. ActivePresenter 9 automatically adds text entries anytime you enter a text string while you record interactive simulations.
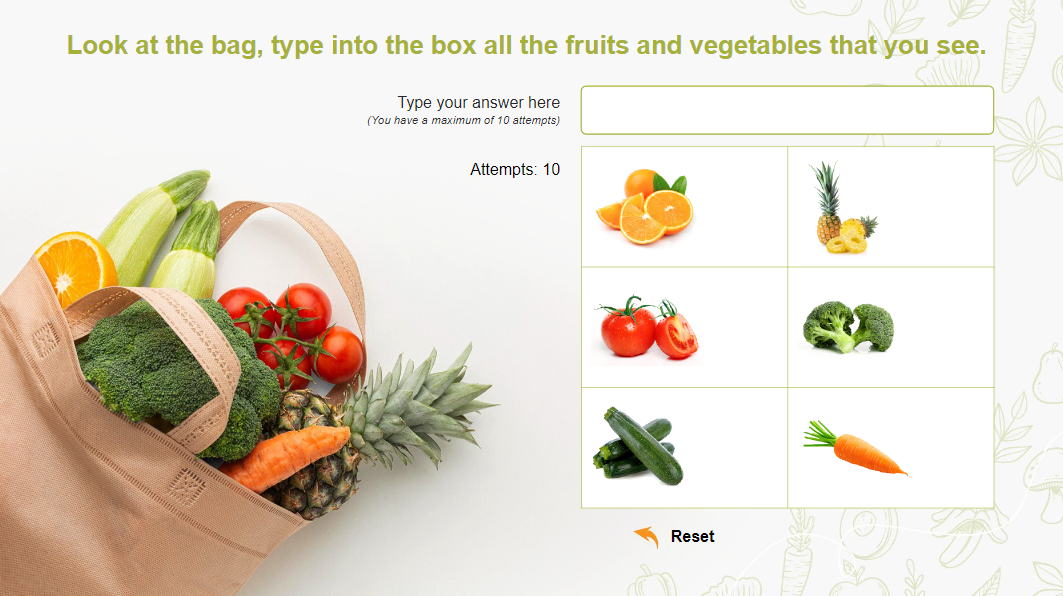
#4. Drop Area
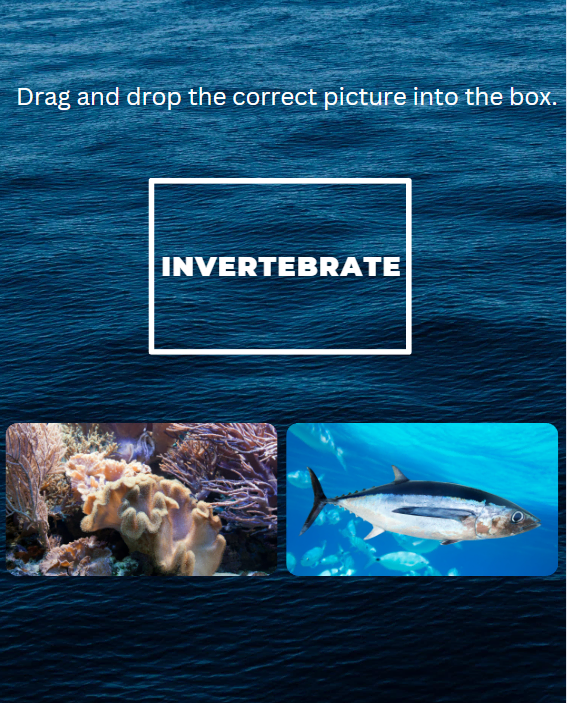
A drop area is a special drop target that can assess, score, and keep track of users’ responses instantly when they drop a drag source onto a drop target.
Each drop area can accept multiple drag sources, many of which can be set as correct values. However, a drop area can hold only one drag source at a time. That means when you drop another accepted drag source onto it, the current drag source will replace the previous one while the previous one is sent back to its original place. Meanwhile, a normal drop target which is a part of drag-n-drop questions can hold multiple accepted drag sources at once.
#5. Button
Interactive buttons allow you to do certain tasks when users click them. For example, clicking the Next button takes users to the next slide in the presentation. When you insert a button into a slide, it comes with four built-in states which control the look of the button when users hover, click, or otherwise interact with it.

#6. Checkbox
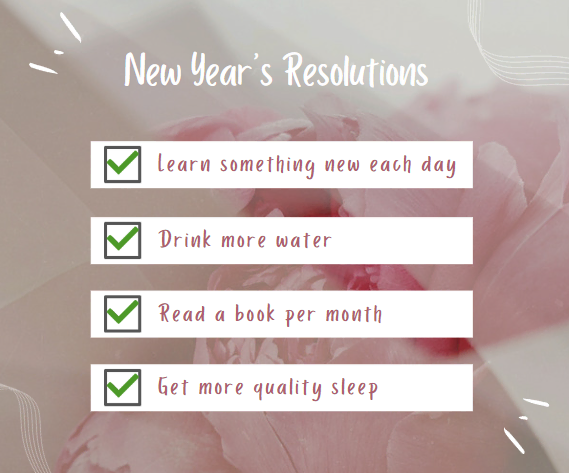
Checkboxes give the user the chance to select one or more values from a variety of alternatives. Each checkbox has 8 built-in states by default, allowing you to trigger the states without using actions.
#7. Radio Button
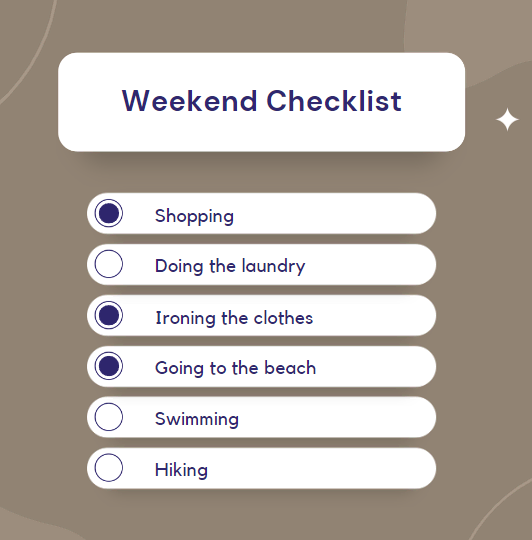
In terms of functionality, radio buttons and checkboxes both let the user choose one item from a list of options. Radio buttons take the shape of a dot in a circle as compared to a tick mark in a square box of checkboxes.
#8. Slider
Sliders in ActivePresenter 9 consist of a thumb moving along a track. They are used to control something such as volume, speed, and progress.

#9. Dropdown
With a list of items only appearing when learners click on the dropdown arrow, this feature helps conserve the screen space. Dropdowns are often used as command menus, form filling, navigation menus, and so on.
#10. Animated Timer
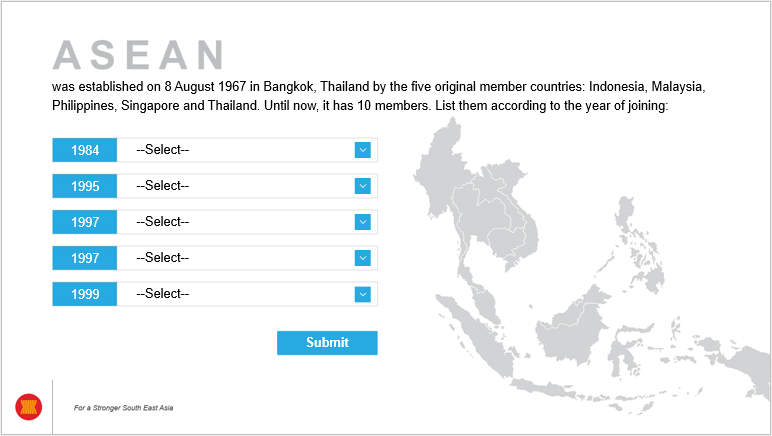
An animated timer counts up the passing time or counts down the remaining time in a running presentation. There are two types of animated timers: Timer and Progress. While a Timer shows how much time has passed with a digital display, a Progress bar only gives a visual progression of time. You can trigger an action when a timer is completed or timed out. For example, when learners don’t provide an answer within a given time and the timer finishes the countdown, a message appears to tell them that there is no time left.
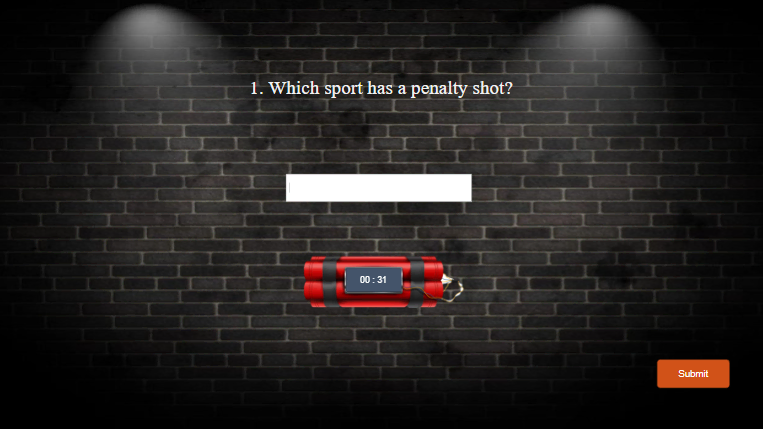
Among the interaction objects above, Mouse Click, Key Stroke, Text Entry, and Drop Area come with default feedback messages. In the next part, let’s explore how to control these feedback messages in ActivePresenter 9.
Control Feedback Messages
You can add more or delete feedback messages to all types of interaction objects as you wish. To insert feedback messages, follow the steps below:
Step 1: Select the object that you want to add feedback messages to.
Step 2: In the Questions tab, click the Message button, then select one from the list.
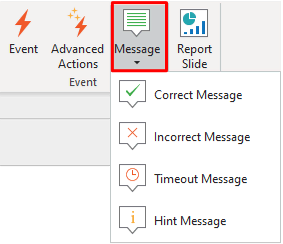
Alternatively, you can right-click the object, select Insert and select a message from the list.
To delete a feedback message, just select it and press the DELETE key on your keyboard.
See Add and Customize Feedback Messages for more details.
Set Score and Reporting for Interaction Objects
As mentioned at the beginning of this tutorial, some interaction objects, including Mouse Click, Key Stroke, Text Entry, and Drop Area help keep track of learners’ activities by assessing their performance or collecting their feedback or information.
To do that, open the Score & Reporting section (the Properties pane > Interactivity tab > Score & Reporting).
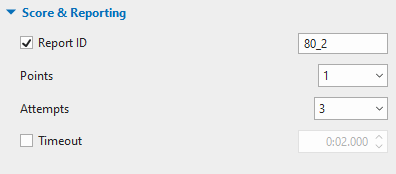
This section provides a lot of useful options, including:
- Report ID: track users activities;
- Points: set points for correct actions;
- Attempts: set the maximum attempts that users can interact with the object;
- Timeout: set a time limit which only allows users to respond to the object in the given period of time.
Note that the properties of the Score and Reporting section vary depending on the type of interaction object you are working with.
Add Events – Actions
By default, scored interaction objects such as Mouse Click, Key Stroke, Text Entry, and Drop Area include events – actions.
Let’s take a Mouse Click object as an example here.
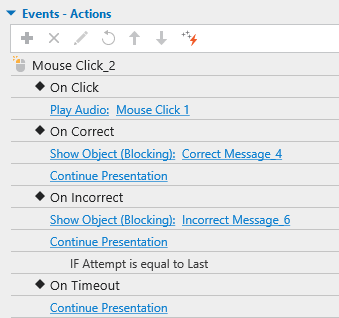
When learners click on the Mouse Click area, the audio will play. You can keep these default settings or make changes to meet your needs.
Other interaction objects don’t have the default events – actions but you can add to them as normal.
Now that you have grabbed a short overview of interaction objects in ActivePresenter 9. Don’t forget to follow our Tutorials page, Facebook, and YouTube channel for more information.
See Also:
Overview of eLearning Questions