Button is one of the interaction objects in ActivePresenter 9. Content creators usually use it to redirect learners to specific content, or play/pause a media file when learners click it. In this tutorial, let’s learn more about it.
This tutorial covers:
- Add a button
- Customize buttons
- Work with states of buttons
- Add feedback messages
- Add events – actions
Add a Button Object
For example, you create an eLearning game with the title slide like this:
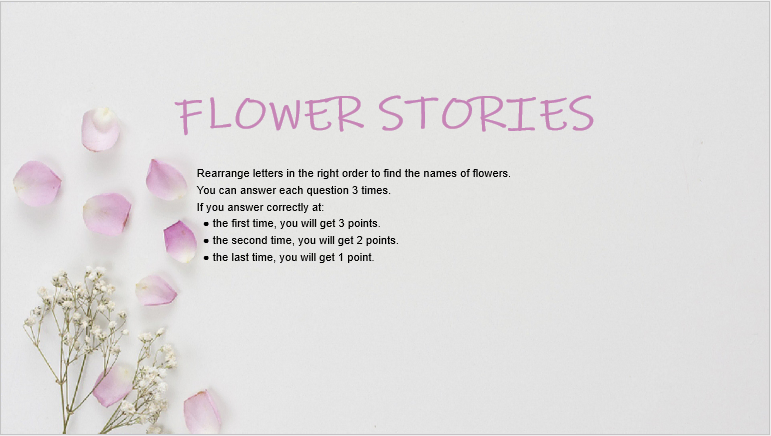
Now, you want to add a Start button so that learners can navigate to the content slide when clicking it. To do that, follow the steps below:
- Open the Insert tab > Button, or open the Home tab > Interactions > Button.

- Click anywhere on the Canvas, or hold and drag the mouse cursor on the Canvas then release it.
Note: If you would like to add buttons to multiple slides, you can use Batch Operations or Slide Master features:
- Click the ActivePresenter button on the top left corner > Project > Batch Operations > Insert Objects… Then, select the Object Type and slide number/range you want to add a button.
- Open the View tab > Slide Master > Insert Placeholder > Button.
Customize Button Objects
Here are what you can do to customize the inserted button:
- Change shape: Open the Format tab > Change Shape > select one shape from the list.
- Resize the button: Drag the resizing handles, or change the Width and Height values in the Properties pane > Size & Properties tab > Transform.
- Reposition the button: Drag and drop the button to anywhere you want. Besides, you can use the Alignment feature to set it at a precise position.
- Customize Fill, Line, Shadow: Select a built-in style from the Quick Styles section of the Format tab. Otherwise, you can do it yourself using tools in the Style Tools section of the Format tab, or in the Style & Effects tab of the Properties pane.
- Edit Text: Click on the default text to enter a new one.
Work with Multiple States of Button Objects
A button comes with four built-in states by default which control their look when learners interact with it.
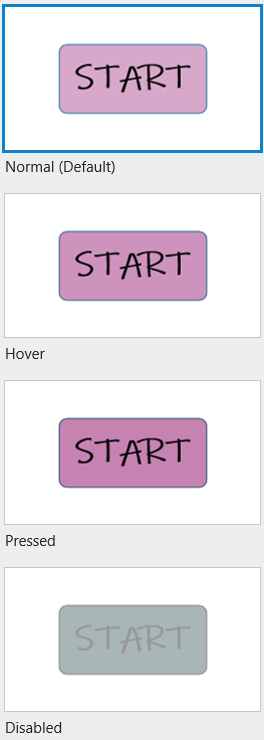
- Normal: This is the initial state when it first appears in the output. You can edit this state, but you can’t delete it.
- Hover: The state when learners hover over it.
- Pressed: The state when learners click on it.
- Disabled: The state when it is disabled. In this state, the button is still visible to learners, but they cannot interact with it.
Besides, you can edit these states or add more states if necessary.
For more information, see Change States of Objects.
Add Feedback Messages
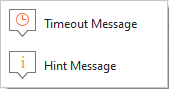
Button objects do not have any default feedback messages like others. But, ActivePresenter 9 allows you to add them if you want. There are two types of feedback messages that are available to add: Timeout Message and Hint Message:

- Timeout Message will be shown when learners don’t complete an action in the predefined time.
- Hint Message will appear when learners hover the mouse over it.
To add those messages, select the button, open the Questions tab > Message. Alternatively, right-click the button > Insert > select a message from the list:
After that, you can customize feedback messages as you wish.
For more information, please refer to How to work with Feedback Messages.
Add Events – Actions
To make any object interactive, you have to add events – actions to it. Button objects are the same. By default, a button object doesn’t have any events – actions. However, when you add feedback messages to it, ActivePresenter 9 will automatically add events – actions to make the message display in the output.
In the above example, when learners click the Start button, the presentation will navigate to the next slide. Plus, the mouse click audio will play simultaneously. To do that, select the Start button and navigate to the Properties pane > Interactivity > Events – Actions > add the On Click event > add the Go Forward and Play Audio actions as follows:

Besides, ActivePresenter 9 offers 7 other types of events that help the button work the way you want.

- On Timeout: Occur when learners don’t respond within the time limit.
- On Rollover: Occur when the mouse rolls over it.
- On Rollout: Occur when the mouse rolls out of it.
- On Swipe Left: Occur when learners swipe across it to the left on the touch screen.
- On Swipe Right: Occur when learners swipe across it to the right on the touch screen.
- On Swipe Up: Occur when learners swipe across it to the top on the touch screen.
- On Swipe Down: Occur when learners swipe across it to the bottom on the touch screen.
For more details, see Use Events – Actions to Add Interactivity to Courses.
That’s how to add and work with button objects in ActivePresenter 9. Download the latest version right now and make your courses more interactive.

Besides, follow our Tutorials page and YouTube channel for more helpful articles and videos.
See more: