Annotation objects are useful tools in ActivePresenter. Using them is a good strategy to create great videos which increase your audience engagement and retention.
This article will deepen your understanding of annotation objects in ActivePresenter. What’s more, you also learn how to work with them when editing videos.
In case you are new to ActivePresenter, this is an all-in-one authoring tool that allows you to record screens and edit videos freely. Download the app and try all features with no limitation in time or functionality, then continue reading this post to know how to use annotation objects to edit videos in ActivePresenter!

Why You Should Use Annotation Objects to Edit Video in ActivePresenter
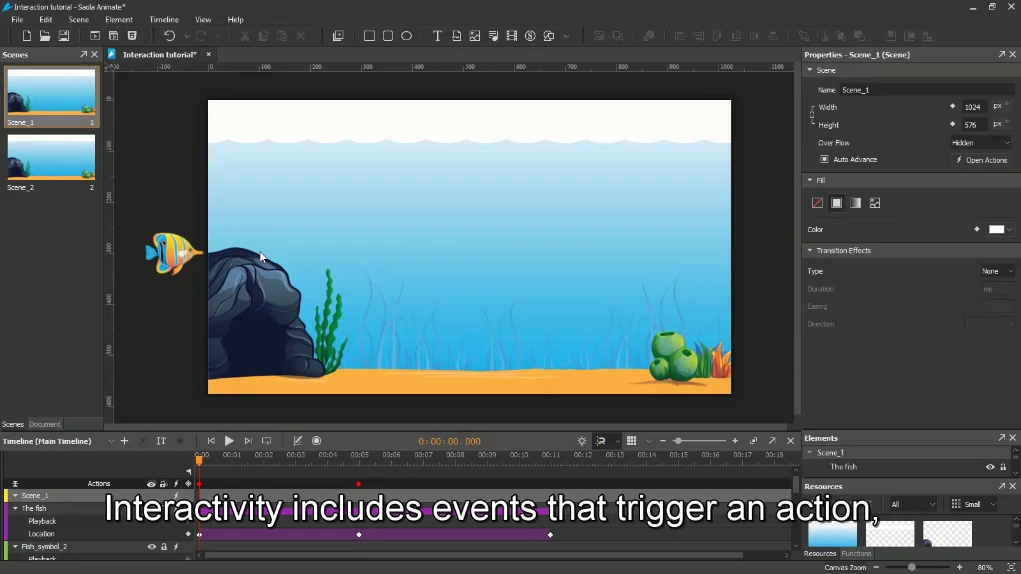
In ActivePresenter, annotation objects are used for annotating. They add value to contents in video visually. But, unlike interactive objects, they don’t interact with the audience.
One of the major differences between videos and text is that videos contain visual information. Such visualization is often made from annotation objects like shapes and images. With annotations, you can explain complicated concepts, add more details to what you are saying, “talk” to the audience, and so forth.
If you look at our video tutorial series, it’s easy to see that we use annotation objects many a time. For example, let’s watch the video below to see how we work with annotations in ActivePresenter.
Besides, you have all annotation objects at your disposal for free. All you need to do is to download the free version of ActivePresenter. No time limit, no watermark, and no pop-up ad. This is an incredible thing that you can’t find in any video editing tool out there. .
So, what annotation objects does ActivePresenter support and how to use them? The answer will come in the next part of this article.
How to Insert Annotation into Video in ActivePresenter
ActivePresenter provides two ways to add annotations: automatically and manually. Choose any of them according to your needs.
First, ActivePresenter automatically inserts annotation objects into your screencast during the capturing phase. That is, the app adds shapes with text whenever you click or press any key on the keyboard. Note that this function is available only when you select the Smart Capture mode in the Capture Profile Editor. For more information, see Working with Capture Profile Editor.
This way is convenient and timesaving when you create software simulations. How-to videos and explainer ones are typical examples.
Second, you insert annotation objects into your video manually. This is a flexible option since you actively specify where to annotate and what you want to add. Also, it’s possible to apply this method to both screencasts and video imported from your file system.
In both cases, ActivePresenter allows you to edit annotations with ease. See Styling Objects and Animating Objects to learn more.
Below are annotation objects that ActivePresenter supports. They are all available in the Annotation tab.

1. Shape
ActivePresenter offers five shape groups. They include basic shapes, callouts, lines and arrows, block arrows, and stars. Each shape group also contains many shapes. You can insert any of them into videos and customize them the way you want. For more information, see Inserting and Styling a Shape.
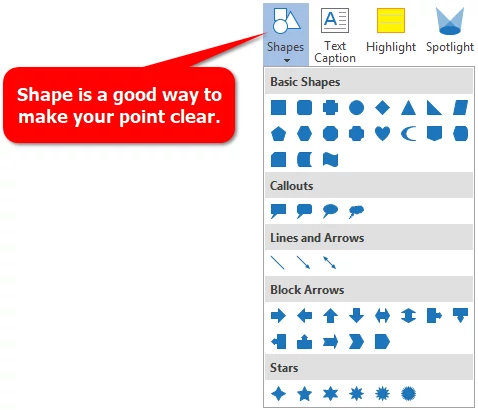
In the screenshot above, I added a callout to my video. This callout helps me add extra information about the Shape button to my audience. As demonstrated, I also styled it with fill, line, and shade.
2. Text Caption
A Text Caption object is a rectangular shape that contains multi-line formatted text. In fact, it is also a type of smart shape but the text is visible. Meanwhile, the Fill and Line attributes of the shape are transparent. Hence, you can customize text captions the same way you do with shapes.

3. Highlight
Like Text Caption, a Highlight object is also a variant of a Shape object. In this regard, the text and border lines are removed. The background is semi-transparent as well. Thus, customizing highlight objects is like customizing shapes.

4. Spotlight
A Spotlight object keeps the original brightness within the shape. At the same time, it darkens the rest of the screen. It is a practical object when you want to draw the audience’s attention to a particular part of the screen.
A spotlight is also a Shape object with special attributes. Thus, all the discussion of shapes applies here too. Refer to Inserting a Spotlight for more details.
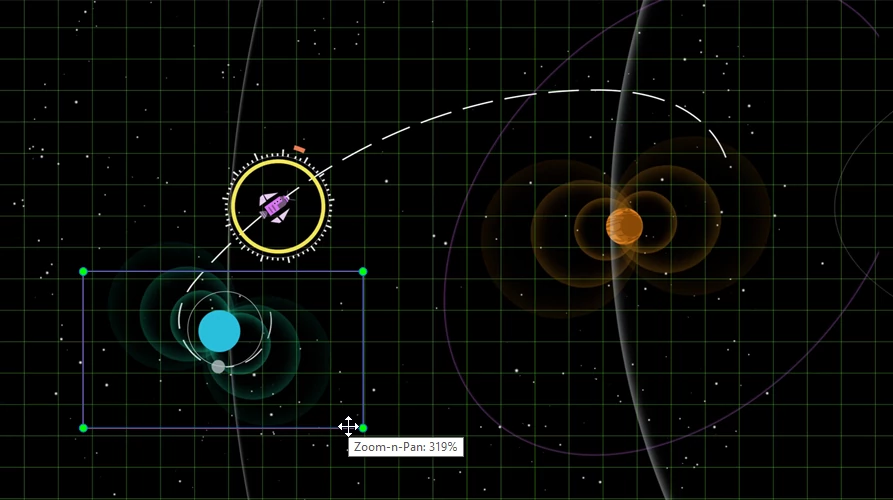
5. Zoom-n-Pan
The Zoom-n-Pan object is a quick way to zoom and pan in a specific area on your video. Using it, the audience can focus more on important details and avoid distractions. See Working with Zoom-n-Pan to learn more.
6. Closed Caption
As you may know, Closed Caption is one of the most remarkable features of ActivePresenter. This object turns out to be useful when you need to add captions as subtitles or add captions for sound effects. As a result, you can optimize video SEO and make your video go viral. For more details about Closed Caption, see Working with Closed Caption.
7. Image
If you are editing a video and want to add some images, the Image object is good to go. Currently, ActivePresenter supports five image input formats: PNG, JPG, JPEG, BMP, and GIF.
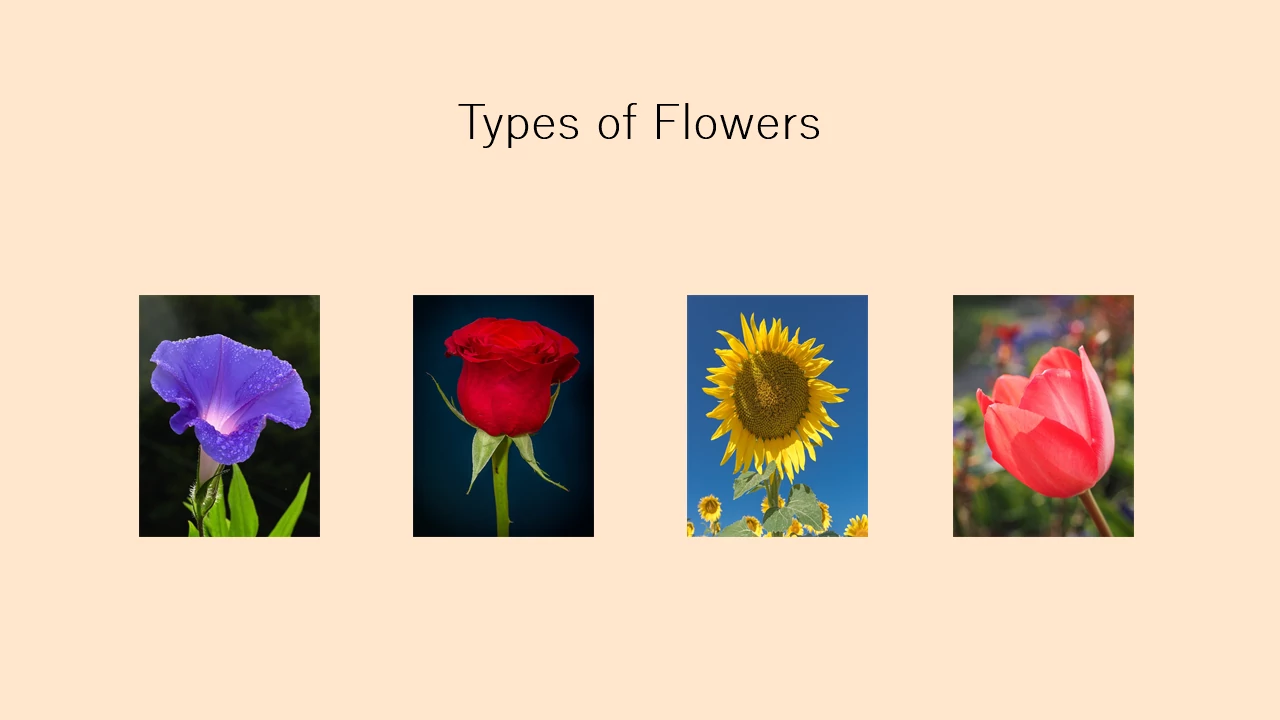
After adding images to video, the app allows you to edit them with a built-in image editor (Drawing tab). Refer to Inserting an Image to see how it works.
8. Audio
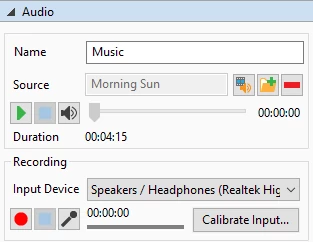
ActivePresenter offers three ways to insert an audio into video. You can import an audio file from your file system, record a new track or add a voice-over. Also, there are four supported audio input formats: MP3, OGG, WMA, and WAV.
Check out Inserting an Audio to discover how it works.
9. Video
The Video object is useful when you want to overlay a small video on the top of another one. Use this object to create a picture in picture effect, which comes in handy to make a how-to video or design an eLearning course. The available video input formats include MP4, MKV, WMV, FLV, AVI, and WWE. Check out the video below to see how it works.
Keep in mind that ActivePresenter also has a facility to insert video from YouTube. To do that, go to the Annotation tab and click Youtube. Then, follow the procedure described in the Inserting a Video tutorial.
For those who are familiar with video editing Timeline, ActivePresenter also offers a powerful Timeline pane. See more at Experience Video Editing Features in ActivePresenter.
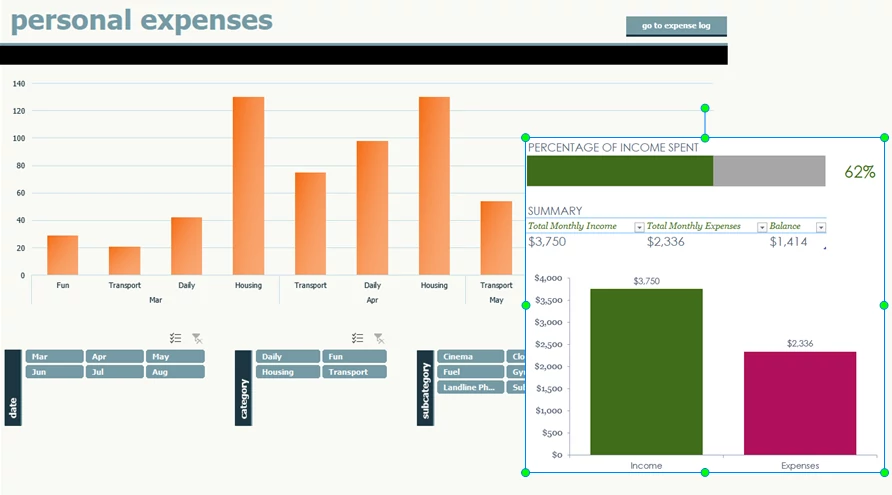
10. Screenshot
Screenshot is an uneditable picture of your computer’s desktop. When editing video with ActivePresenter, you can take as many screenshots as you want. Then, add them to your video. In general, a screenshot could be a website, an application or an object.
For example, let’s say you take a photo of a statistical chart, and then insert it into your video. In this way, you will provide real evidence to the audience and build trust with them.
Some Useful Tips When Using Annotation Objects
As stated earlier, using annotations is a surefire way to make impressive videos. They bring videos to life and help you to create a deep connection with the audience. Thus, it goes without saying that the audience will fall in love with your videos at first sight.
Here are best tips and tricks to optimize annotation objects in ActivePresenter:
- Style shapes and their variants with the Fill, Line, and Shadow tools. Another way to do it is using Quick Style. This feature will help you save yourself a ton of time and effort.
- The Shape button appears in the Annotation and Home tab. Also, the Format tab has a button to change the shape type quickly.
- In terms of image, audio, and video, you can right-click objects and select Export to File.
- Beside Closed Caption, it’s good to use Text Caption if you want to add subtitles to videos.
- Editing annotations is available on the Canvas, on the Timeline pane, and in the Properties pane. For example, style a shape on the Canvas, and then edit its timing on the Timeline.
- Don’t forget to add animation effects to an object entrance/exit. There are a lot of effects and directions available in ActivePresenter.
Annotation objects in ActivePresenter offer a world of possibilities to develop your creativity. Try them today, and you will find that the journey to become a pro video editor isn’t as hard as you think as long as you master this comprehensive multimedia tool.