Apart from the 3 main features, ActivePresenter 9 also allows you to take screenshots. You can capture full screen, a window, a region, or an object. Let’s learn about it in this tutorial.

This article covers:
Customize Screenshot Options
Before taking a screen capture, you can adjust some settings by opening the Insert tab > Screenshot > Options.
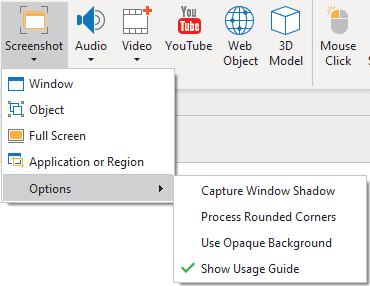
ActivePresenter 9 offers you 4 options to customize the screenshot settings. The first three options work only when capturing a window at any level.
- Capture Window Shadow: Capture the drop-shadow around the border of an application window in a non-maximized state.
- Process Rounded Corners: Capture the rounded corners of an application window in a non-maximized state.
- Use Opaque Background: Replace the semi-transparent border of windows in the screenshot with an opaque border.
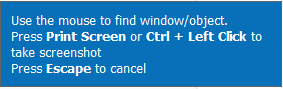
- Show Usage Guide: Show a blue text box that describes how to capture the screen when capturing windows or objects.
Take Screenshots
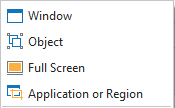
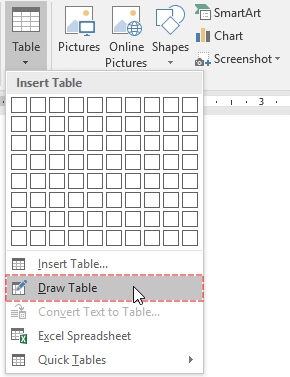
As mentioned above, ActivePresenter 9 allows you to capture full screen, a region, a window or an object. To capture the screen, access the Insert tab > Screenshot > select a capture mode.
Capture a Window
After selecting this capture mode, the app hides itself. Move the mouse cursor to detect the window, toolbar, pane or menu that you want to capture. The detected window is bordered by a red dashed outline.
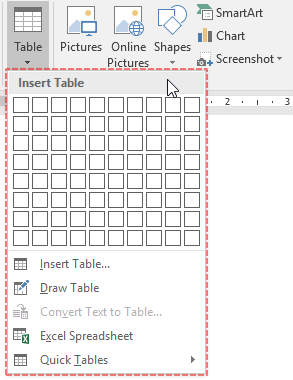
Press Print Screen, or Ctrl + Left Click to take a screenshot. Then, the capture image will be added to the current slide.
Capture an Object
Similarly, select Object, then move the mouse to detect the object you want to capture. Then, press Print Screen or Ctrl + Left Click. The screen capture will be placed in the current slide.
Capture the Full Screen
Right after you select the Full Screen mode, ActivePresenter 9 captures whatever is visible on your computer screen. So, be careful to prepare your screen before selecting this mode. The captured image is also added to the current slide.
Capture an Application or a Region
Besides, ActivePresenter 9 allows you to capture a region of the screen or a window that is the top layer. When selecting this mode, a blue rectangle and the Take Screenshot dialog appear.
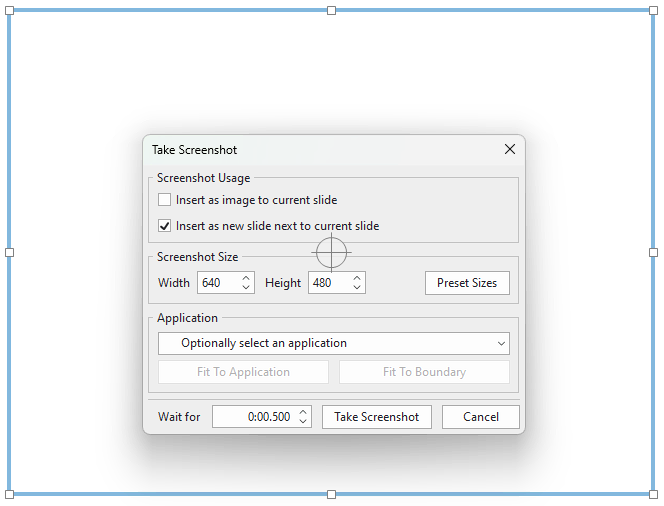
Drag and resize the blue rectangle to specify the capture region. Also, customize the capture settings in the Take Screenshot dialog.
- Screenshot Usage: Select the checkboxes to add the screenshot as an image object to the current slide, and/or as a background image to the next slide.
- Screenshot Size: Input the Width and Height values to specify the size of the screenshot. Otherwise, select a preset size by clicking the Preset Sizes button.
- Application: Click the dropdown arrow and select an application from the list to capture.
- Fit To Application: Resize the blue rectangle to fit into the application window.
- Fit To Boundary: Resize the application window to fit into the blue rectangle.
- Wait for: Set a delay (in seconds). Use this delay to quickly interact with the target application and capture its response.
- Take Screenshot: Click to capture a screenshot.
Note: This mode shares some options with two recording modes of ActivePresenter 9. See Record Screen as Videos and Record Interactive Simulations for more details.
Edit Screenshots
After capturing the screen, you can do further editing if you want right in this app. Right-click it > Edit Image…/Edit Background Image.
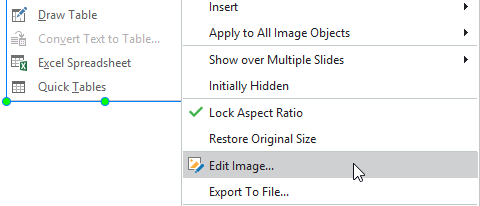
This immediately opens the Image editor and the Drawing tab.

Here, you can edit screen captures by adding shapes, text, cropping, blurring, etc.
While editing an image, once you click Save in the Quick Access Toolbar, all changes you made to an image will be applied and reflected on the slide. When you’re done, close the Image editor and go back to the slide.
Save Screenshots
To save the screen capture, right-click it on the canvas > Export To File… Then, specify the file name, file format (PNG, JPG, or BMP), and file location, and click Save to export.
Note:
- If you edit the screenshot with annotations in the Insert tab such as Shapes, Text Caption, and Spotlight, the exported image will not include these annotations. That’s because they are separate objects, you export the image only.
- If you wish to save the screenshot with annotations, right-click the slide in the Slide pane > Save Slide As Image… Or, export the entire project as images, open the Export tab > Images.
That’s it. So quick and easy to take screenshots with ActivePresenter 9. Why don’t you explore and take full advantage of this feature to create amazing written tutorials right now. Also, visit our Tutorial page and YouTube channel to learn other useful features. If you need any support, feel free to contact us any time.
See more: