In the previous article, you’ve been exposed to interactive objects like drop area and button. This tutorial continues to walk you through annotations (also non-interactive objects). So, you’ll get a short overview of annotation objects in ActivePresenter.
ActivePresenter offers a lot of types of annotation objects, namely shapes, text captions, highlights, spotlights, equations, icons, gesture effects, footers, images (including screenshots), audios, videos, YouTube objects, web objects, cursor paths, zoom-n-pans, and closed captions. They all appear in the Annotations tab.

In general, annotations are usually used for explaining information or designing contents. However, you can add interactivity to them using events and actions. Here are some details about each of these annotation objects.
1. Shape
There are a vast number of shapes in ActivePresenter. The shapes are sorted into five groups: Basic Shapes, Callouts, Lines and Arrows, Block Arrows, and Stars. There are two ways to access Shapes in ActivePresenter:
- Go to the Annotations tab > Shapes
- In the Home tab > Shapes
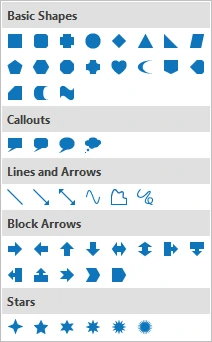
You can use shapes in many ways. For example, use Callouts to add speech or thought bubbles. Alternatively, use freeform shapes to draw anything almost like drawing with a pencil on a piece of paper.
2. Text Caption
A text caption object (Annotations tab > Text Caption) is a rectangular shape that contains multi-line formatted text. In fact, it is also a type of shape but transparent and the text is visible. You’re free to customize text captions the way you want.

3. Highlight
You can use highlights to emphasize important words, features, etc. within your presentation. Like text caption, a highlight object (Annotations tab > Highlight) is also a variant of a shape. That is, the text and border lines are removed. Thhttps://atomisystems.com/tutorials/e background is semi-transparent as well. Thus, customizing highlight objects is like customizing shapes.

4. Spotlight
A spotlight object (Annotations tab > Spotlight) is also a shape with special attributes. It keeps the original brightness within the shape. At the same time, it darkens the rest of the screen. Use this object when you want to draw the audience’s attention to a particular part of the screen.
5. Equation
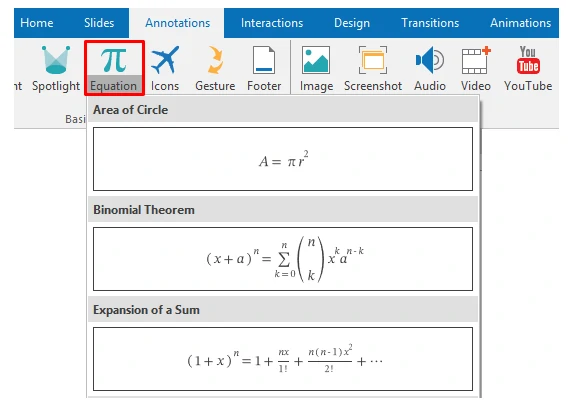
ActivePresenter offer you a great number of built-in equations (Annotations tab > Equation) and formulas to help create any math equation easily. Besides, you can modify the built-in equations or write your own ones using math symbols and structures. Moreover, it is also possible to copy an equation from Microsoft Office and paste it into ActivePresenter.
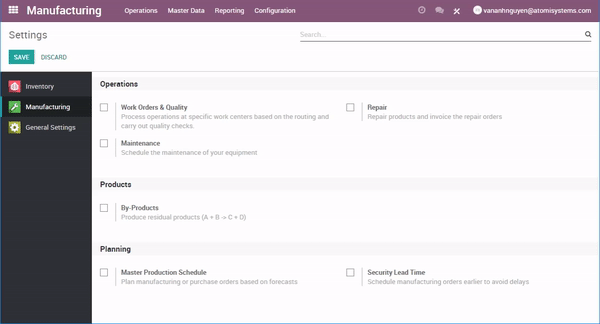
6. Icon
Using icons (Annotations tab) is a good way to add visuals to your presentation. Icons are illustrative vector files which can be resized without pixelation. Once you have inserted an icon into a slide, you can move, resize, rotate or style it the way you want.
![]()
7. Gesture Effects
Gesture effects (Annotations tab > Gesture Effects) are usually used in the demonstration mode. Generally, they show how the audience interacts with the software on the touch screen. ActivePresenter offers 14 types of gesture effects. Each of them looks like an animated GIF image. Note that on the Canvas, a gesture effect appears in the form of a shape with the dashed line and transparent fill.
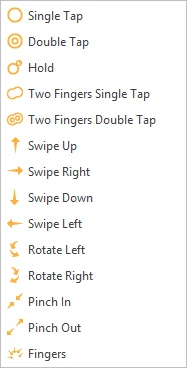
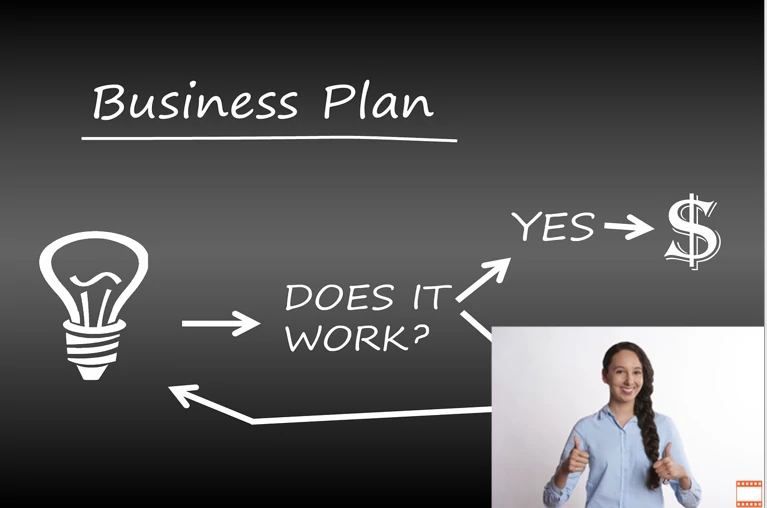
With ActivePresenter’s gesture effects, you can add visual effects that simulate taps, swipes, rotates, and pinches in your video. Below is an example of using a gesture effect in a demo video.
8. Footer
A footer object (Annotations tab > Footer) is meant for adding more detailed information like slide number and date. Basically, a footer appears in the Slide Footer area on a slide. A Slide Footer area can include three placeholders: Date, Footer, and Slide Number. You can insert footer elements (date, footer text, and slide number) into these placeholders.

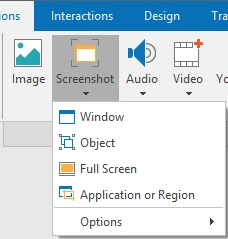
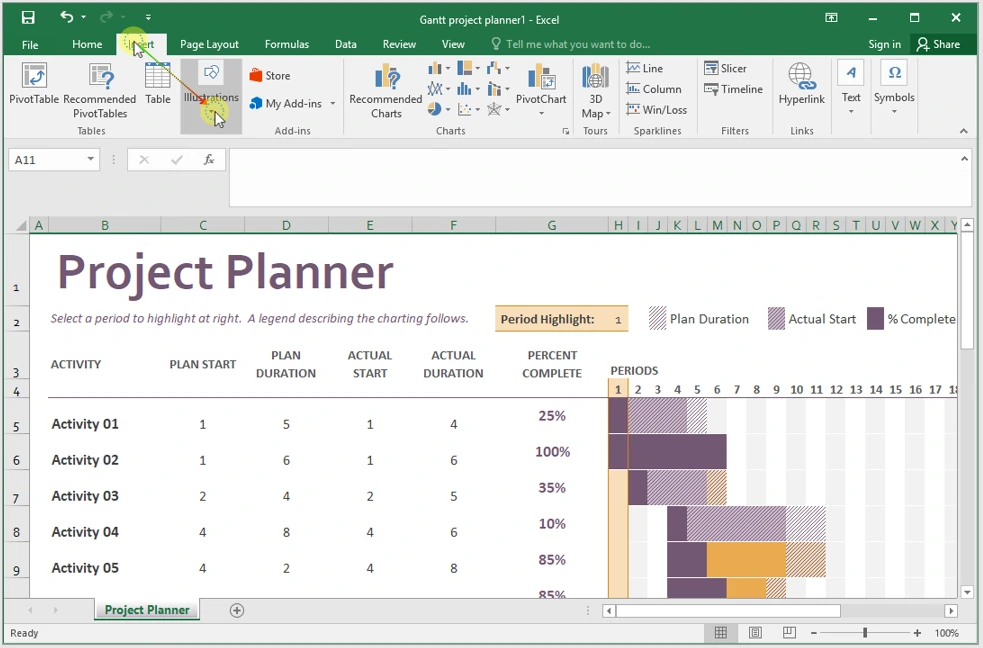
9. Image
If you want to add some images to your presentation or video, use the image object (Annotations tab > Image). Currently, ActivePresenter offers five image input formats: PNG, JPG, JPEG, BMP, and GIF. After adding images to video, the app allows you to edit them with a built-in image editor (Drawing tab).

Depending on the context of the project, images may be screenshots of applications, drawings or photos of persons, products, places, and buildings, etc. Regarding screenshots, the app has a built-in facility to take screenshots (Annotations tab > Screenshot). You can capture as many screenshots as you want.
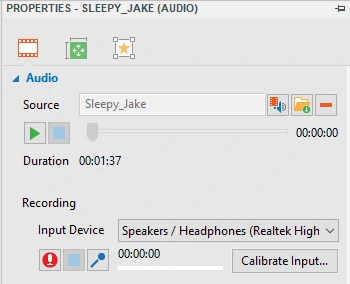
10. Audio
You’re given three ways to insert an audio into video. With the audio object (Annotations tab > Audio), you can import an audio file from your file system and record a new track. There are four audio input formats: MP3, OGG, WMA, and WAV.
11. Video
The video object (Annotations tab > Video) aims at adding a video to your presentation or eLearning course. Also, it’s used to overlay a small video on the top of another one (also picture-in-picture effect). The available video input formats include MP4, MKV, WMV, FLV, AVI, and WEBM.
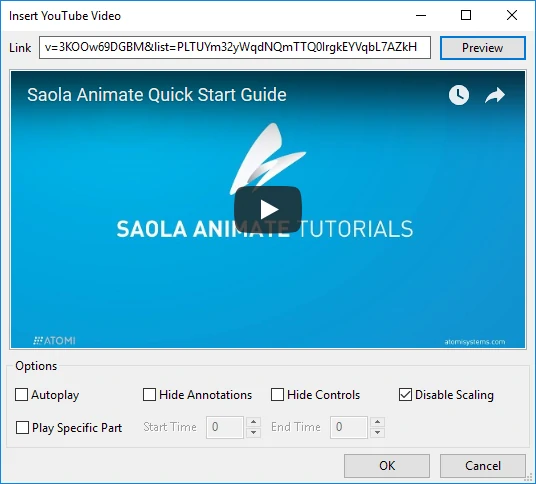
12. YouTube
You can stream YouTube videos in your project by embedding them in a slide. Do this using the YouTube object (Annotations tab > YouTube).
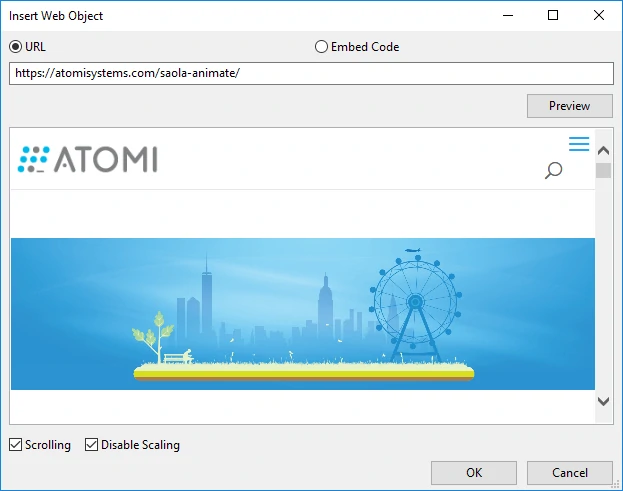
13. Web Object
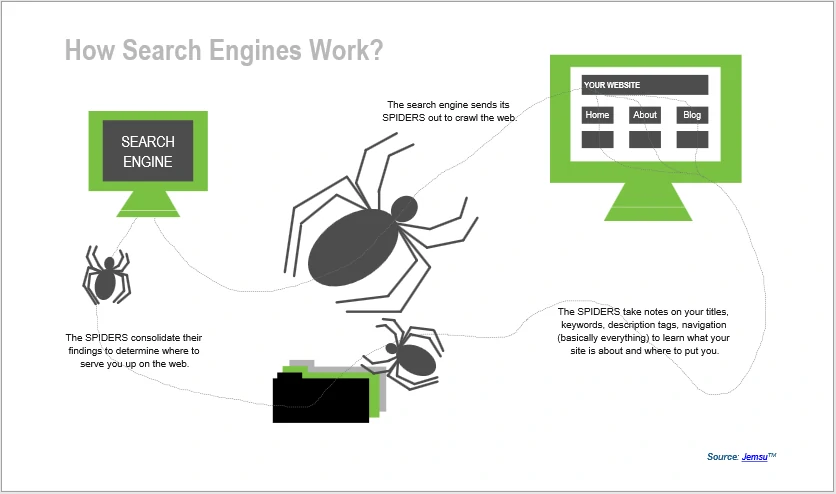
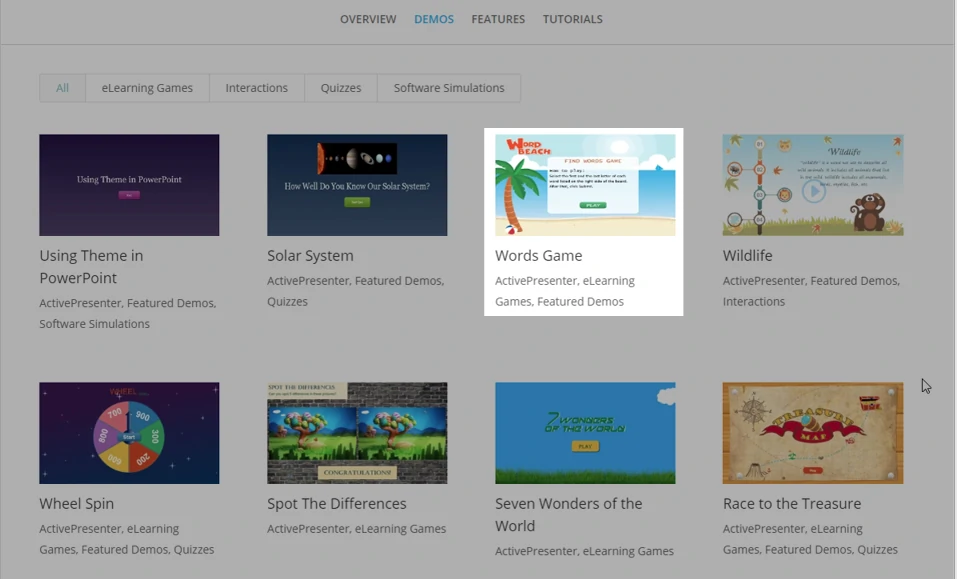
You can directly embed content from a website within a slide using web objects (Annotations tab > Web Object). This is a great way to enhance your project with web-based resources like websites, games, and social media.
14. Cursor Path
Cursor path (Annotations tab > Cursor Path) lets you simulate mouse movements and clicks. Use this object when you want to create software training manuals and simulations.
15. Zoom-n-Pan
The zoom-n-pan object is a quick way to zoom and pan in a specific area in your video. Using it, the audience can focus more on important details and avoid distractions.
16. Closed Caption
In a word, closed captions or subtitles in videos refer to on-screen text specifically designed for the deaf or hard-of-hearing viewers. In ActivePresenter, you can easily add closed captions using the closed caption object (Annotations tab > Closed Caption).

Overall, it’s easy to use annotation objects in ActivePresenter. Work with them today, and let us know if you need any help.