Among a wide range of annotation objects that ActivePresenter 9 supports, web objects help enrich your presentation a lot. Let’s learn how to insert web objects into your projects through today’s article.
As you may know, ActivePresenter supports inserting several object types such as shapes, images, equations, etc. Besides, it allows adding web objects including a web address, embedded code, and HTML package. Thanks to that, you can leverage web-based resources.
Before we go ahead, click the button below to download ActivePresenter 9.

This article covers:
To insert any web object type in ActivePresenter 9, open the Insert tab first. Then, select Web Object ![]() . The Insert Web Object dialog appears, which allows you to select and add one of three types.
. The Insert Web Object dialog appears, which allows you to select and add one of three types.
Add Web Address
Web Address is the first web object type that can be added to ActivePresenter 9 projects. Basically, the app lets you embed a website directly within a slide. In this way, you can interact with the website during the lesson.
Here’s how:
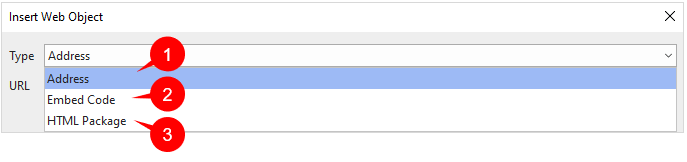
Step 1: Click the Type dropdown list > select Address (1).
Step 2: Type a website address into the URL field (4). Alternatively, you can copy your desired website URL and paste it here.
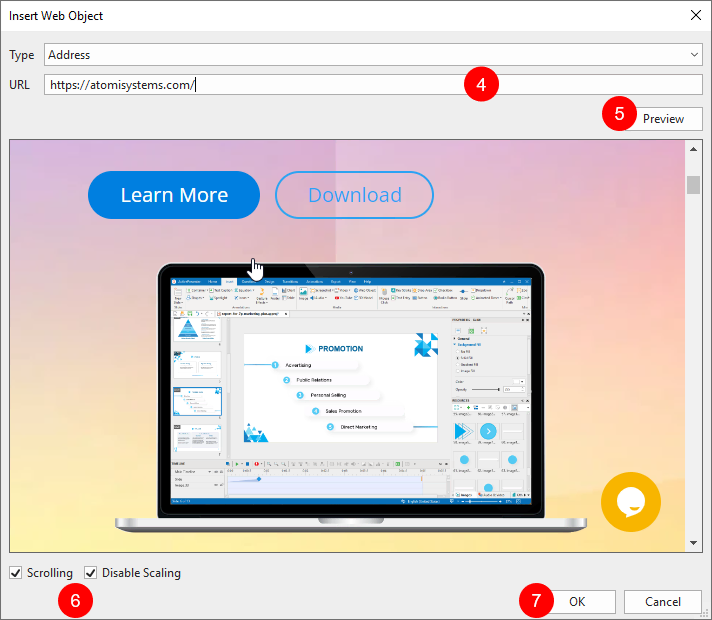
Step 3: Click Preview (5). Alternatively, press ENTER to load and preview the web content within the dialog.
Step 4: Specify scrolling and scaling behaviors (6) for the object as follows:
- Scrolling: Allow adding vertical and/or horizontal scroll bars to view the rest of the content.
- Disable Scaling: Keep the embedded content the same when scaling a slide. For example, zooming and panning in the AutoFit mode of the presentation.
Step 5: Click OK (7) to finish.
Insert Embedded Code
Next, ActivePresenter 9 enables you to embed code as a web object in your project. This is very useful when you want to control the size of the window or its relative position on the screen. To embed a line code, check out the steps below:
Step 1: Click the Type Combo box > Embed Code (2).
Step 2: Enter a code into the pop-up box (8).
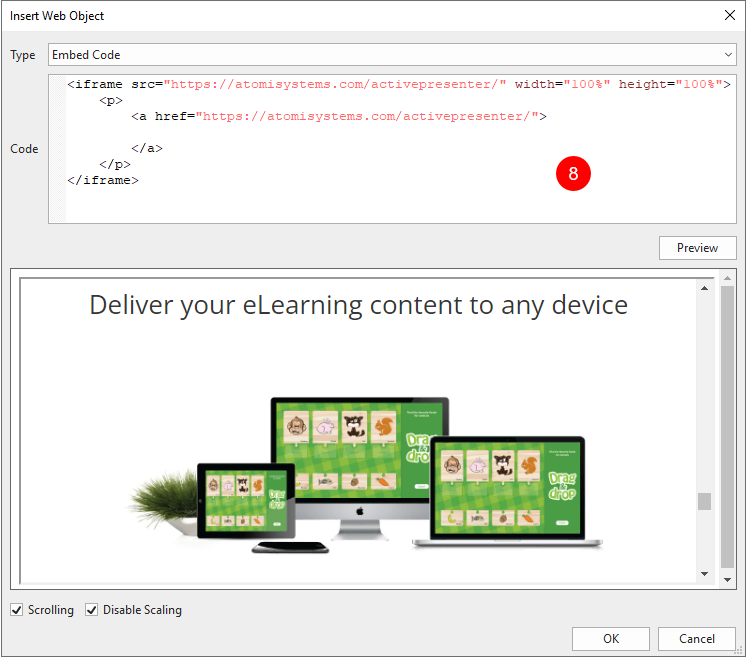
Then, repeat steps 3, 4, and 5 shown in the previous part to add embed code.
Embed HTML Package
Finally, let’s try out embedding HTML packages. This web object can help enhance your interactivity with HTML resources such as games, courses, and reference materials.
In general, inserting an HTML Package is similar to adding an address or embedding lines of code. However, make sure you have an HTML5 file initially. Then, take the following steps:
Step 1: Click the Type Combo box > HTML Package (3).
Step 2: Do either of the following:
- Click
 to select a package from your current project.
 - Click to choose a folder from your computer.
After that, the package’s name will be shown in the Package box (9).
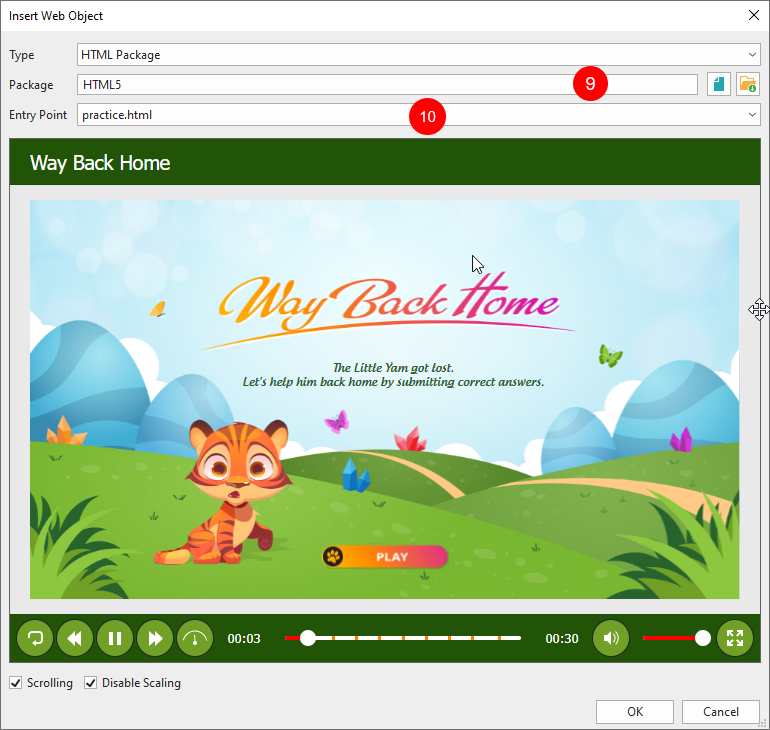
Step 3: Select one entry point from the drop-down list (10). The selected HTML package will load and preview right in the dialog.
Then, perform steps 4 and 5 as guides in the first part.
Work with Web Objects
After inserting a web object into the Canvas, the app brings you some options to customize it as below:
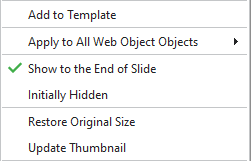
If you want to save and reuse a web object, right-click it > Add to Template to hold it in the Object Templates. See Create and Use Object Template for details.
To apply the same type of the selected web object’s animation and show in mode to all other existing ones, right-click it > Apply to All Web Object Objects > Animation/Show In Mode.
To resize the inserted web object on the Canvas, quickly drag its resizing handles. In case you aren’t satisfied with the changes and want to go back to the original size, right-click it > Restore Original Size.
In addition, you can also update the thumbnail to the latest thumbnail by right-clicking the web object > Update Thumbnail.
ActivePresenter 9 also allows you to replace the inserted web object. Just select it and navigate to the Properties pane > Size & Properties > Web Object > Edit.
Note: Web objects only work in HTML5 output. In other outputs, they will be exported as an image.
That’s it. From now on, give ActivePresenter 9 a try and take advantage of web-based resources with web objects. Contact us if you need any support.
Recommended Content: