ActivePresenter is an all-in-one eLearning authoring tool to simplify your eLearning design. The app provides a large number of annotation objects to add notes, comments, explanations, or further information to your courses. Let’s get an overview of annotation objects in ActivePresenter 9 now.
Before exploring all annotation objects in ActivePresenter 9, click the button below to download the app for free.

In ActivePresenter 9, you are able to add up to 19 types of annotation objects including:
Insert Annotation Objects
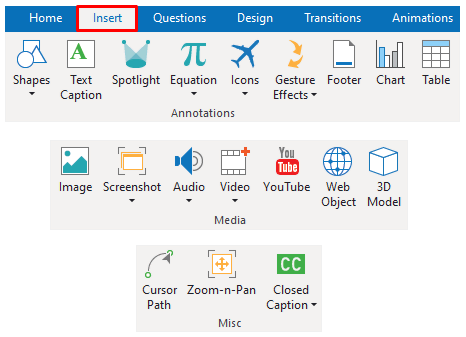
All these annotation objects are accessible in the Insert tab. Therefore, to insert an annotation object into your project, open this tab and choose any object you need from the Annotations, Media, or Misc group.
Note:
- You can also find the Shapes and Equation objects in the Home tab.
- Annotation objects are usually used to provide more information to your project. However, you can make them interactable by adding events-actions.
Below are details about each annotation object.
#1. Shapes
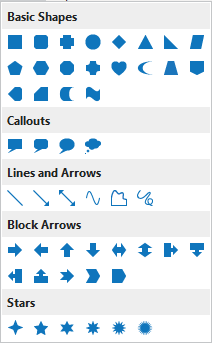
Shapes are divided into 5 categories: Basic Shapes, Callouts, Lines and Arrows, Block Arrows, and Stars. After adding a shape, you can click inside it to insert text, quickly style them by using the Format tab, or add entrance and exit effects via the Animations tab. Additionally, ActivePresenter 9 allows you to use Freeform to create any shape you want and edit the built-in shapes by right-clicking a shape and choosing Edit Points.
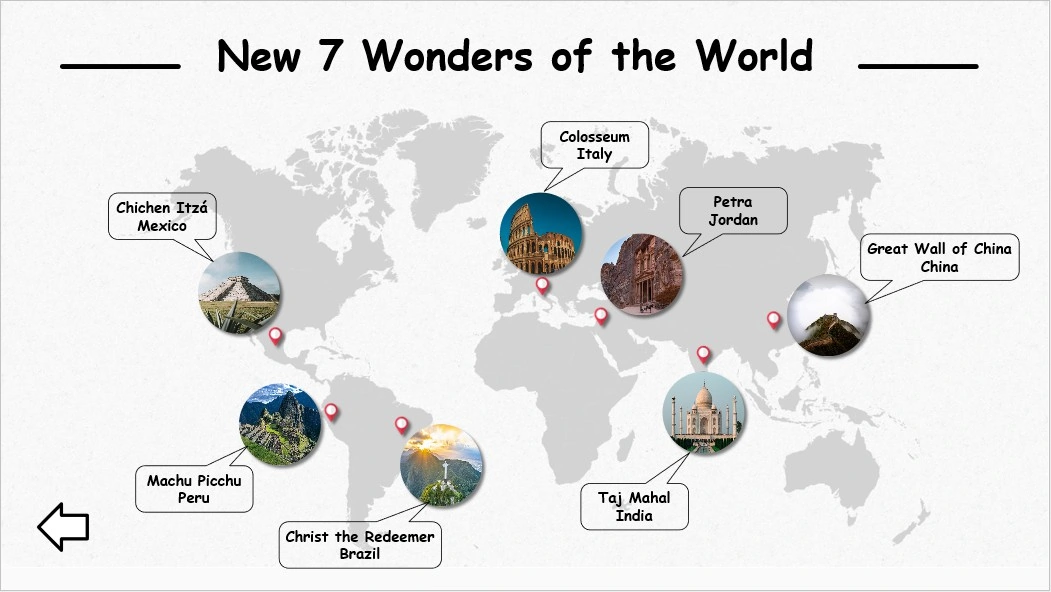
#2. Text Caption
A text caption object allows you to quickly add text to your project. It’s a rectangle shape with a transparent background where you can type text into it.
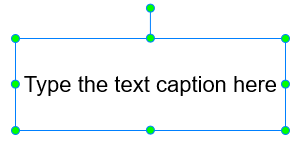
ActivePresenter 9 offers many options to format text captions such as fonts, sizes, and colors.
- Format the text in the Home tab or in the text inline editor that appears when you select text.
- Change the fill styles of text captions in the Format tab or in the Properties pane.
Note: Apart from the system fonts (available on Windows or macOS), the app allows you to use the fonts that are installed on your computer. After installing any font on your computer, you need to restart ActivePresenter to use it.
#3. Spotlight
Spotlight is a good choice if you want to get your learners to pay attention to a specific part of the screen. A spotlight object is actually a shape with special attributes. It keeps the original brightness while darkening the rest of the screen. You are able to change the brightness of the spotlight’s outside by adjusting the Capacity option in the Properties pane. Also, you can modify its shape by using Change Shape in the Format tab.

#4. Equation
With so many pre-made equations and formulas available in ActivePresenter 9, you may quickly generate any math equation. Editing the pre-built equations or creating your own by using mathematical symbols and structures are at ease. Besides that, it is possible to copy an equation from Microsoft Office and paste it into ActivePresenter 9.
#5. Icons
Icons not only help bridge language gaps but also make your design look more appealing. There are 6 groups of icons: Education, Travel, Media, Device, Social, and Smileys available in ActivePresenter 9. They are illustrative vector files so you can rotate, resize, and color them with no loss of image quality.

#6. Gesture Effects
Gesture effects are usually used in the demonstration mode to show how learners interact with the software on a touch screen. ActivePresenter 9 has 14 distinct types of gesture effects.
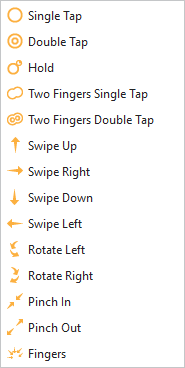
Each of them looks like an animated GIF image. Note that on the Canvas, a gesture effect appears in the form of a shape with the dashed line and transparent fill.
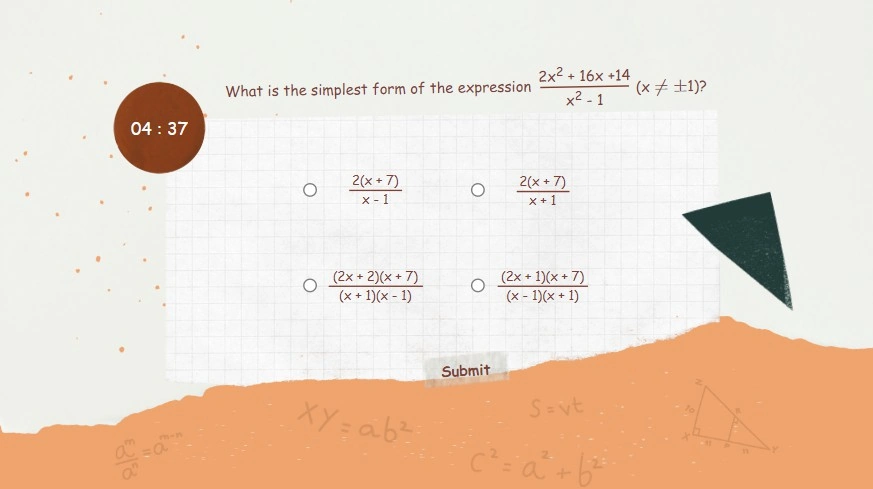
With ActivePresenter’s gesture effects, you can add visual effects that simulate taps, swipes, rotates, and pinches in your video. Below is an example of how to use a gesture effect on a touch screen to show learners how to advance to the next slide.
#7. Footer
Footer helps provide more detailed information such as slide number and date of your slide. A footer includes three placeholders: Date, Footer, and Slide Number, which appear at the end of a slide by default. Add more and format text or numbers the way you want in these placeholders.
#8. Chart
Charts are one of the most effective ways to visualize text or data-heavy content. In ActivePresenter 9, you can select from up to 10 different chart types with variations for each type. Among them are columns, lines, bars, pies, and doughnuts, just to name a few. As a result, you may be sure to discover one that meets your needs.

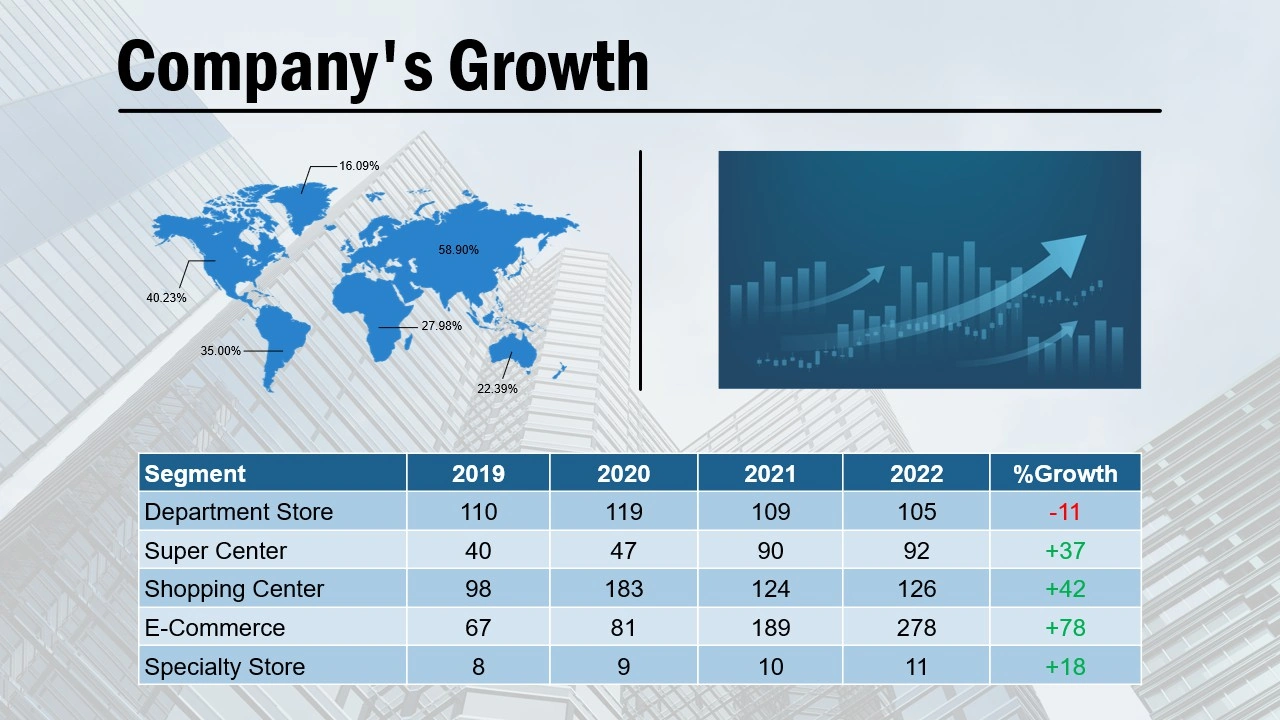
#9. Table
Tables come in handy for storing and organizing data in rows and columns. Quickly format your data by accessing the Table Styles group in the Table Tools tab or Properties pane. Moreover, make tables look even more engaging by adding entrance and exit effects.
#10. Image
Images are an indispensable factor in quickly grabbing your learners’ attention and providing them with a clear understanding of the ideas. Currently, ActivePresenter 9 allows you to import 6 image input formats: PNG, JPG, JPEG, BMP, GIF, and SVG. After adding images, it’s easy to resize, change position, adjust opacity, and so on. All these functions are accessible in the Properties pane. Besides, the app lets you further edit images with a built-in image editor (right-click the image to open the Drawing tab).

Note: Using high-resolution images which are much larger than the slide size may cause the slide to load slowly. To recompress images, right-click the image in the Resources pane (View tab > Resources) and select Recompress. Or, scale the image by right-clicking it and selecting Edit Image > Scale Image.
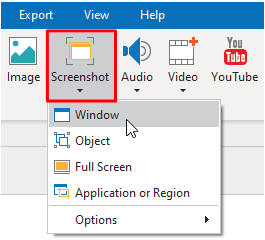
#11. Screenshot
Depending on the context of the project, images may be screenshots of applications, drawings, or photos of persons, products, places, buildings, etc. Regarding screenshots, ActivePresenter 9 has a built-in facility to take screenshots. You can capture as many screenshots as you want whether they are a window, an object, an application or region, or your full screen.
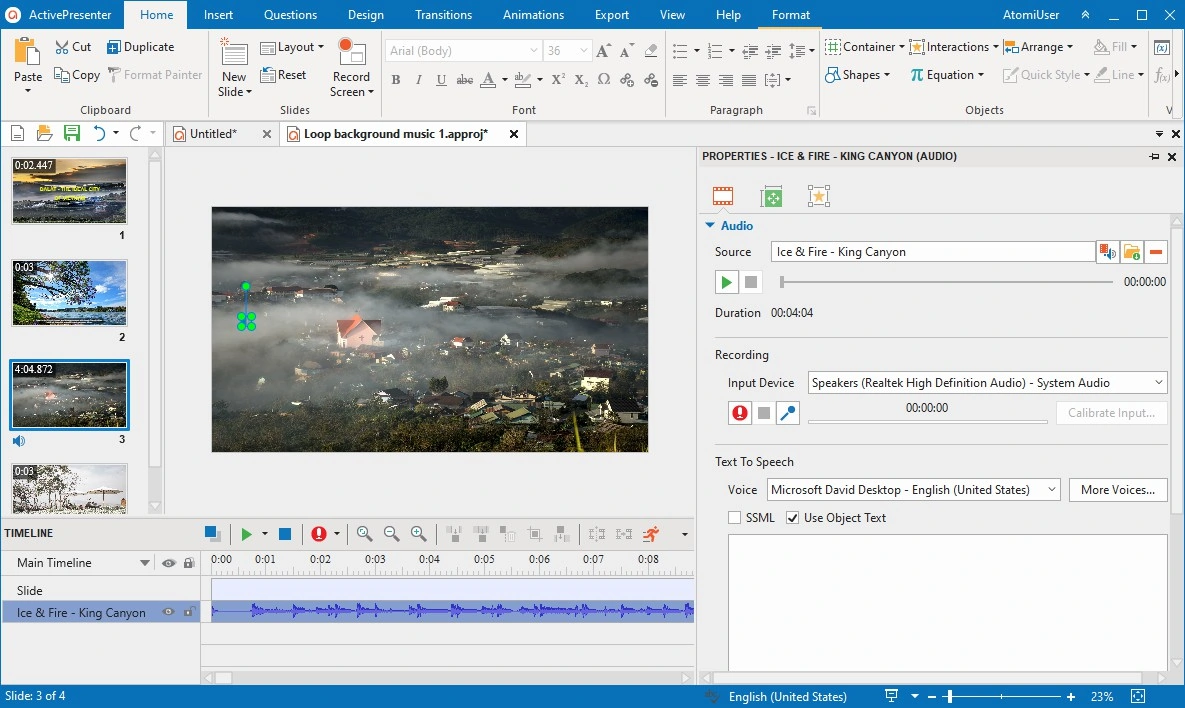
#12. Audio
Images and audio are considered a perfect pair in designing eLearning courses to be more engaging and memorable. ActivePresenter 9 allows you to add common audio input formats including MP3, OGG, WMA, and WAV. Overall, there are 4 main ways for you to insert audio into the app. They are importing audio from existing files, recording a new audio track, adding built-in audio, and converting text to speech.
#13. Video
Using videos can be helpful if you want to give different perspectives to your eLearning courses, especially that’s a complex concept. A video is also used to overlay on top of another one in case you would like to create a picture-in-picture effect. The available video input formats are MP4, MKV, WMV, FLV, AVI, WebM, M4V, and MOV.

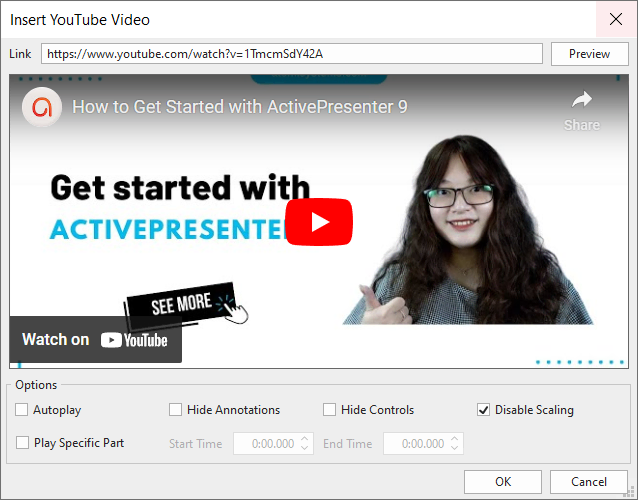
#14. YouTube
ActivePresenter 9 lets you add YouTube videos to your project directly. All you need to do is to paste the video link from YouTube to the Link box of the Insert YouTube Video dialog.
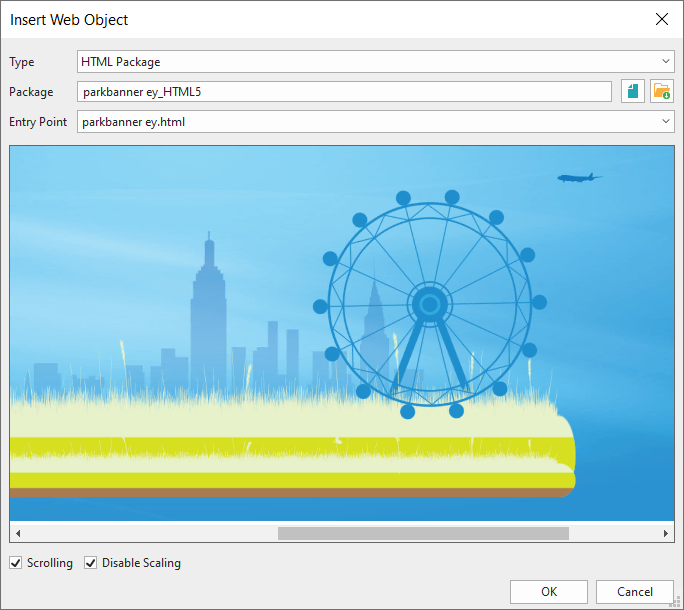
#15. Web Object
Besides streaming YouTube videos, ActivePresenter enables you to directly embed content from a website or an HTML file in your computer by using Web Object. This is a great way to enhance your project with web-based resources like websites, games, and social media.
#16. 3D Model
By using 3-dimensional objects, the 3D Model comes in handy when you want to visualize scenes that are hard to imagine. ActivePresenter 9 lets you insert mainstream 3D file formats namely FBX, OBJ, 3MF, PLY, STL, and GLB. You can also add 3D models from PowerPoint via the Import PowerPoint feature.

#17. Cursor Path
Cursor Path lets you simulate mouse movements and clicks smoothly. By default, cursor paths are included in video recording and interactive simulation. Besides, ActivePresenter 9 allows you to insert cursor paths manually, for example, to create a mouse movement over a button or clickable object.
#18. Zoom-n-Pan
Make it easier to get around a specific element with a zoom-n-pan effect in ActivePresenter 9. In general, the procedure of working with zoom-n-pan is inserting a zoom-n-pan object to zoom in on a specific part of the screen, then adding another one to pan or zoom out.

#19. Closed Caption
Improving audience comprehension or accessibility for deaf and hard-of-hearing viewers by using Closed Caption. You can import the entire Closed Caption file into your project or add a Closed Caption node directly in ActivePresenter 9. Not only that, but by using the feature to add multiple languages for closed captions, you may make your course accessible to many people who speak different languages.

That’s an overview of annotation objects in ActivePresenter 9. Work with them today, and let us know if you need any help.
For the most up-to-date details on how to use a certain type of annotation objects, check out ActivePresenter 9’s YouTube channel and Facebook page.
See Also: