Picture-in-Picture (PIP) is a multi-window mode mainly designed for video playback. It allows you to enjoy a video in a small window pinned to a corner of the screen while browsing content on the main screen.
The article covers:

Insert Videos for Picture-in-Picture Effect
ActivePresenter 9 allows you to insert videos by three ways:
- Click the Insert tab > Video > From Files… or directly drag video from your computer and drop it into the Canvas.
- Record webcam: Click the Insert tab > Video > Webcam Recording.
- Record screen as video: Click the Home tab > Record Screen > Record Video.
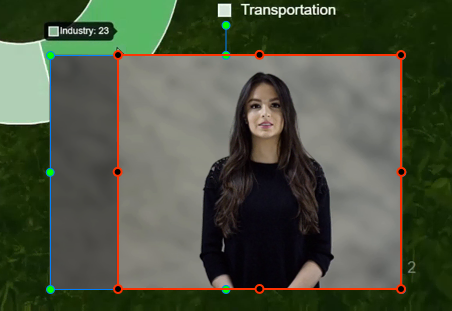
Besides, ActivePresenter 9 allows you to record screen and webcam at the same time. Then, you will get a screencast video and a webcam video in one slide. The webcam video is smaller and placed at the bottom-right corner of the screencast, making a picture-in-picture (PIP) effect. Otherwise, you can record the webcam separately, then insert the webcam video into the main video slide.
Modify Picture-in-Picture Videos
As mentioned above, the PIP video is smaller than the main screen and pinned to its corner. So, after inserting it into the slide, you have to resize and reposition it.
Resize Videos
PIP videos should not be either too big or too small because they may cover a large area of the background or look so tiny. To resize videos, do one of the following:
- Click and drag the resizing handles.
- Adjust the Width and Height values in the Properties pane > Size & Properties > Transform. You can also clear the Lock Aspect Ratio check box to freely change the video’s proportions.
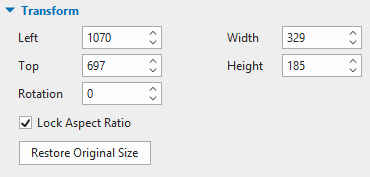
If you want to discard the changes, click Restore Original Size.
Crop Video
Sometimes, you may need to crop the picture-in-picture video to make it symmetrical. To crop the video, select it > click the Crop button in the Properties pane > Size & Properties > Crop. Then, a red border will appear on the video. Drag the handles to specify the cropping area > click the Crop button again.
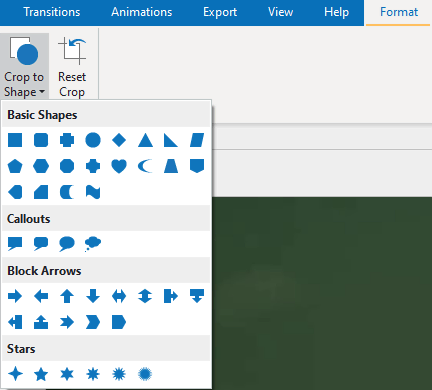
Besides, ActivePresenter 9 allows you to crop the video to shape. To do that, select the video > Format tab, or right-click the video > Crop to Shape > select a shape.
For more details, see Reshape Videos and Images.
Reposition the Video
Place the picture-in-picture video at the position where the video doesn’t cover important information in the center. To change the video’s position, do either of the following:
- Click and drag the video to the desired position.
- Click the Properties pane > Size & Properties > Transform > Left and Top.
Apply Green Screen Effect to the Picture-in-Picture Video
Besides, you can use the green screen effect to remove the background of the PIP video to make your presentations more professional.
See Use Green Screen Effect for more information.
Change the Video’s Timing
Drag the video object in the Timeline pane to change its start time, or navigate to the Properties pane > Size & Properties > Timing.

Animate the Video
Optionally, you can animate your video to make it more engaging. ActivePresenter 9 provides four types of animation effects, namely entrance, exit, emphasis, and motion path. For more details, see the following tutorials:
Play the Video over Multiple Slides
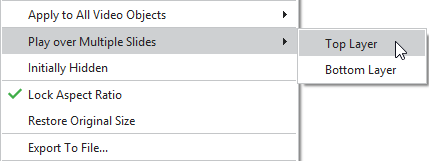
If your project has more than one slide, let’s make the picture-in-picture video play over slides. Right-click the video object on the Canvas or in the Timeline pane > Play over Multiple Slides > Top Layer.
After that, in the Timeline pane, there is an icon that appears next to the object name to indicate that object shows over multiple slides.

Note: If you select Bottom Layer, your PIP video will be at the bottom of the stack order. That means, on the Canvas, it may be not shown due to being covered by other objects. Therefore, select the Top Layer to put it on top of other objects. You can see How to Order Objects to learn more about the stack order.
So, that’s how to create a picture-in-picture effect in ActivePresenter 9. Use this effect to create effective eLearning courses or how-to videos. Follow our Tutorial page and YouTube channel to update more helpful articles and videos.

See more: