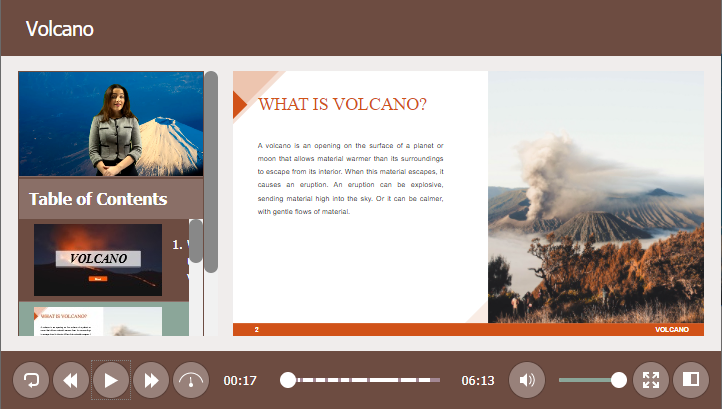
A video presentation is one of the four most common types of instructional videos. It’s a perfect solution for students to make a presentation as part of their projects, managers to present an idea to their teams, or organizations to deliver a webcast presentation. A video presentation consists of concise content slides with intuitive images, animation effects, and sometimes a video of a presenter. Have you ever wondered how to make a video presentation?
In this tutorial, you will learn several ways to create a video presentation with ActivePresenter. Let’s explore which one you prefer.
1. Creating Video Presentation from Slides in ActivePresenter or Importing from PowerPoint
1.1. Insert Resources to Project
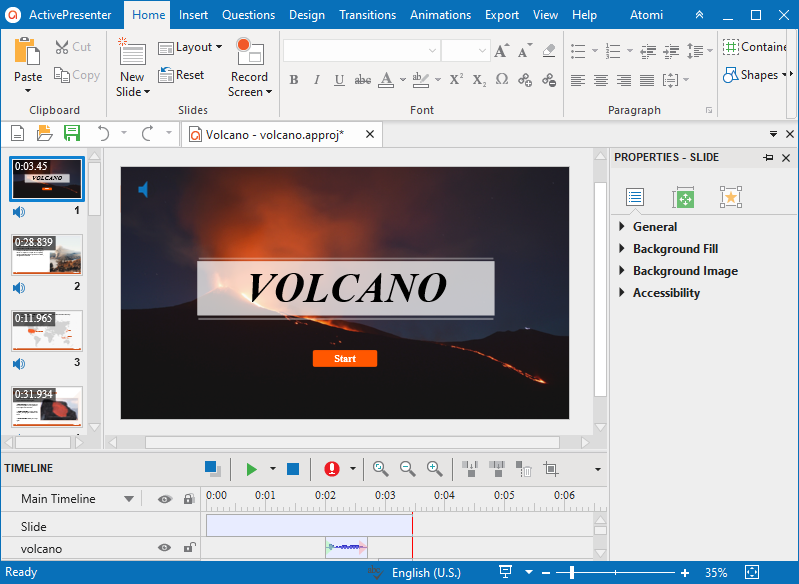
A slide-based project is what you can see from the first time opening a new project in ActivePresenter. So, you can easily create a presentation with built-in slides from scratch. For example, you add resources such as images, videos, and questions to slides.
Take a look at this tutorial: Creating New Blank Projects for more information.
Besides that, ActivePresenter also allows you to import PowerPoint slides into your project. If you have already had a PowerPoint file, you can import it into ActivePresenter by doing either of the following:
- On Start Page, click Import PowerPoint (1).
- In a new project, click the ActivePresenter button > Import PowerPoint (2).

After that, select the PowerPoint file that you want to import from your computer. Then, you can edit each slide in ActivePresener.
Note:
- Determine templates, themes, and edit slide masters before adding content to the slides. This way, your presentation will have a consistent feel and look.
- All the slides you add to your presentation are based on your custom layouts. So, if you edit the slide master after creating slides, you’ll have to reapply the changed layouts to the existing slides in your presentation in Normal view.
1.2. Edit Slides
After adding content for each slide, editing is the next step you need to do. In general, working with slides in ActivePresenter is not much different from working with those in PowerPoint. As the main function of ActivePresenter is to make eLearning courses, it has more notable features in making interactive actions.
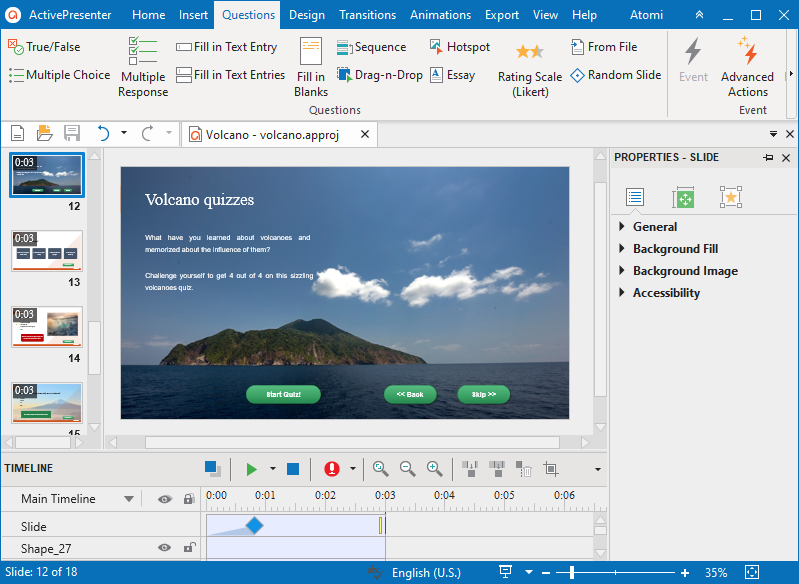
- 11 common types of questions including True/False, Multiple Choice, Multiple Response, Fill in Text Entry, Fill in Text Entries, Fill in Blanks, Sequence, Drag-n-Drop, Hotspot, Essay, and Rating Scale.
- A wide range of media such as Audio, Video, YouTube, Web Objects. These objects make your project more intuitive, especially when you want to add more references from other sources into your project.
- Shapes, Text Caption, Equation, Spotlight, Zoom-n-Pan help highlight the information and attract the learner’s attention.
- Buttons help learners interact with the project, such as Mouse Click, KeyStroke, Text Entry, Drop Area, and Button.
- Animated Timer helps to count time precisely.
Note: The Auto-Advance option lets the presentation automatically jump to the next slide by default. However, you can disable this option. Then, use actions such as Continue Presentation and Go Forward to advance to other slides.
2. Creating Video Presentation by Recording PowerPoint Slide Show
Another way to create a video presentation is recording a PowerPoint presentation with ActivePresenter. This way is helpful if you already have a complete PowerPoint file.
2.1. Record PowerPoint Slide Show
To make it works, you first need to open a PowerPoint presentation in the Slide Show mode. Then, record the presentation with ActivePresenter.
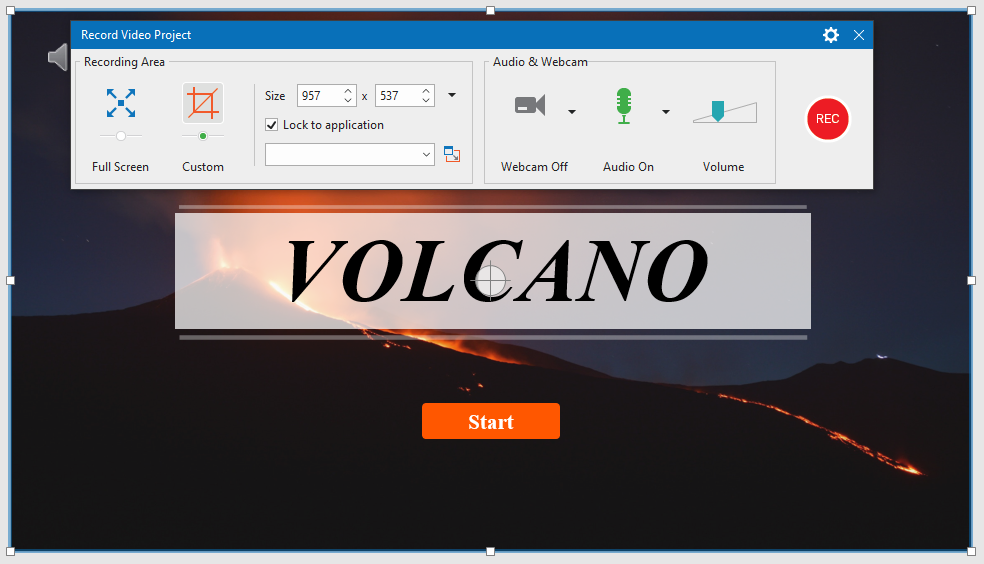
The recorded video will then be transferred to a new slide in the application. After that, you can apply a wide range of video and audio editing effects to the recording.
2.2. Edit Video
Video editing is the next stage after you have recorded your PowerPoint presentation. The editing phase comes with ease as the software supports all necessary editing video features.
- Basic video editing: Cut, copy, crop, delete, split and join videos.
- Insert time will stop the video, so you will have more time to explain a concept.
- Change playback speed: This option will help you speed up or slow down actions in the video.
- Blur video object: To blur a moving object or sensitive information in your presentation.
- Adding background music, adjust its volume, and fade in/out the music is easy as pie.
Besides, you can also add interactive objects to your video. Then, customize them with events-actions to make your presentation unique. See our tutorial if you want to know more about how to edit the recorded video.
3. More Options for Your Video Presentation
3.1. Add a Video of a Presenter
Do you want your presentation to look like a live presentation with a speaker presenting? No matter which way above you choose, whether it’s a slide-based project or a video-based project. Adding a video of a presenter to your presentation will be done with a few simple steps. Here’s how.
Step 1: Insert a video of a speaker presenting to the project. In the Insert tab > Video > From file > choose a video from your computer.
Step 2: Convert the added video to the author video by right-clicking it on the Canvas and select Convert to Author Video. Then, you have the video played over all the slides if the video is long enough.
Step 3: Adjust the slide/video duration to match the author’s video.
Step 4: Prevew the presentation. To preview it, open the Export tab > Player Settings > General > Parameters > Side Bar > tick the Author Video checkbox.
Note: Sometimes, the author’s video may not show up in the preview window of the player settings. It is nothing but a process of reducing preparation time for previewing the video. Hence, you go back to the Canvas, click the Preview button to view it on a web browser. This way, the software will get the data of the video to preview it in the preview window of the player settings. For more information, see Customizing HTML5 Player Settings.
3.2. Recording Narration or Converting Text to Speech
While several sorts of video presentations are made of simple elements like closed captions and background music, others may contain voice-over. It’s your choice to record narration or to convert text to speech.
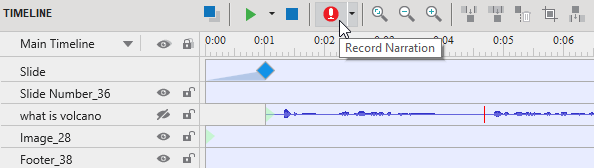
Record Narration
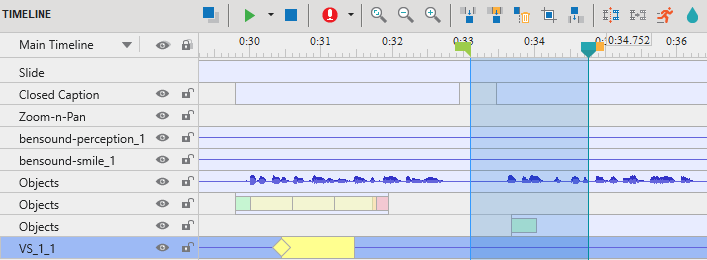
ActivePresenter offers you two ways to record narration. The first way is recording from the Timeline pane. The other way is creating new audio from the Insert tab > Audio > Create New. It’s easy to edit the recorded narration as you can change its volume and reduce noise with just a few simple steps.
Tips: When recording, if you make a mistake, repeat that sentence and continue recording. If you pause the recording and start it again, the volume and tone of the whole presentation may be affected.
Reducing noise for the whole recorded audio before splitting it into smaller ranges will save you a lot of time. This way also maintains volume as well as the tone of the presentation.
Convert Text to Speech
If you have trouble with your voice and cannot record narration, text to speech is here to help. You can convert the closed captions or text to speech with few simple steps. From ActivePresenter version 8.1, you are able to get more Text to Speech voices from Third parties such as Amazon Polly, Google Cloud, and Microsoft Azure.
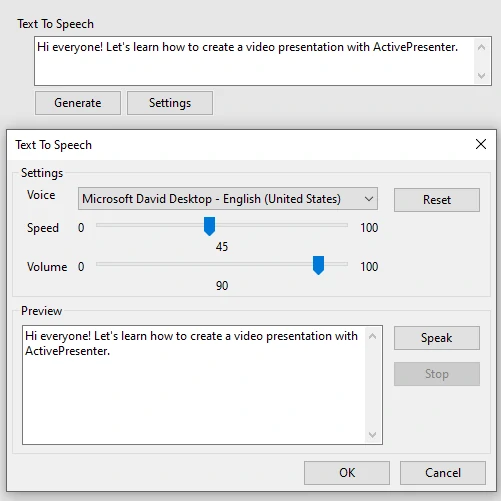
Tips: A sentence should be converted to speech at one time to keep the voice consistent. Don’t break a long sentence into lines because it will create a pause between them.
4. Exporting to Video Presentation
After editing the video or slides, you will move to the final stage of making a video presentation: exporting to video. Before that, shrink the project to reduce the file size by going to the ActivePresenter button > Project > Shrink.
ActivePresenter allows you to export your project to 2 types of formats: Video and HTML5. If your presentation doesn’t require the learners’ interactions, the Video format is suitable for you. To export your project to a video format, in the Export tab, click Video. After that, you can upload the video presentation to your YouTube channel or send it to other people. If your presentation includes interactive segments, you need to export it to HTML5 format. In the Export tab > HTML5. Then, you can upload the video presentation to your website so that learners can easily interact with it.

So, I have walked you through the general steps of making a video presentation with ActivePresenter. Hopefully, it will help.
See Also: